Passthrough slot misalignment issues

I didn’t really want to create a ticket for this, just wanted some answers from community members, but there is no other forum section for asking troubleshooting questions.
Anyways, I’m finally venturing into the passthrough slot for the first time, and I read a lot of posts before posting, but nothing answered my questions. First of all, following the official tutorial is simply not applicable because I don’t even have the “Pro Passthrough Beta” option (shouldn’t it be mentioned in the tutorial that not everyone has access to this option???). Ok, so there’s an official tutorial only for the minority who have that option, but what about a tutorial for the vast majority who don’t have that option? What am I supposed to do exactly to use the passthrough slot? I tried following YouTube videos, where people split the image into multiple sections in third party software like AI, then after cutting the first section on the machine, they would pull the material through the slot, then drag the next section and align it with the previous cut on the material. Question… is this seriously how people have been using the passthrough slot all these years?

But most important question… I tried it this way anyways, and after cutting the first section, then moving the material (testing on cardboard) through the slot towards me, doing a manual focus right where I planned to do the alignment, then lining up the second section with the first cut, the actual cut was WAY off. Why is this? How is it possible to align anything if the camera is that inaccurate?
The image I’m working with is 300mm x 300mm, and here’s a description of each photo:

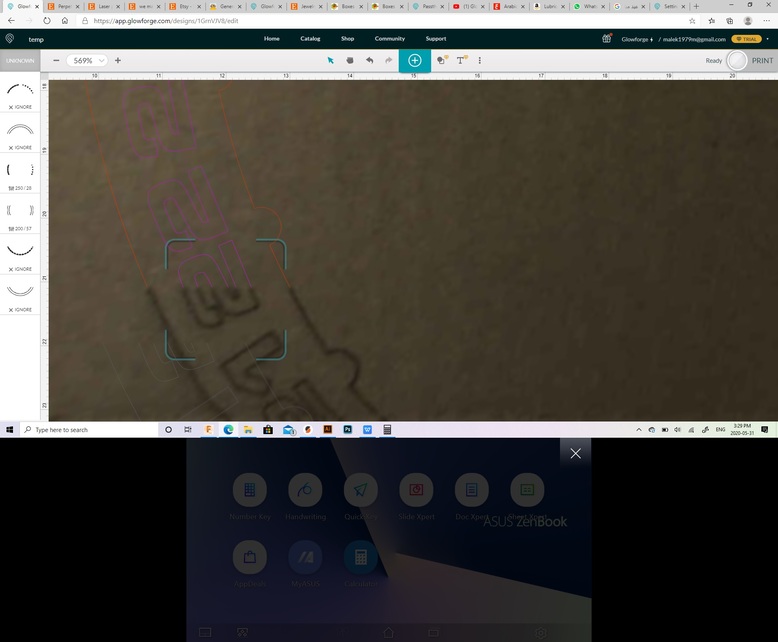
This picture shows the far left of the image on the bed, after manually focusing on that area, and after zooming in at 1000%, and aligning it (in that order):

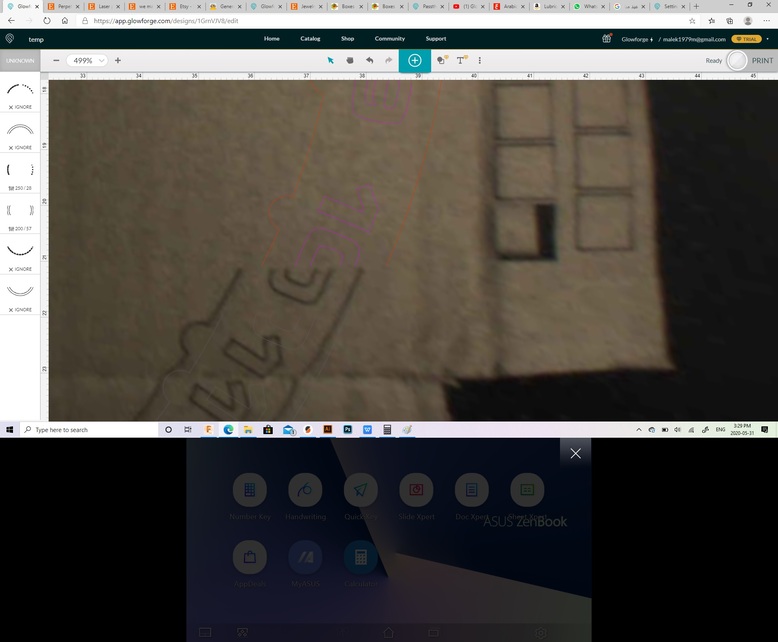
Simultaneously, the following photo shows the far right side of the image, clearly misaligned. Is this normal? This type of inaccuracy has been evident since the day I received the machine months ago. The further something is away from the camera, the greater the inaccuracy.

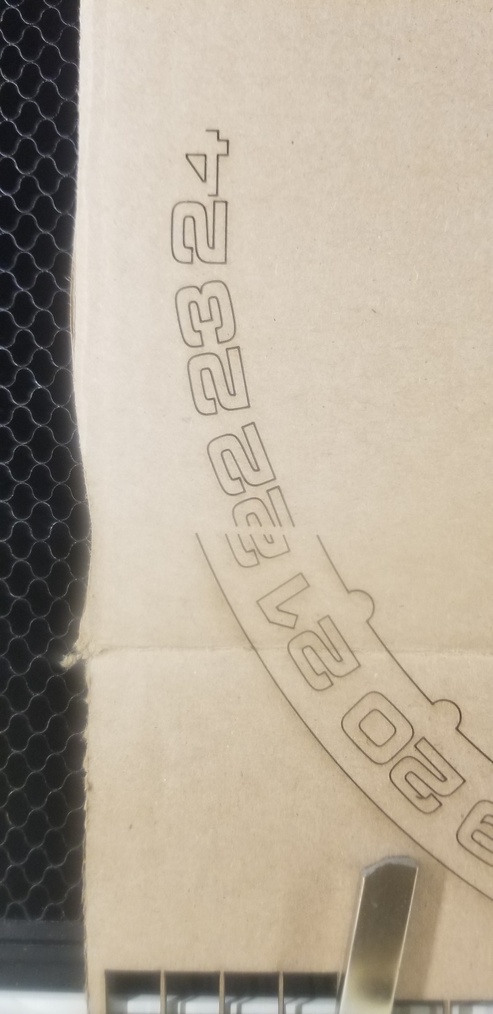
And this is the result after scoring the numbers (I cancelled before it finished, as it was clearly way off:

PS. I should mention that I have a replacement machine on the way due to another issue (maybe related?), so I’m hoping it will resolve this issue. Yes, I could have waited to receive the replacement before posting these questions, but we Glowforge owners are not known for our patience :grin:

Everything Else works just fine for it, for future reference. :wink:

I don’t have a passthrough, but I’ve played around a little with my brother’s (@timjedwards). The ability to set exact coordinates for your artwork makes precision a lot easier to attain, although I was annoyed at the interface’s insistence on grouping my artwork if I didn’t separate it by a few pixels.

The visual is always going to be a little wonky, since it’s software-corrected for the fisheye lens, but they’ve gotten it pretty close of late, since they released the calibration routine. When you get your next machine, make sure you run that first thing, for best visual accuracy, and always use Set Focus as you have done, for best display accuracy at whatever exact spot you’re trying to position, but in the end, trust your jig and the coordinates over what you see visually.

Good luck!

1 Like

Thanks. I’m going to do the calibration as soon as I receive the machine. Truth be told, I’ve never heard of the camera calibration until yesterday for the first time. I’ve been less than impressed with Glowforge’s incomplete documentation for beginners.
On a positive note, I’ve based my final decision to purchase the Glowforge on 2 things: Forum community and customer service. And in both departments it has delivered.

There is lots of documentation, starting with the link to “your first prints” that comes up when you finish the setup. It’s just that nobody wants to stop and read it, and that’s the only time it’s “in your face.” If you skip past that, I guess they figure you are smart enough to go back and look at the documentation when you decide you’re ready.

I read the entire thing start to finish before I even received the machine (as they recommended in their post-purchase email). I’m a reader, so granted, my expectations for ‘completion’ are beyond average. There are several things I had to learn the hard way over months that I wish I had read somewhere sooner. It’s also worthwhile pointing out, now that I look at the “Your first prints” documentation, that it has changed quite a bit since I purchased the machine. The camera calibration was never mentioned there when I read it the first time. Perhaps it’s a newly introduced feature, I don’t know.

Yes, it’s a new feature. That’s why the documentation is online – they are constantly adding new features and improvements, so you have to stay on top of it. Monitoring the forum helps too, because then you’re in on all the new announcements, not to mention learning from other members to add to your expertise. :slight_smile:

I’m sorry that you’ve run into trouble with your unit’s alignment. If you run into any trouble running the Camera Recalibrator when your replacement unit arrives, please let us know and we’ll be happy to help!

Just to clarify, are the screenshots you captured showing machine behavior on the unit you’ll be sending back to us that we’re replacing? When running into an issue with print alignment, we often recommend running the calibration tool. I looked back through the logs which lead to us offering to send you a replacement, and running the calibration might not improve the alignment on the unit we’re replacing. If the screenshots are from a different unit, however, please let us know and I’ll be happy to locate and take a look at the logs!

Hi! The alignment issues I’m having are on the machine that is getting replaced. I might just run the calibration sequence for fun and see what happens anyways.

Thank you for clarifying which unit you were referencing in this post. Since we have a replacement on the way, I’m going to close this thread. If you run into trouble again, or have any questions when setting up your replacement, please post a new topic here on the forum or email us at support@glowforge.com and we’ll be happy to help!