Background
This technique isn’t limited to Pro machines, but in this case I was chopping a 12x20" panel down to 12x18" for another project and it is especially helpful when setting up materials for the passthrough slot.
Object alignment in the GFUI is currently a hit-or-miss affair and there’s no way to manually zero the machine, so how do you make sure your laser operations are going to end up in the right place when you’re not starting from a blank slate? Or, in this case, how do I place cuts around finished artwork because I didn’t think about chopping down the panel as the first step in the build. ![]()
Put down some paper
Paper in a Glowforge might be a bad idea, so have someone hold your beer before starting.
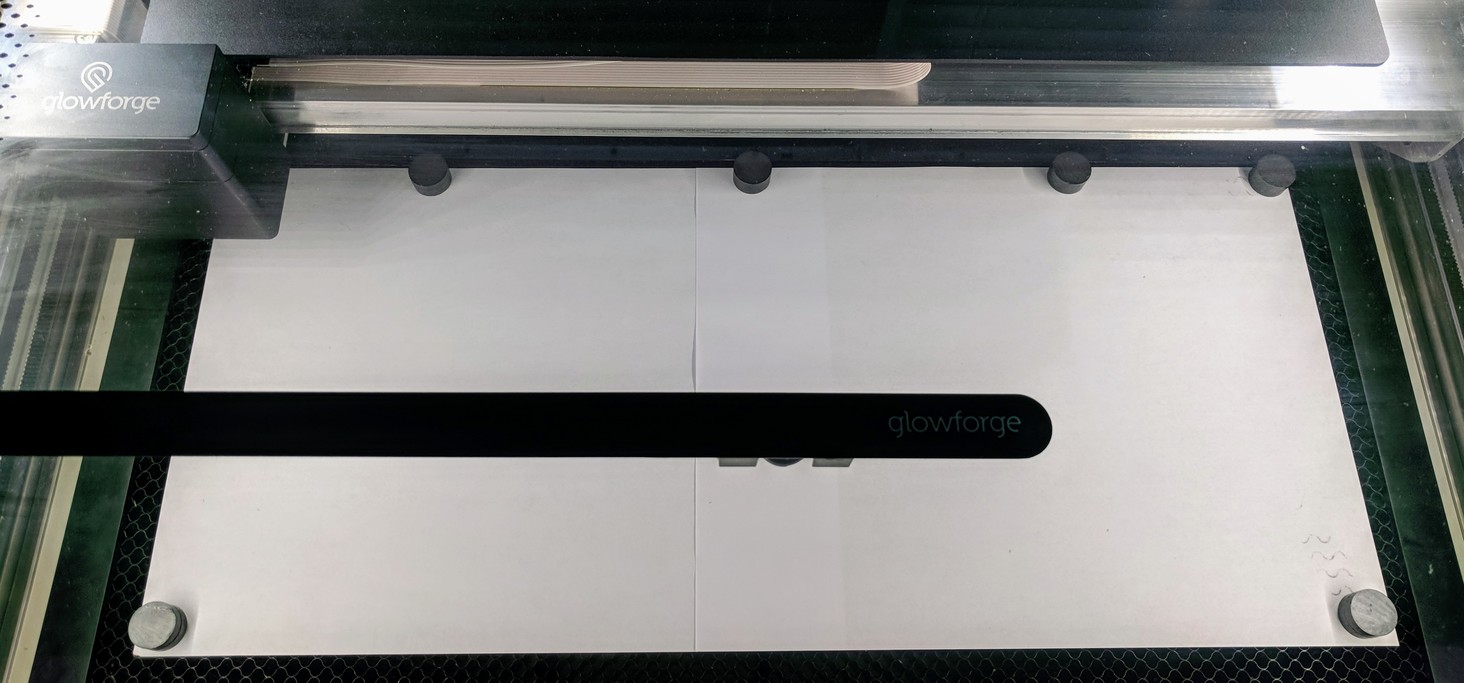
Add a horizontal line to your artwork in some known location that you can also manually replicate on the material that you’re working with. Place some paper and run a 500/2 score of that horizontal line to establish a reference datum. The exact length of the line doesn’t matter too much, but it should extend beyond the envelope of the material that you are working on. I used regular 20-pound copy paper and some ceramic magnets.
Rough alignment
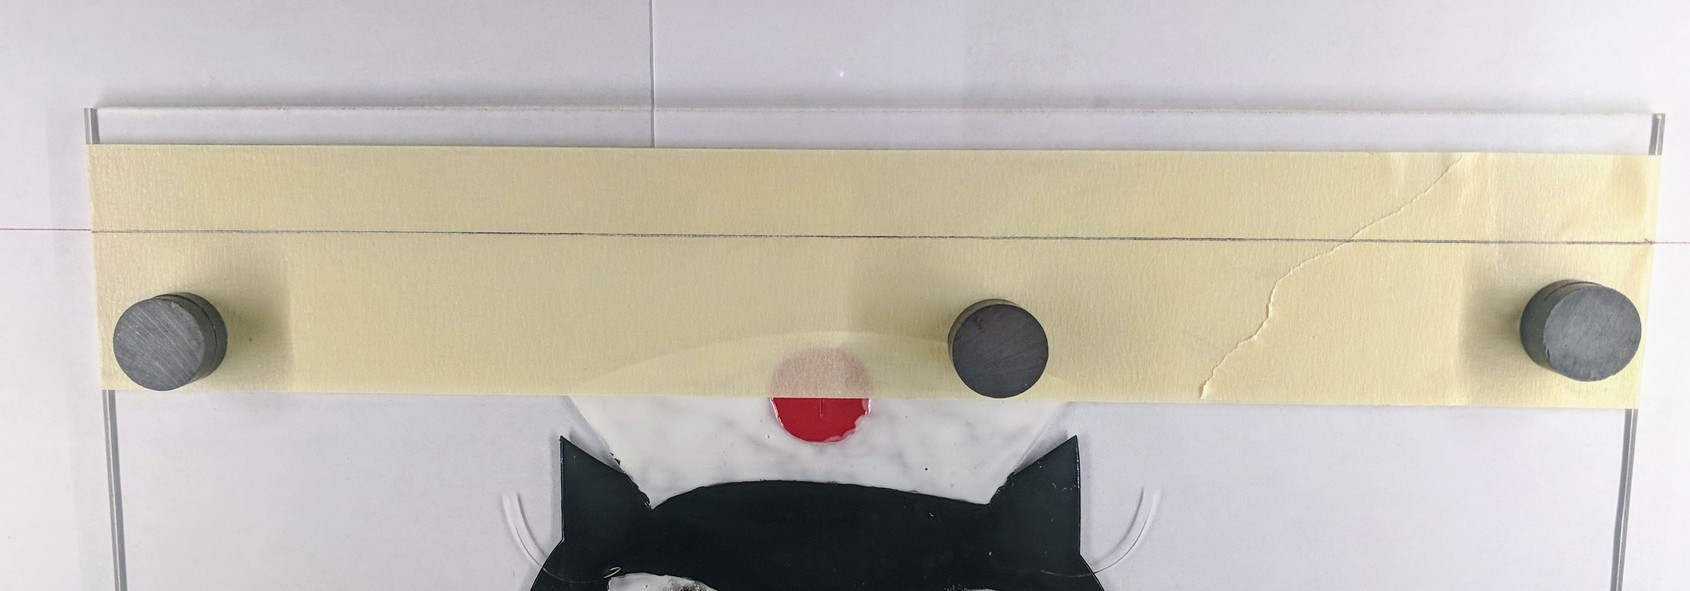
Draw a line across the masking on your material that corresponds to the one you added to your artwork; it can be especially helpful to use a T-square and the finest-tipped pen you have. Place the material on top of the paper and align the line you just drew with the one scored on the paper. Parallax is going to make this harder than it should be, since your mark is higher up than the line on the paper. Ideally, you can look down directly from above the unit or walk around the unit. If you’re not sure how well things are aligned, you’ll have an opportunity to fix things up. Liberal use of magnets or other clamps on the work piece is a good idea.
Test alignment
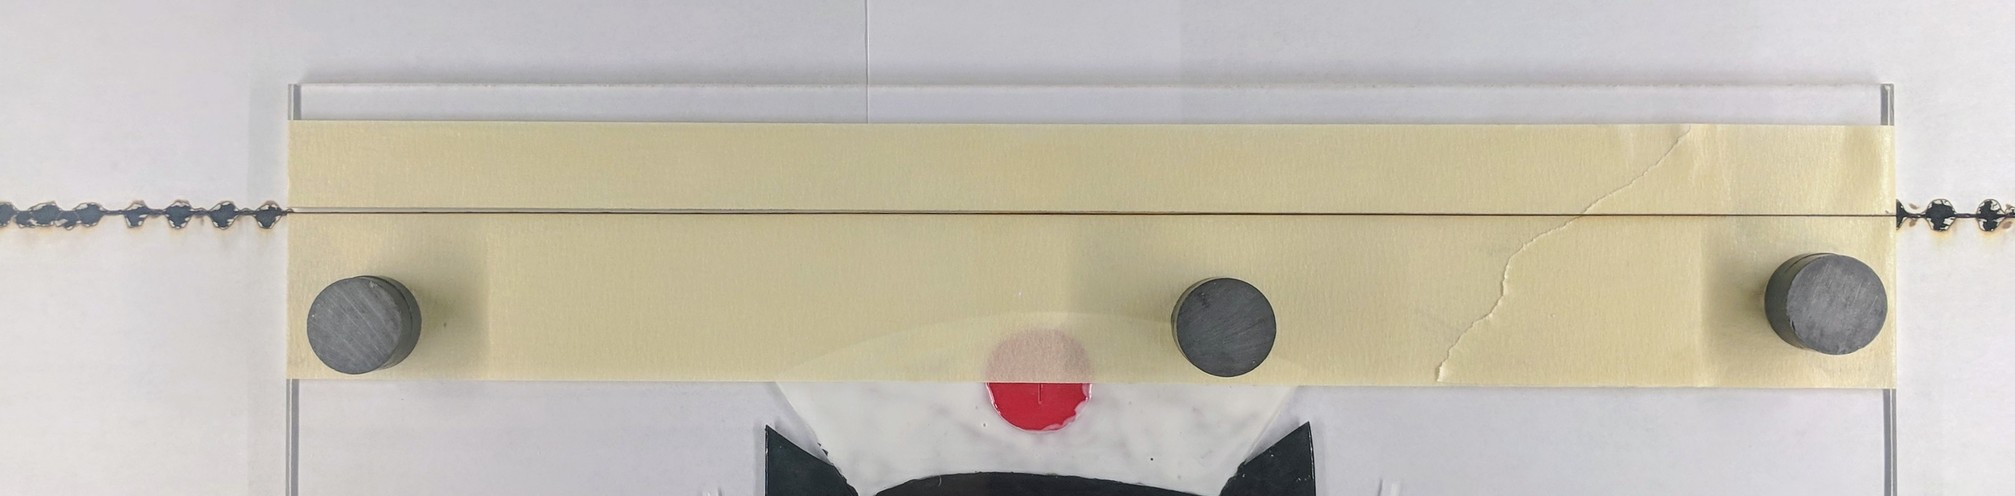
Without changing anything in the GFUI, re-run the same score operation at low power. If things are lined up correctly, the laser should ablate the ink you used on the work piece but not actually cut through the mask. You can see the effect below, where the ink has lightened up as the laser passed over it. If your alignment isn’t right, re-position and try again.
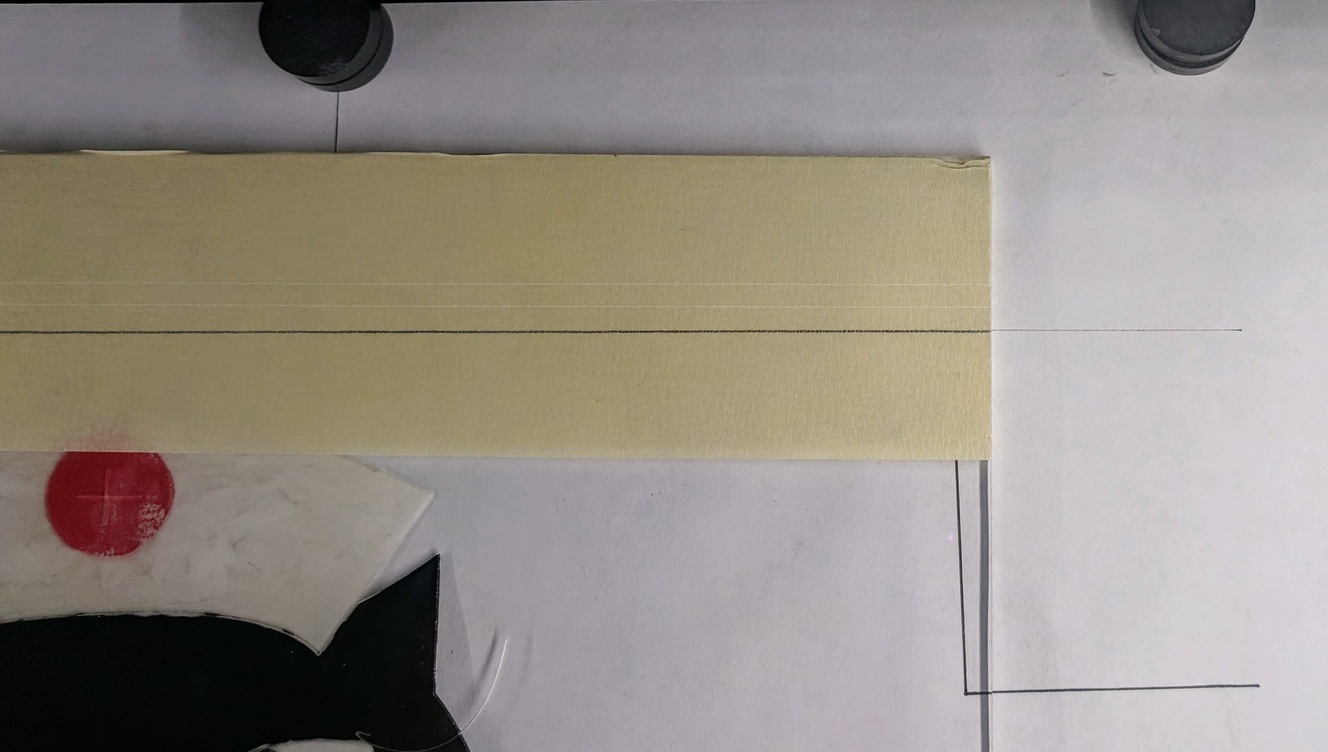
Note that the line on the masking and the one on the paper appear disjoint, but that’s due to parallax. The camera’s lens wasn’t directly above the two lines.
Also, take a moment to marvel at the level of mechanical repeatability that the Glowforge has demonstrated by seeing that the score line on the paper hasn’t started to wander after the second score.
Repeatability
This process may destroy the paper on which the registration score has been made. If you want to repeat the same operations on another piece of material, you will want to place three magnets against the sides of your material to “save” the registration in a three-point jig.
Run the job
Now that the material is aligned with the machine’s reference frame, you can update the operations in the GFUI. In my specific case of wanting to just cut the ends off of a panel, I switched the score operation to a cut operation. If you do hit the paper with a higher-powered laser, it’s likely to catch fire, however the air-assist fan will (probably) blow it out. Be ready with a wet rag in case things get out of hand.