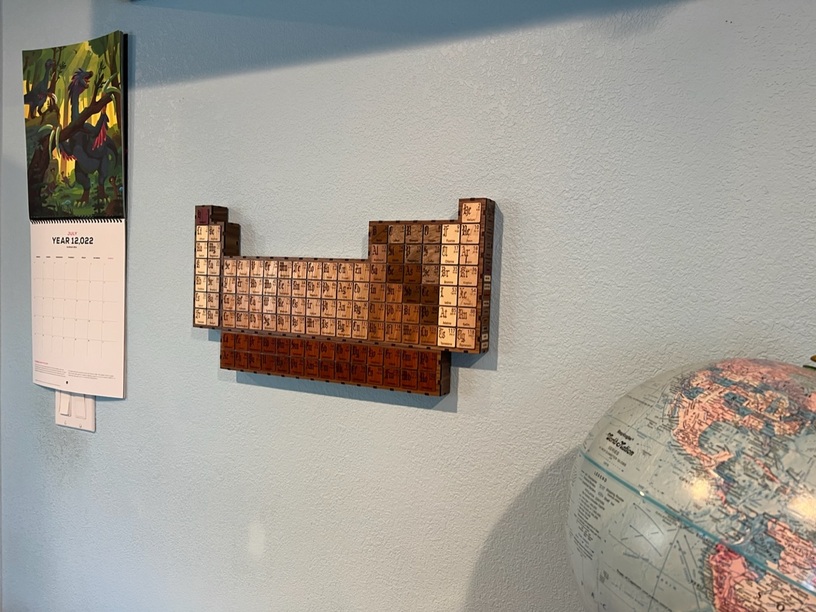
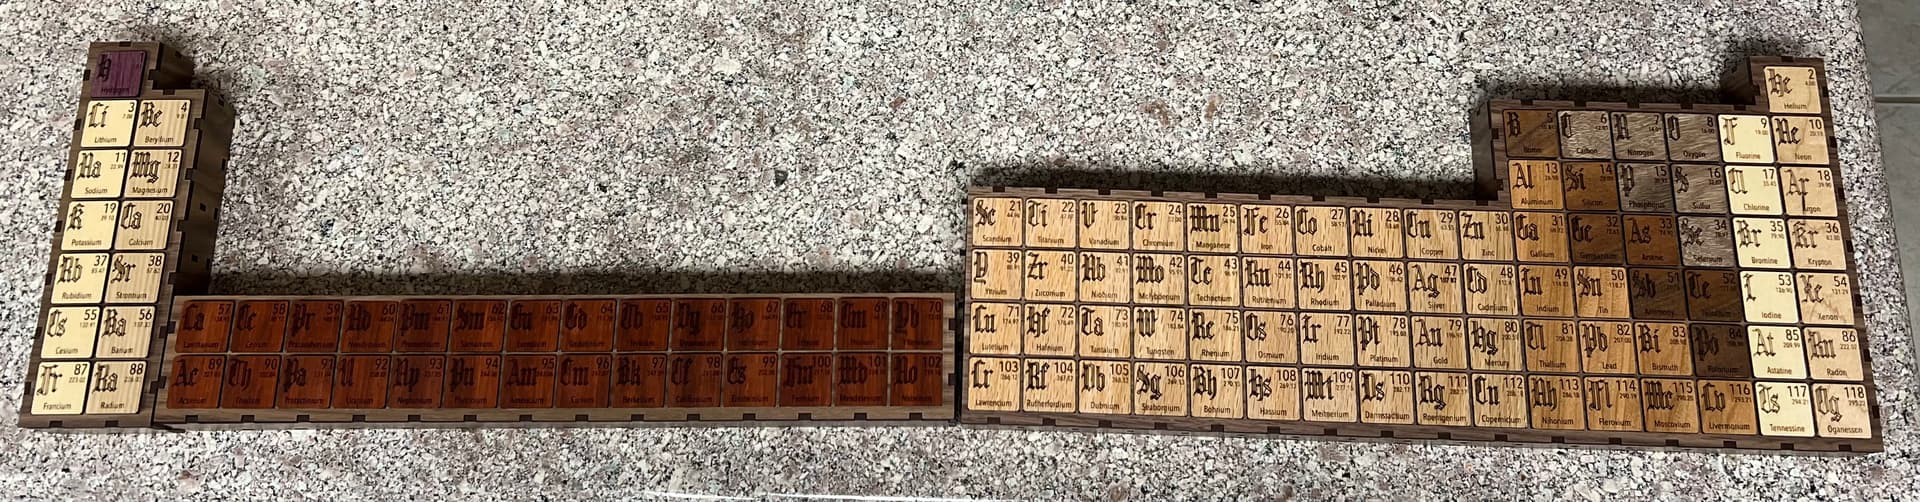
My son is into chemistry and follows a lot of Theodore Gray’s work, so I thought I’d make my own take on the periodic table table for his Christmas gift. But I’m not much of a furniture crafter, and limited in size by the GF, so instead of a table this is a wall display.
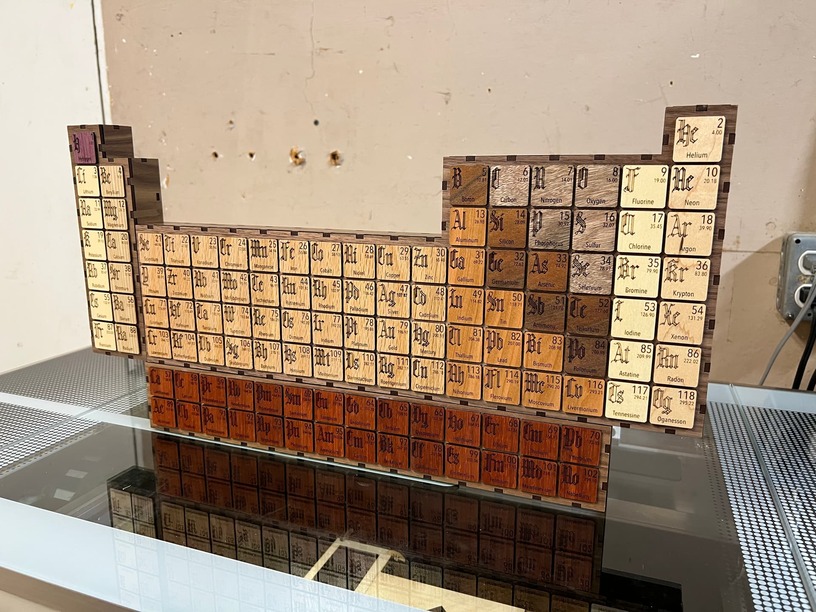
Like its inspiration, there’s a different hardwood for each chemical group:
- Hydrogen: Purpleheart
- Alkali metals: Basswood
- Alkali earth metals: Ash
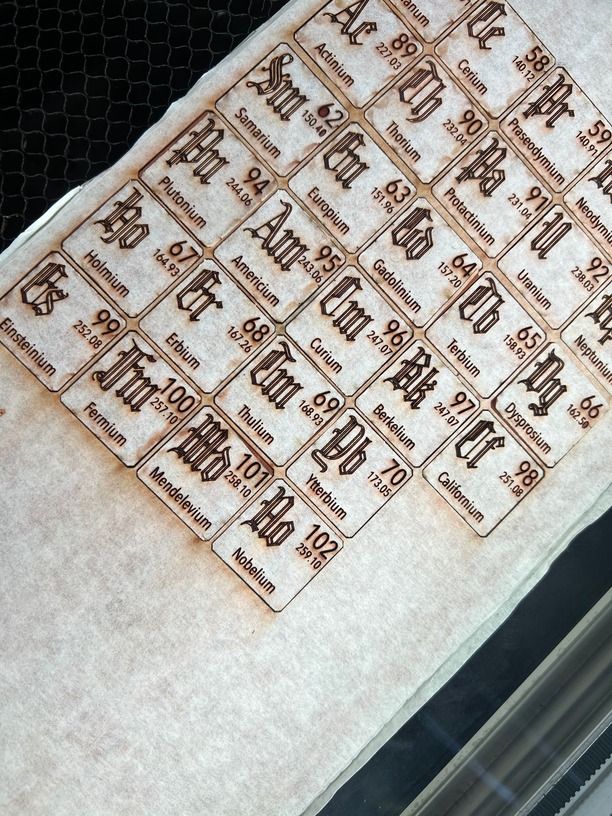
- Rare earth metals: Padauk
- Transition metals: Red oak
- Other metals: Cherry
- Metalloids: Koa heartwood
- Nonmetals: Koa sapwood
- Halogens: Poplar
- Noble gases: Maple
Most of those are official ![]() materials, but the GF store doesn’t have as many different woods as I wanted, so a few are from elsewhere. The two samples of Koa are from freedformhawaii.com (thanks @amandarogers808!), and the Padauk and Purpleheart from inventables.com, finished with their mineral oil kit. The inner structure is draftboard, and the outside framing
materials, but the GF store doesn’t have as many different woods as I wanted, so a few are from elsewhere. The two samples of Koa are from freedformhawaii.com (thanks @amandarogers808!), and the Padauk and Purpleheart from inventables.com, finished with their mineral oil kit. The inner structure is draftboard, and the outside framing ![]() walnut plywood.
walnut plywood.
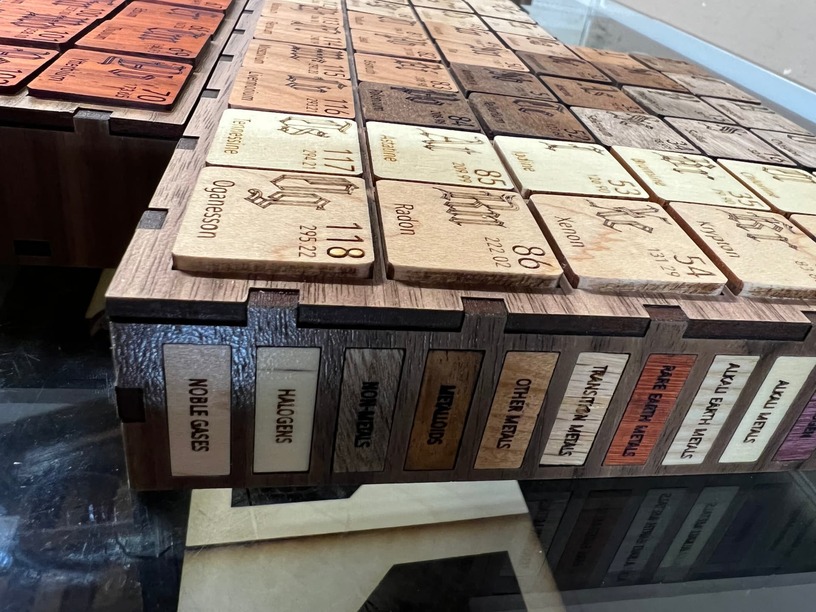
Of course, remembering which wood is which and which means what isn’t easy, so there’s a key on the side:
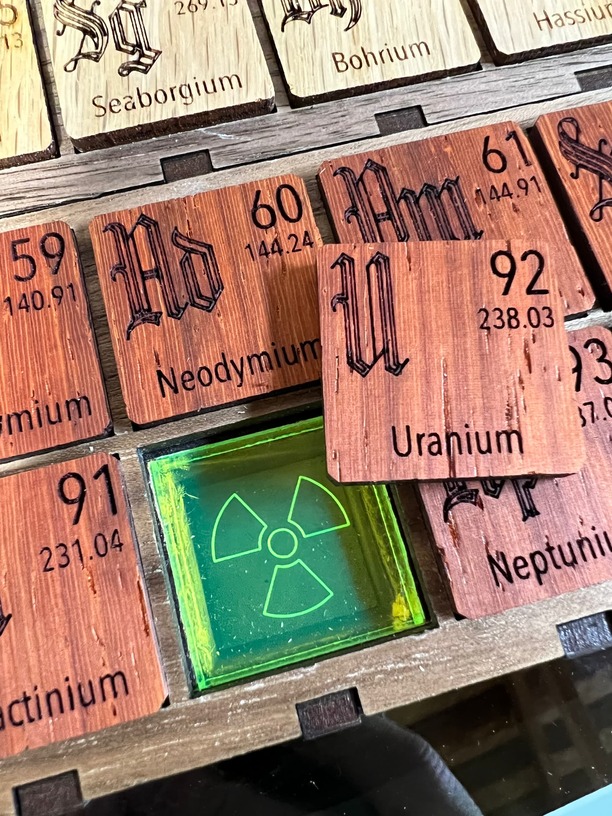
Each tile comes off, leaving a ~24 mm cubicle, should the new owner of this display decide to travel the OCD road of collecting element samples. The first sample is free, even, since there’s at least one element where one can easily find a > 99% pure specimen around the house.
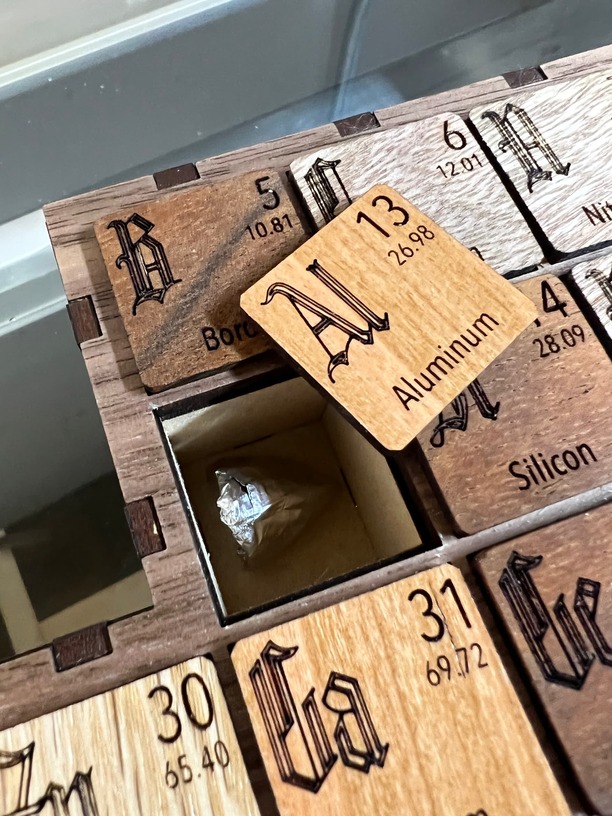
But as long as this display is living at my house, the collection of certain elements will not be allowed, so those cubbies are blocked off.
The whole thing is built in sections. Partly that’s because the front and back panels are single cuts / solid pieces, and if I wanted to fit the whole table that way I’d need to make the cubbies much smaller. (They’re already pretty tiny as it is!)
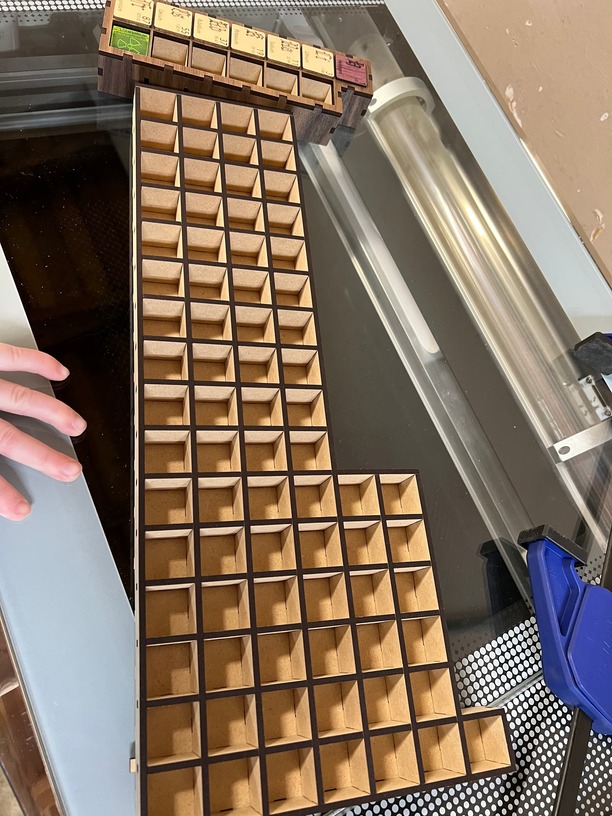
Splitting it up served another goal, though: I wanted to clarify the discontinuities in common presentations of the table. I figured that an extra border between the first two columns and the rest would help to show that the rare earths are really supposed to go between columns 2 and 3. Once I got to assembling things, I realized the modular construction means that you can arrange it that way if you really want to.
(I haven’t yet prepped it for wall mounting, but the rearrangeability will probably have to go away once I do.)
Once I got into doing this as a vertical display rather than a tabletop, I realized there’s an additional challenge; making the element tiles stay in place while still being removable. I thought I had a good solution for that, in theory: precise kerf compensation (both in thickness and in angle!) so that the tiles would fit snugly when halfway inserted into their slots. (That way they always protrude a bit for easy grabbing.) This sort of works, and certainly manages to look pretty.
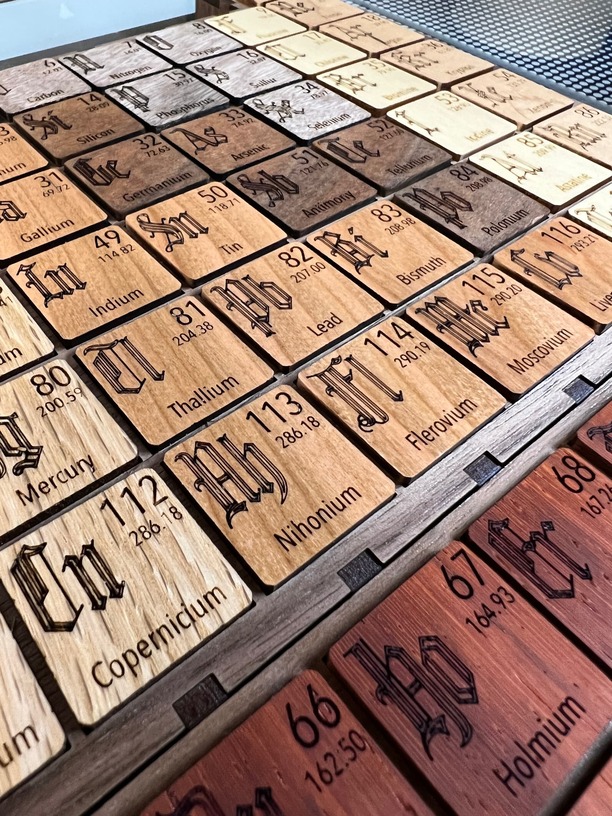
In practice, though, I wouldn’t recommend this approach. Somewhere between the horizontal precision limits of a not-perfectly-clean GF and variations in the wood, it turned into a nightmare of inconsistent sizes. And that was just for the slots in one plywood front piece — for the tiles themselves, the differences between wood species meant a lot of test cuts and trial and error with limited material. Eventually I ended up cutting most of the tiles too big and sanding each to just fit its designated space (which means most of them fit too snugly to remove easily).

 thick hardwoods, though, so sourcing it would be more of an adventure.)