Hi Everyone!
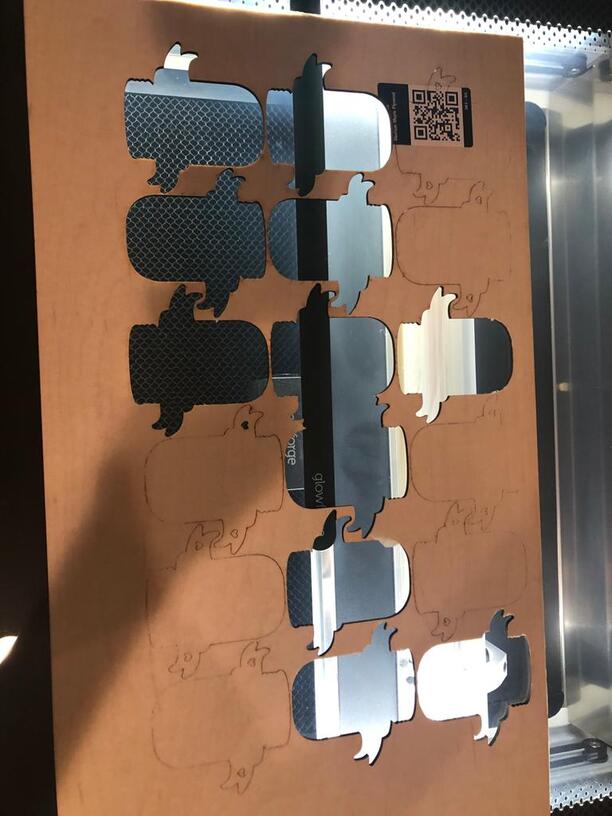
I need advise On what to do… and maybe an idea of why my PG medium maple plywood didn’t cut all the way on some of the figures! I’ve done the first 2 prints (the day before) and everything went perfectly… used the same settings (PG settings) and this time some random jars didn’t cut… I’ve tried to send just the cut but as we all know the precision and alignment isn’t that good… so it didn’t work they are wedding save the dates for my brother so they must be perfect!
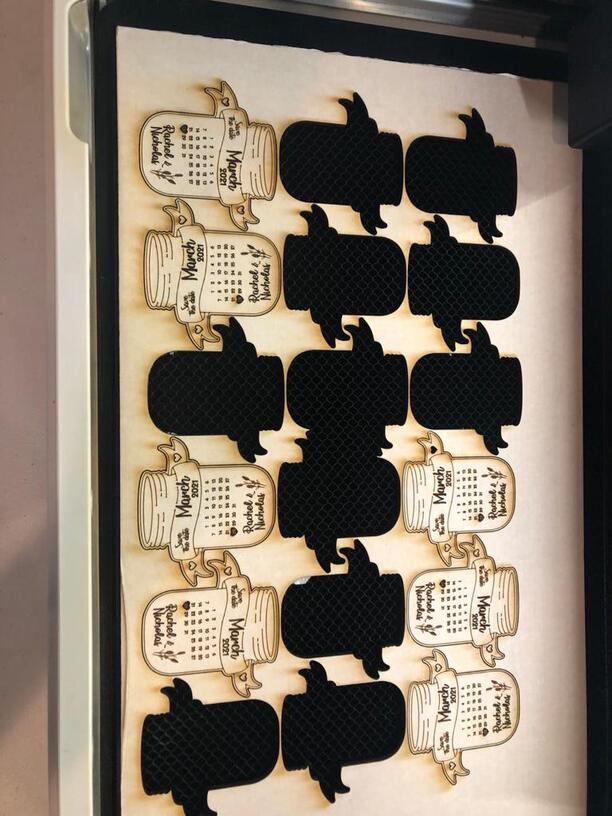
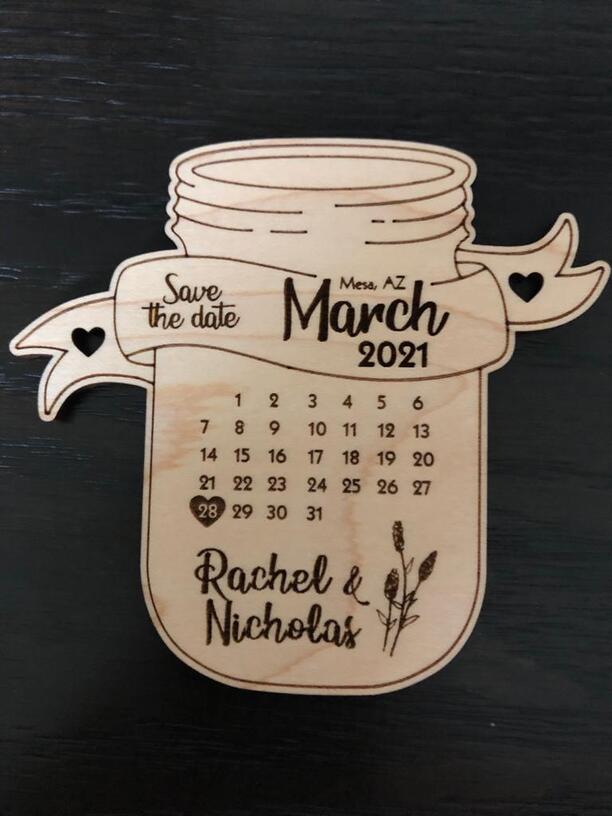
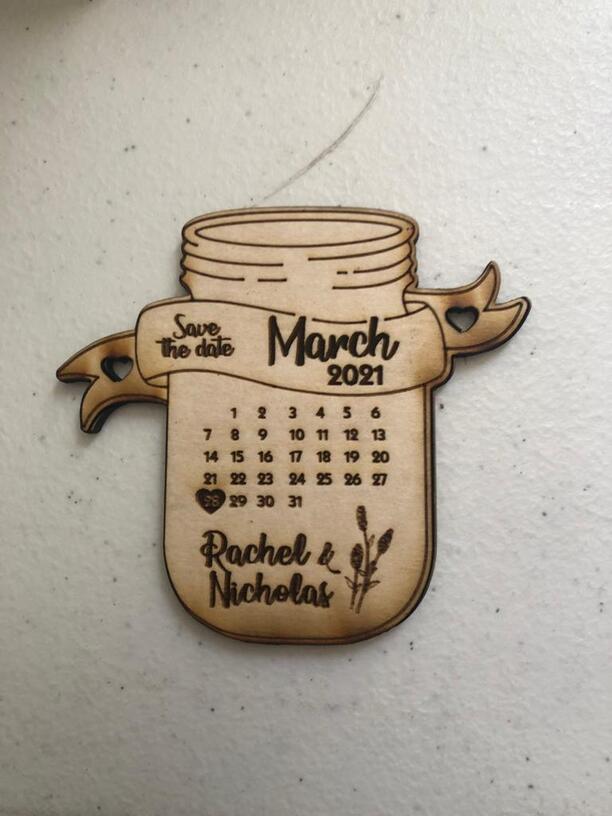
Any idea why this happened? I need to do 7 more prints and I don’t want this to happen again … and any suggestions for trying to save the ones I have (I’ll leave some pictures of the uncut wood + one perfect cut + one I tried to cut where you can see it cuts one side of the jar and looks un even)
Will be waiting for reply’s. Thanks so much for reading me and hopefully saving some prints.
Support will ask you to print the Gift of Good Measure on the spare medium draftboard provided with the machine, using the default settings, and post pictures of the result from the front and back.
They might also ask for pictures of the optics, as seen here.
This information will let them determine if there is a problem with the machine that requires repair.
Once you get the cut-through issue sorted out (you’ve opened a support ticket by posting here, so support will be along soon), run the camera calibration program and learn to use the Set Focus tool – the precision and alignment is actually quite good these days, if you keep up with the current information and use the tools provided. There’s a “support” link up above that will take you to all the online documentation, and the Glowforge Tips and Tricks area here on the forum also contains a wealth of good information.
Everything they said - but also - get into the habit of holding down your uncut material and lifting out your cut pieces - because if they didn’t cut through you can literally close the lid and just hit the cut line again and it will be in exactly the same place (unless you knock the laser head). The camera image may look off, but the laser will cut in the same place.
It’s a good habit to get into because even in a perfect world material is sometimes tricky (extra fibrous, expanded from humidity, a touch more dust on your lens than you expected, etc.) and a cut can fail in spots.
Using these will make that much easier because your material definitely won’t move!
I’m so sorry to hear that you’re hitting this snag. I’ve extracted the log files from your Glowforge to review your most recent prints, and compare it with the details you’ve provided. After reviewing the prints in which some of the invitations did not cut through all the way, I’d like to have you perform a specific test print to create a baseline for your Glowforge. When you have a moment, could you please do the following?
Turn off your Glowforge, then turn it back on
We included an extra piece of Proofgrade Draftboard with your materials shipment for troubleshooting. Place Proofgrade Draftboard in the bed and load the Gift of Good Measure design.
Set the score and engrave steps to ‘ignore.’ Print the Gift of Good measure using the default settings. Allow the print to finish.
When the print finishes, leave the lid closed and wait until the fans stop and the picture of the bed updates.
Check the completed print:
If the Gift of Good Measure fails to cut, please let us know the date and time of the print
If the Gift of Good Measure cuts successfully, please try another print of the design you saw the issue with, and let us know the results.
If the issue still occurs, please let us know the date and time of the finished print.
Also, I would like to check over just a few more things. Could you do the following for me?
Please send photos of all your cleaned optical components, with special attention to any damage you might find:
Both windows
The printer head window, on the left hand side of the printer head
The laser window on the inside left of the Glowforge
I think it was due to dirty mirrors and lenses! I sent the test print/Cut and perfect… then sent one of my mason jars and Perfect! Thank you!!
I do all my printing from abroad so its hard to notice when you are not fiscally there I will ask my aunt to always check to see if its clean… Thought it may have been something else since random Jars didnt cut…
Anyway all set for new prints! appreciate all the support and helpful tips i will consider for sure now.
That is fantastic news! I appreciate you working through all of those steps, and I’m so glad to hear that your prints are coming out as they should. I’ll close this thread for now, but please don’t hesitate to reach out to us directly at support@glowforge.com if you run into any more trouble. We’re here to help!


 I will ask my aunt to always check to see if its clean… Thought it may have been something else since random Jars didnt cut…