Over the past month, I’ve had to change my proofgrade settings to cut at a slower rate in order for my laser to cut out my prints. This has happened on PG medium acrylic in multiple colors, PG thick draftboard, PG medium Draftboard.
Now, I just recently had the orange light that wouldn’t go away after resetting multiple times, holding the button down until it turned teal, configuring WiFi settings, etc . I contacted support for that , took some pictures of the gold wires from the tab as requested and sent them in… all of a sudden the yellow light went away but now it REALLY REALLY won’t make a cut all the way through. Even when changing the speed from recommended 165 to 120! What’s wrong?
I cleaned my glowforge monthly just recently 11 days ago.
I remove the laser, take out the grate and vacuum then clean the bottom and glass tube with vinegar and water. I wipe down the belts and then detached the vent vacuum it out and clean it with co tact cleaner. I wipe down the camera and the laser lenses with Zeiss wipes and replace the lense in the unit. I leave it to dry for a day before use.
The temperature remains about 65-70 degrees in this room.
Amanda Lavelle R.T. ® (MR)
Medical Radiographer
Etsy Shop Owner/Maker of Xray Markers and Personalized Christmas Ornaments
Verify that you installed your lens correctly and not upside down. I accidentally installed mine wrong once and it would cut but I had to slow down my speed like you did to try to get it to cut all the way through.
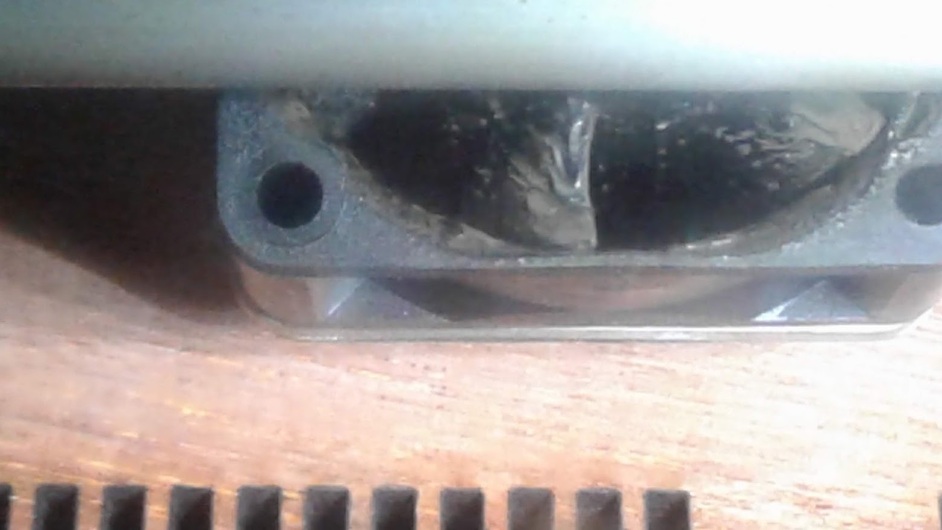
Thanks for letting us know about this. I’m so sorry you’re having trouble with cut-through. I can see that you already reached out to us via email regarding a broken lens tool that kept you from removing and cleaning the printer head lens. Once you’ve received the new lens tool, could you please clean the printer head lens according to these instructions, then try again and let us know how it goes?
Also make sure the bed is sitting flat on the bottom of the machine, and then the material is pinned down flat with the pins and/or lots of magnets. Any non-flatness of the material to the bed will affect the quality of the cuts!
Yes when I get the new tool I’ll clean the lense and leave an update. As far as everyone else’s wonderful and helpful input, I had cut something (with longer time settings) just fine right before the yellow light happened on an engrave. The grate was level, and I haven’t taken out the lense, so it is not installed backwards. I’ll update as soon a I get the part. Thanks.
Amanda Lavelle R.T. ® (MR)
Medical Radiographer
Etsy Shop Owner/Maker of Xray Markers and Personalized Christmas Ornaments
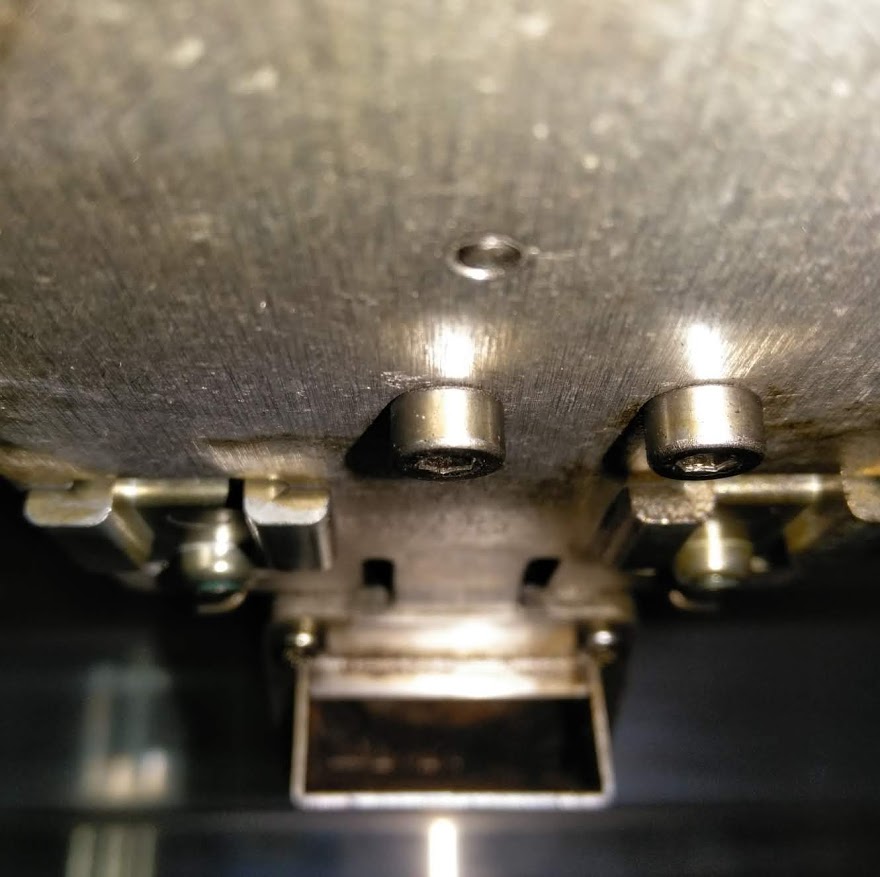
Update: I cleaned this fan and boy was it cruddy! Unfortunately, my test prints still will not cut through. I am still waiting on the lens removal tool to arrive. The one that came with my glowforge was missing the magnet needed to pull it out for cleaning. I wanted to say thank you because I didn’t even know that was back there and it definitely needed cleaning.
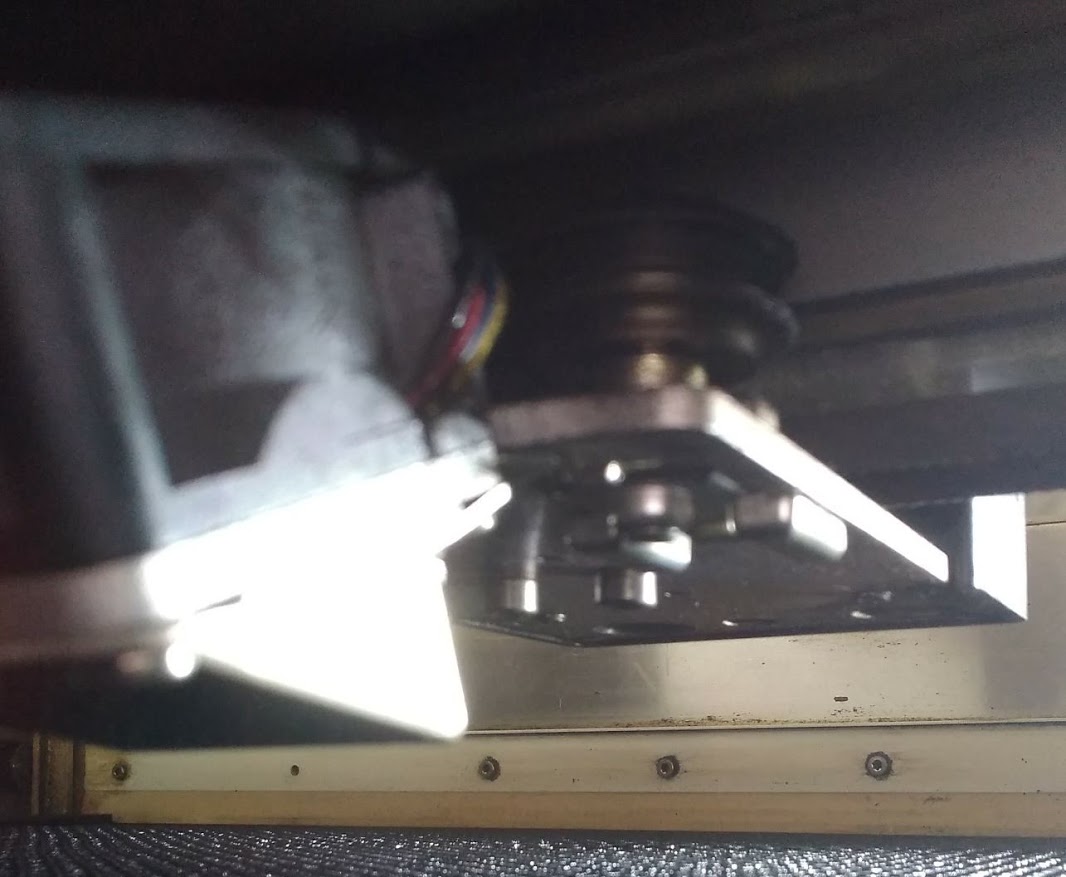
I created a design I call “exercise” that just runs to the front and goes back and forth, You set power to 0 and height to 0.5 and speed sort of slow on an empty bed and it goes to the front and goes back and forth.
In this way you can watch behind the gantry and see the fan spinning (or not). It can be very educational as any part that is supposed to move past another can slow or stop that fan and most every time the smoke will flare into a small flame and the cut will not make it to the bottom.
This is the “exercise” file though it is simple enough and you want it as close to the front as possible:
BTW I kind of drown the fan in alcohol hand cleaner and use a C-pap hose attached to a shop vac to make the fan spin while no power is being applied and that acts like a washing machine with the most action where parts rub the closest, this is not official policy but has worked better than other things. I spin the fan with the vacuum cleaner for a half hour so everything is gone and dry.
Update: I’m STILL WAITING on this tool not even in knowing if it will fix my glowforge problem. I have customers waiting and it’s making me so anxious.