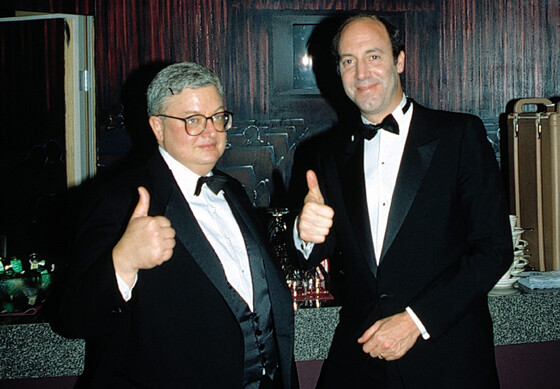
Hanging with the rich and famous in Crosslake, huh? It’s nice up there!
love it there! thats where our cabin is! 
Looks great! What setting did you use for engraving settings? Im a bit lost on the SD graphic, HS graphic, HD photo and 3D Engrave. I have used all of them on engrave settings and they have all come out way darker/burnt without an image any darker than yours. Thanks!
I am having the same issue… Were you ever able to figure this out?
For photos, use the SD or Draft Photo Engrave settings.
HD burns deeper and chars more, you won’t necessarily get more accuracy on the photos.
Thanks!
what were your engrave settings on this?
Just FYI, unless they used straight PG photo engrave settings, they can’t be posted here, since non-PG settings are allowed only in the Beyond the Manual section.
That said, though, there’s really no way to use someone else’s settings for your own photo – they’re just all too different, and the material makes a big difference, too.
If I were you I’d start with the tutorials on the Support website for prepping photos, as well as the explanations there of what the various engrave settings do. There are also some great user-provided tutorials in the Tips and Tricks section, and in Beyond the Manual you can search for what engrave settings folks might have used for the particular material you have in mind. 
LOTS of good info here, it just takes a little looking, and you’ll be ready to test your own settings in no time!
thanks
The standard power settings for SD still burns more wood. What power settings would you recommend to get such a finish as the author of this thread @mike15
If you want to know the settings Mike used, only Mike can tell you. ![]()
But…I would start with Draft Photo settings and work from there.
Draft Photo works great for photos. Very important to clean up the image as much as possible, and bump the contrast first, in some kind of raster software. (Photoshop or GIMP).
@jbmanning5 has a great Action written (for sale) for Photoshop if you have that…practically “one click easy” cleanup and contrast to make your engrave results pop.
Or you can read how to do it yourself here:
https://glowforge.com/support/topic/first-three-prints/Prep%20a%20Photo%20Engrave%20with%20Gimp
wow, that came out great! I really need to work on prepping photos to engrave and get some done…
I’m still trying to engrave photos and can’t seem to figure it out. Ugh!
great looking engraving
There’s definitely a learning curve to it and it can be steep and aggravating.  Have you searched and gone through all the videos and posts etc and got the general concept and just can’t quite get it right or is there something specific you’re stuck on? Maybe you could start a post with the specific photo you’re having trouble with and we can take a look for you?
@mike15 Thanks for sharing your experience with this project. Just spent the better part of 5 hours trying to get a photo to turn out half decent and your process was sooooo much simpler and turned out crazy better than any of mine. I also really dig the stand you made for it and the animation you made. Can you share where one could find the plans for that stand? Thanks!
Absolutely excellent. Thanks for sharing.
it looks awesome! what program did you use to get the photo ready?
OK, now you’re just showing off with the spinning photo.

Hi. This is such an amazing photo! I can’t wait to try one myself. I was wondering what size photo you used and what size the one you engraved is? Is there a certain perameter you need to stay within when cropping and uploading to photoshop? I would imagine if you crop the original photo too much you would end up with a very grainy engraving?