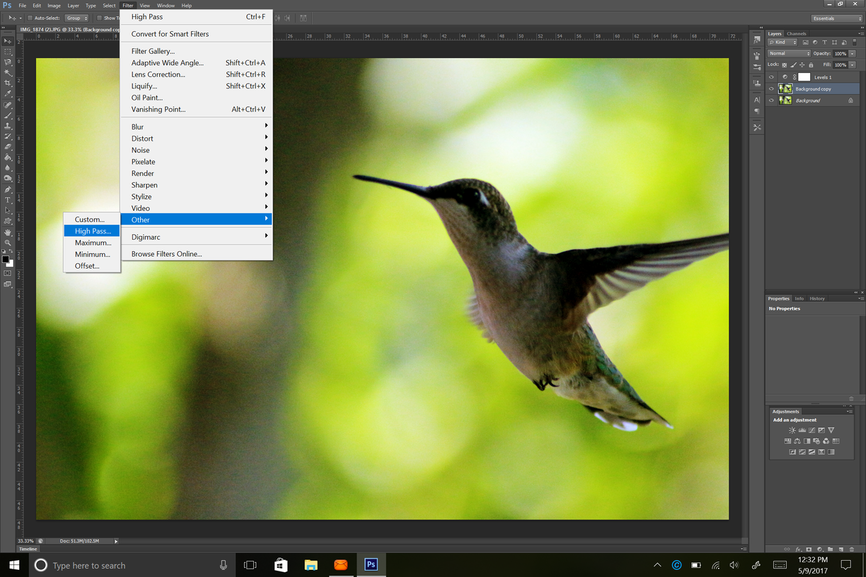
I’ve seen on a couple of posts the Unmask Sharpen filter used. Personally I feel that is a useless filter.
Here is a very quick, easy and effective way to sharpen your pictures. It works especially well with photos taken from your phone that look great (on your phone) but when uploaded to your computer screen just aren’t as sharp as you thought.
This should work great for bringing out details for raster engraving.
Open you picture in Photoshop.
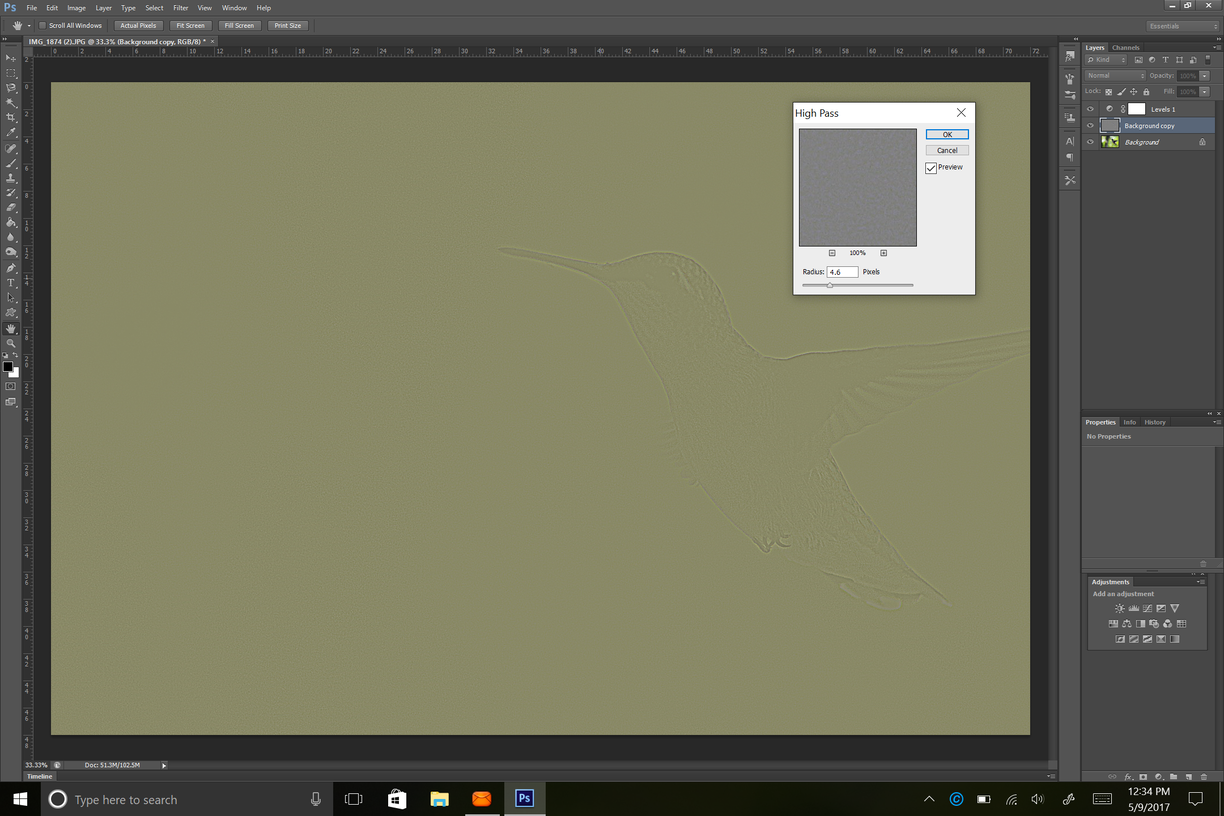
Next, make a duplicate of your photo. It should be above the original.
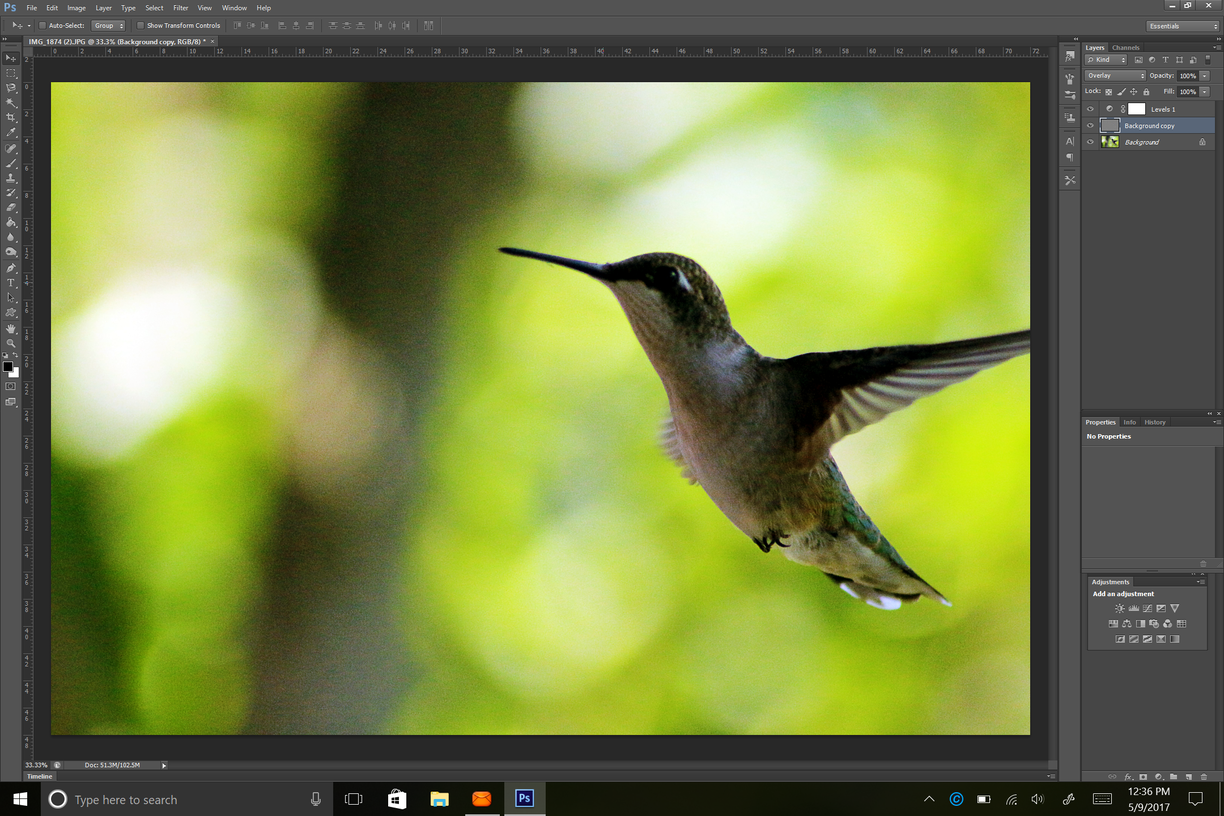
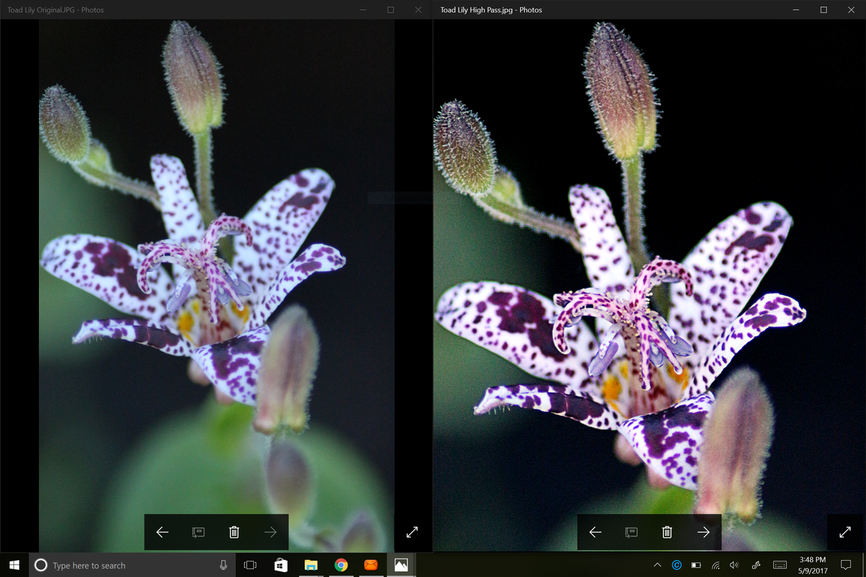
You should see a much sharper image with more detail.
I used a higher setting on the radius than I normally would so that the detail would be more visible.
Excellent tutorial! (Going to grab it and link it in the Raster Programs Matrix. We hadn’t gotten that far with the raster programs, and just barely hit the basics so far.)
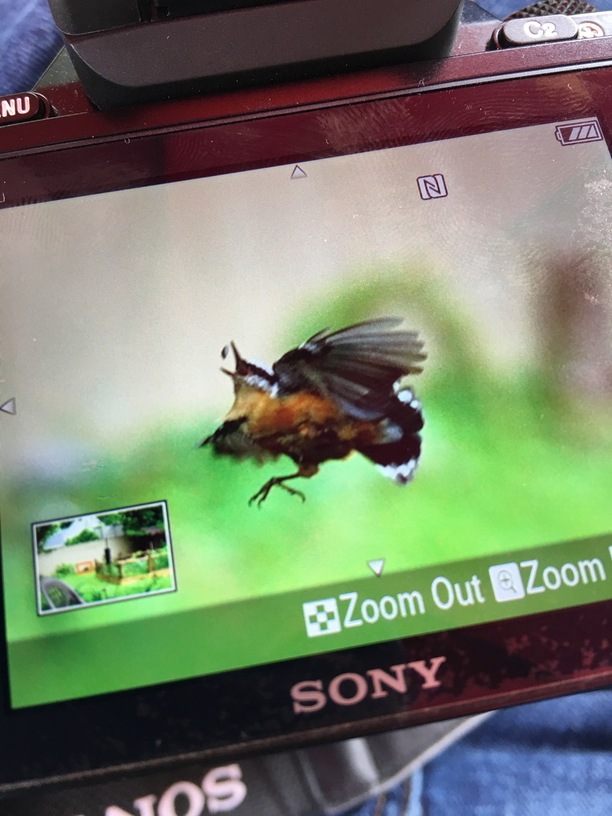
I think I might be missing something. I don’t see any difference? What am I supposed to be seeing? There is a fuzzy background in both, and the humming bird seems equally sharp in both.
Strangely, when I view it on my iPad I see no difference but when I used my computer there seemed to be a significant increase in detail, especially in the shadow areas.
Hard to see on a small screen. But I don’t know what you’re viewing on. Thats why I increased the ratio more than I normally would.
Try it on your computer, you’ll definitely see a difference.
I’m viewing it on a 19 inch PC screen. I’ll try it again on my 22 inch at home with a higher resolution. Is one supposed to be fuzzy and the other clear?
nice and simple tutorial, gj. this works in some cases, but i think you might’ve picked the worst example to show it; there’s very little difference between the two final images, though i admit that at least some of this may be due to discourse’s image compression.
one thing i would recommend: if you’re (speaking generally) going to use an image like the above and want to use the whole image (as opposed to, say, cutting the hummingbird out), i’d mask out the bird and selectively apply your sharpening and filters there. since you applied things to the whole image, you increased the noise in the soft bokeh areas quite noticeably (and if that’s a goal, there are better film grain filters to use).
is it your picture? it’s nice. i love taking pictures of birds, though i don’t do it often. my favorite is when i found this in the background of some birds at the feeder. what a derpy moment.
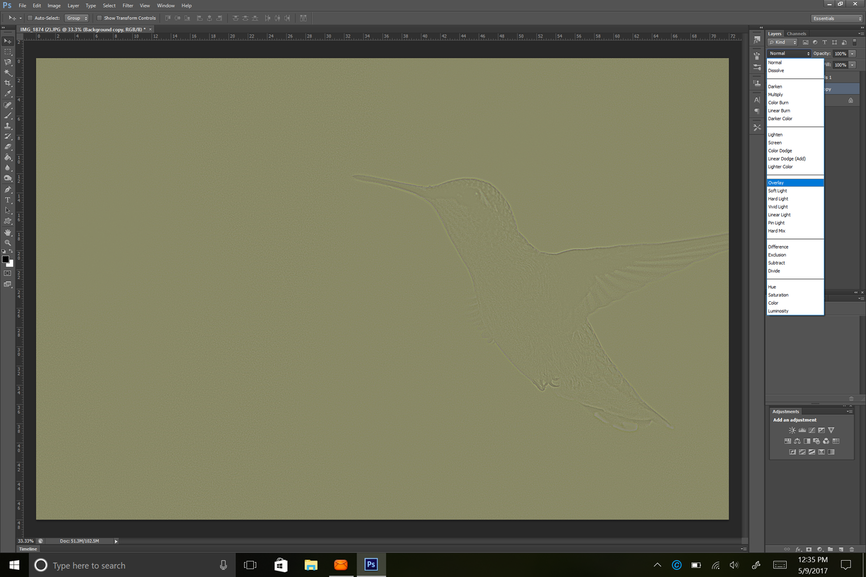
The great thing about this method is that you can go back afterwards and apply a layer mask to the new sharpening layer. Thats a huge plus as all the other ways require you modify the original image.
Im all about non-destructive editing. Im definitely going to incorporate this into my workflow in the future.
That’s awesome! I nabbed a photo of a trumpeter swan, just as it was taking off in flight. Its legs appeared to be all tangled up underneath its body, and it had the ultimate derp face. Didn’t find it doing a fast pass through my files, but if I come across it again, I’ll try to remember to share it here.