Hi folks,
This is essentially my first meaningful post here, so my apologies if it’s a bit of a bumpy ride ![]() I’ll give you the big picture first, and in case there is interest in more detail I’ll be happy to share more!
I’ll give you the big picture first, and in case there is interest in more detail I’ll be happy to share more!
I just finished the first bigger project that my GF played a major part in. My wife had found a little play kitchen on craigslist, which she wanted me to spice up some for out daughters 2nd birthday. Essentially somebody had painted a few “burners” on a little Ikea nightstand and screwed a few doorknobs to the front… Once I started looking into this though it quickly became clear that nothing much would be left of the original play kitchen. So… I got to work in sketchUp and started designing. Here’s roughly what I came up with:
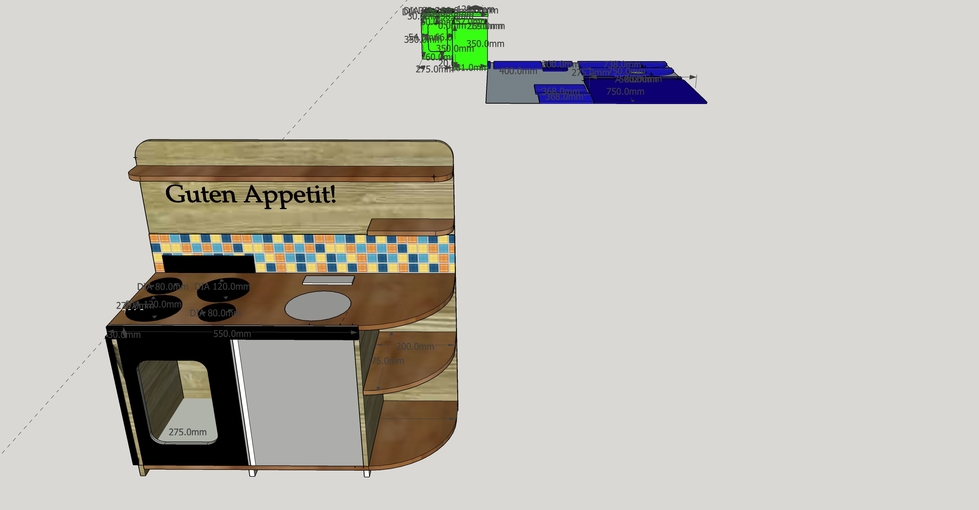
Now, that is obviously a very rough model with very little detail, it was really just meant to give me dimensions for the whole thing and give me an idea how much material I would need.
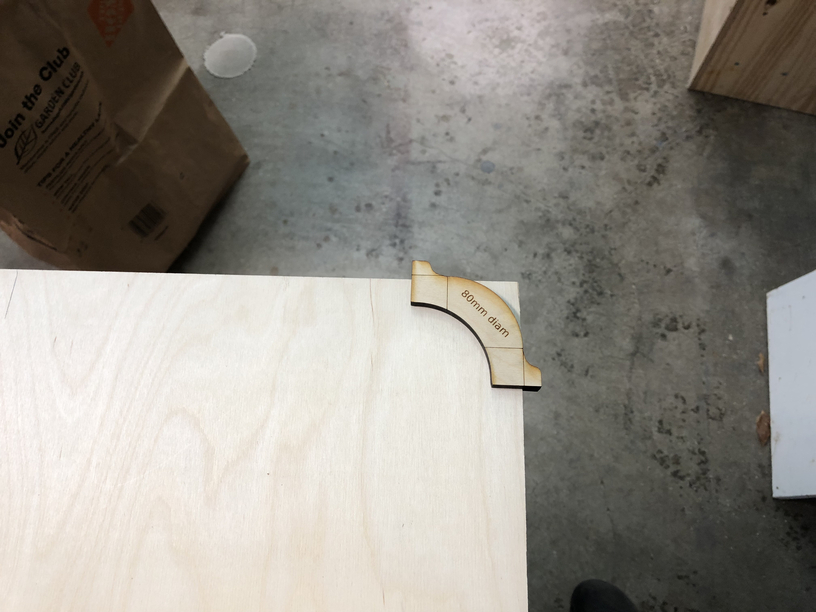
The bigger pieces are obviously cut and jointed with traditional woodworking methods (read a table saw, pocket hole screws and the like), but it was tremendously helpful to have super accurate curves e.g. for all the rounded over corners, as well as the cutout for the “sink”, all of which I created jigs for which I then used with a regular old router and a flush trim bit.
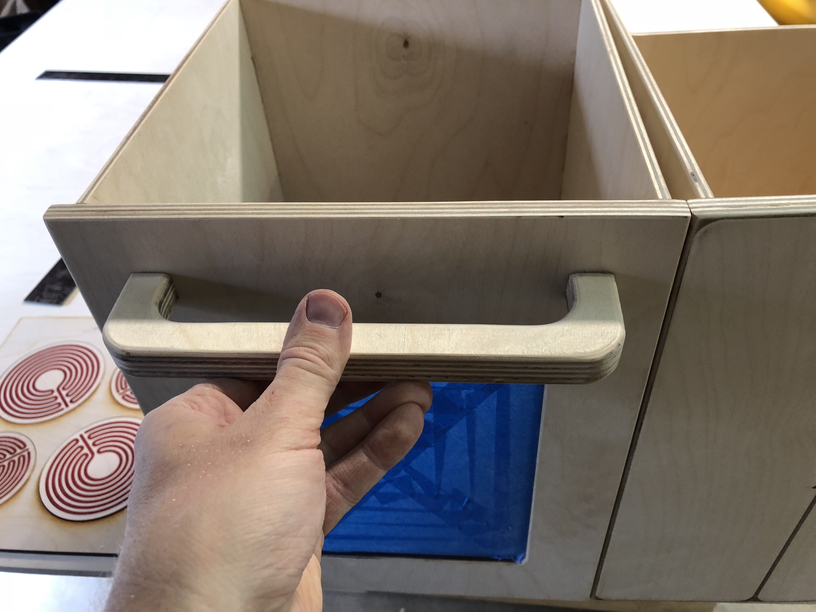
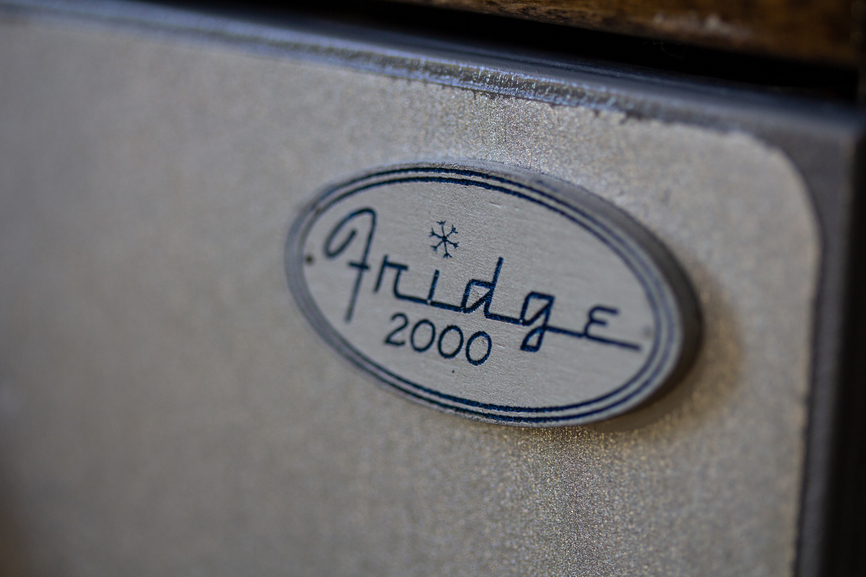
The drawers (read the oven and the fridge) were entirely made out of 6mm baltic birch, cut entirely on the Glowforge. I used festi’s tremendously helpful boxes.py website for the design and then adapted the resulting files to my needs.
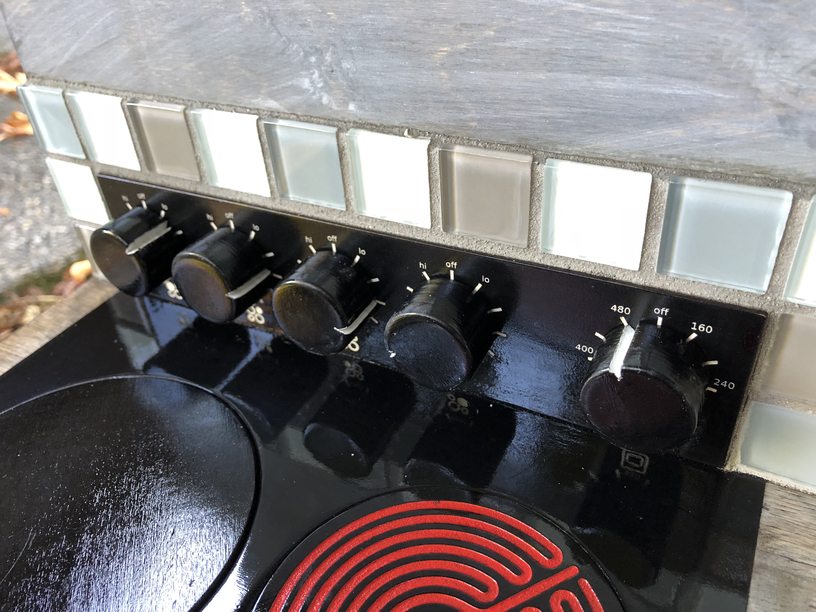
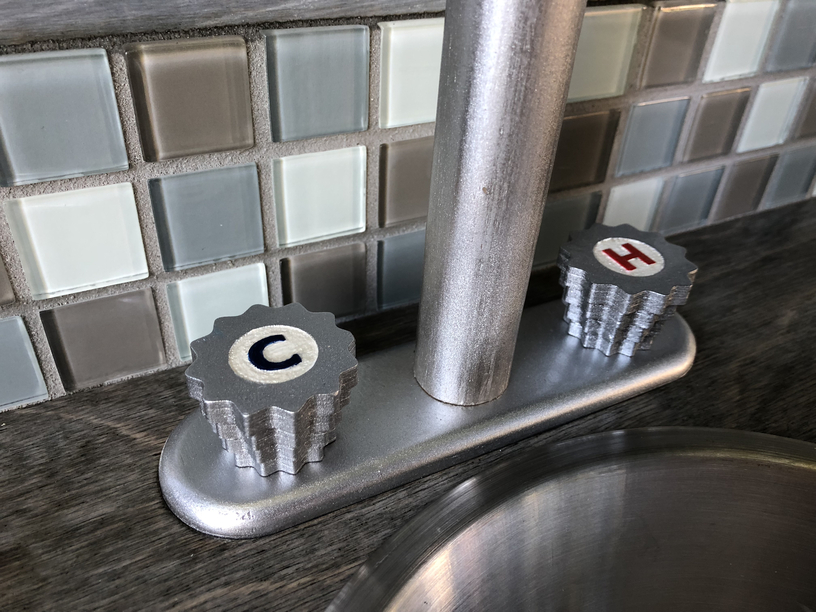
The dials/knobs are all made out of stacked layers of 6mm ply.
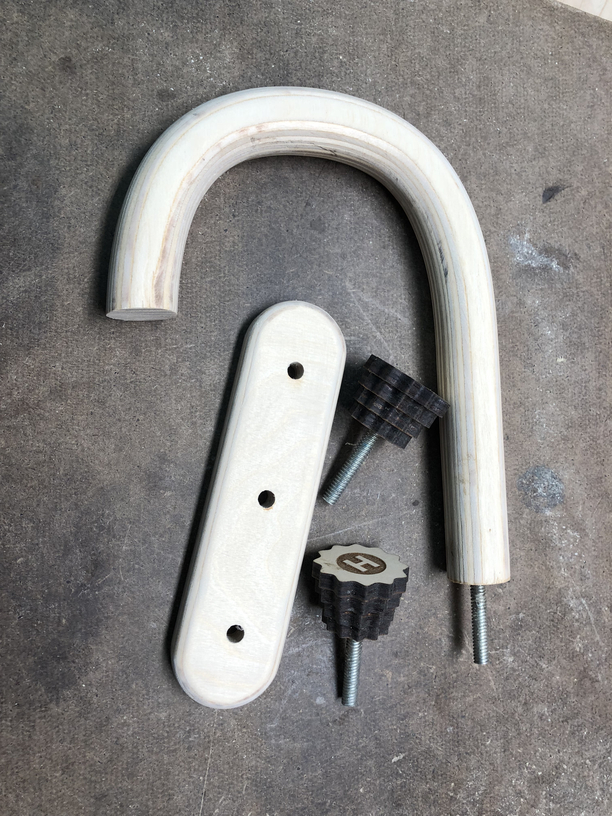
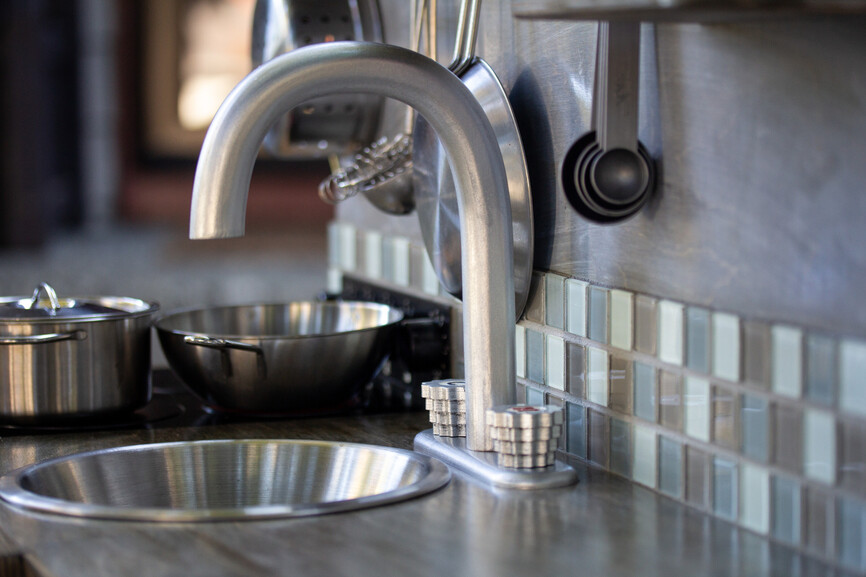
The faucet is 4 layers of ply that I cut to shape on the Glowforge, laminated and then rounded over on the router table with a half inch round over bit (that was probably the least safe operation I have ever done on a router table, any suggestions on a better way of doing this would be highly appreciated (though this is probably not exactly the right forum for this question
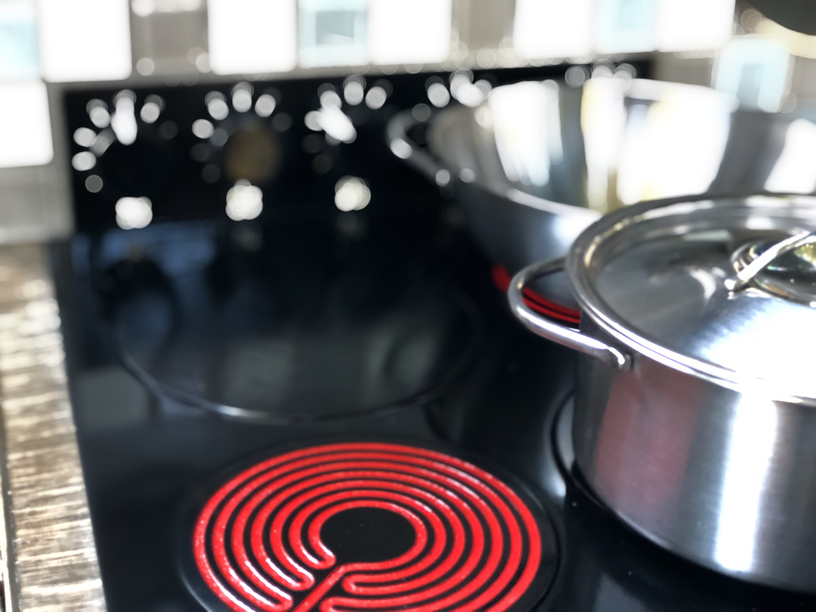
A few things that I am pretty proud of: The “burners” are two-sided, one side is black (off) and the other side has a coil pattern engraved and painted red (on). Two problems I ran into with that: I did not account for the amount of paint and finish that I would end up putting on the “countertop” and the “stove” as well as on the “burner” plates, so now they stick out of their little pockets I cut in the countertop. Also: paint cures painfully slow… I ended up with all of the plates sticking to their respective pockets, which is really a bummer, because now that I have them unstuck, the shiny finish both in the pocket and on the plate is ruined.
Also all the knobs turn.
And last but not least I am pretty proud of the way the plate that holds the burner and oven dials, as well as the little “labels” turned out. I painted and finished those first on the raw 6mm/3mm plywood with their base paint, then masked the surfaces, engraved and cut, then applied the fill paint and re-finished everything.
Well… There is of course a lot more to the story, but as I said above… I’ll be happy to share more in case anybody is interested
And since you have stuck with me this far into the story, here’s your reward
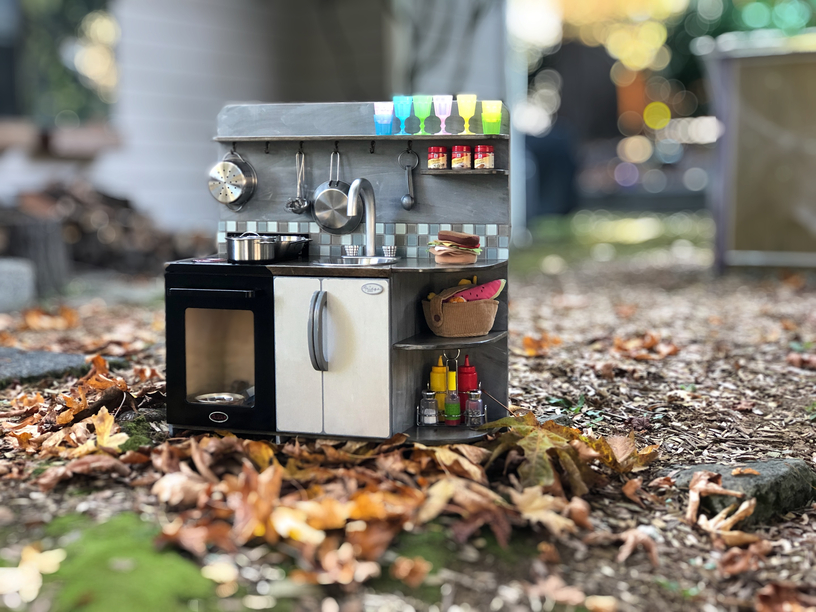
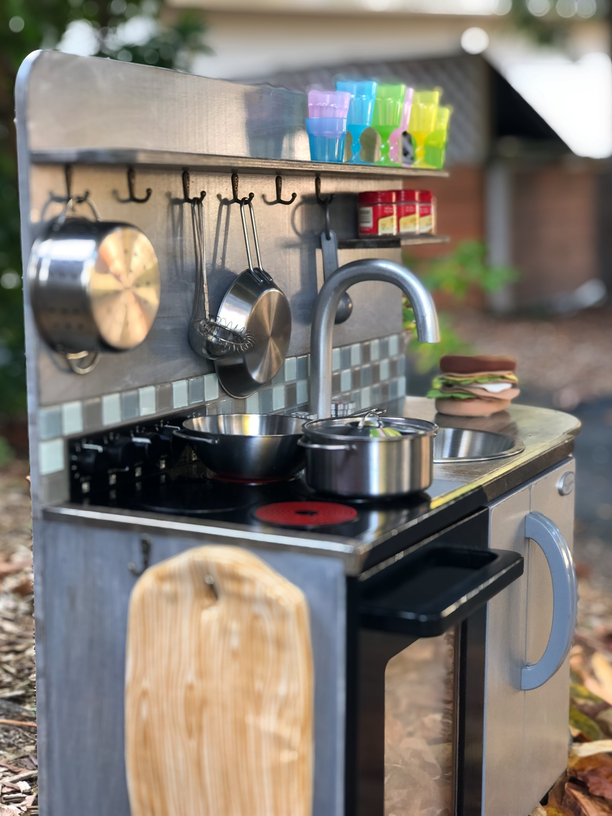
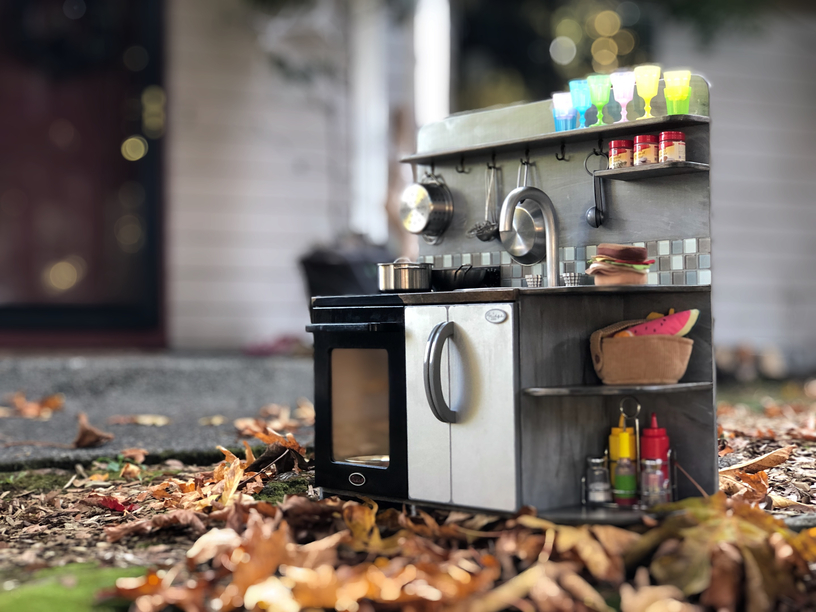
And a few more shots of some of the details after finishing it all:
There ya go…
Looks like our daughter (and her big sister) are pretty happy with the new toy, judging by the amount of daily bickering about who gets to make daddy a “sandwich” or a “fruit salad” or a “coffee” ![]()
Let me know your thoughts, suggestions, questions if any. Thanks for stopping by!


