It’s only available in manual.
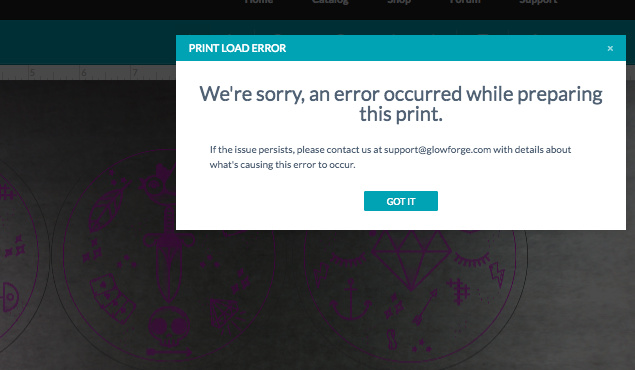
So the file downloaded correctly for me and uploaded correctly to the UI - yay!
What I was trying to wrap my head around kind of this whole time is where you wanted to go with the file and seeing it helps a lot. All of the talk with light engraves, dark engraves, etc. got me wondering were you doing different engrave processes for different components, etc.
So here’s the deal on engraving… I’m not sure what of this you know and what you don’t know, so if it’s really basic and you’re like, “well, duh, JB” - don’t be offended. 
Engraving has several variables involved, right? Power, speed, resolution (LPI), and an additional variable for the dithering methods - density.
For the default PG engrave settings, it uses dithering - which is a series of small dots to simulate shading… the blacker something should be, the more dense the dots are - the lighter something is, the lower the density. Power is consistent throughout the engrave.
In the manual settings of an engrave, you have “convert to dots” (which is what PG engraving does), and convert to pattern. Both are methods of dithering.
The third option is vary power. Rather than use dots to simulate variance in color, it’s going to analyze the pixels and adjust the power based on the grayscale shade (0-255, white to black). This has generally been used here to achieve 3d style engraving.
Using the dithering methods, you are only going to have 1 “color” of engraving: it’s just going to appear different because of the density.
Using vary-power, you will have a truer blend on the shading. If you want to avoid a lot of actual depth change though, you’ll want to reduce the power significantly. This is why it’s in the manual section; it will take a little bit of experimentation. I would probably shoot for something like 30 maximum, 1-2 minimum (but I don’t know if that will make it through the masking)
So instead of 255 (black) being 100/full power and removing lots of material, at say 30, it’s just going to toast the wood a bit more.


 yet, so this is entirely speculation: