I know it has been asked before are there proofgrade alternatives to proofgrade? Sure, if you’re not quite right in the head.
I started with one piece of medium draftboard and two sheets of burled laurel veneer. First I removed the masking from one side of the draftboard, lightly sand it to eliminate the fuzzy bits and then I squeezed out some standard yellow wood glue.
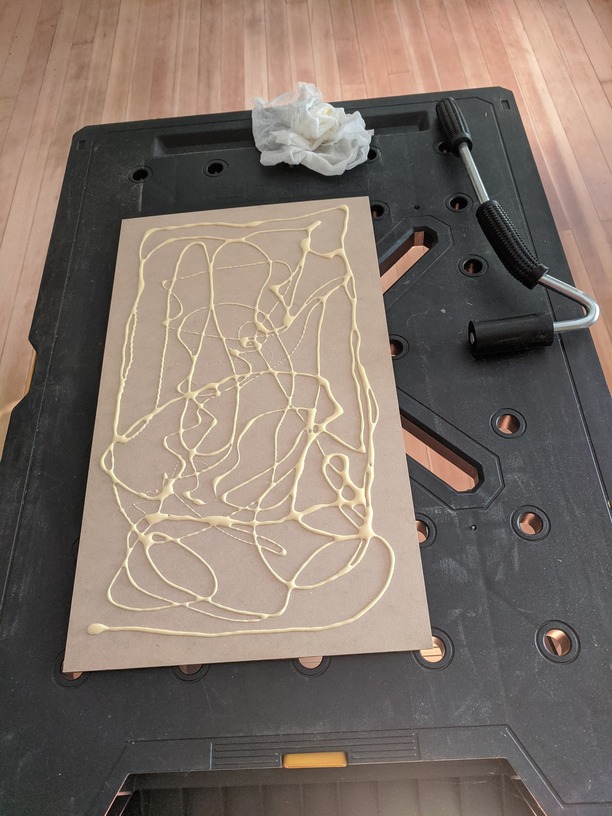
I should have used a glue roller, and if this becomes a habit I will buy one, but I just used the ol fingers to smooth it out paying careful attention to the edges.
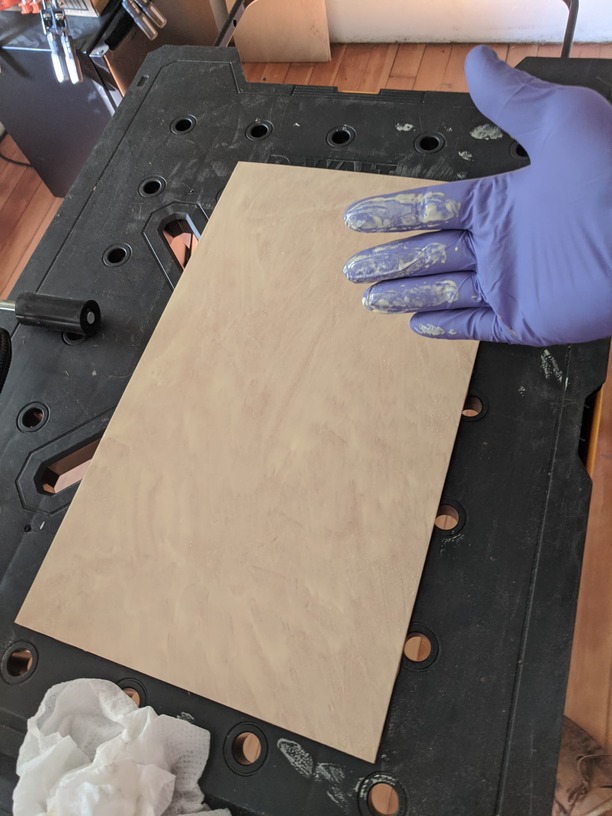
Apply one sheet of veneer, clamp it into the middle of a sandwich and wait overnight. Note: place something slippery between the outside of the veneer and your sandwich board. Veneer, especially fancy veneer like this, may have holes in it. If the glue goes through the holes all will be lost.
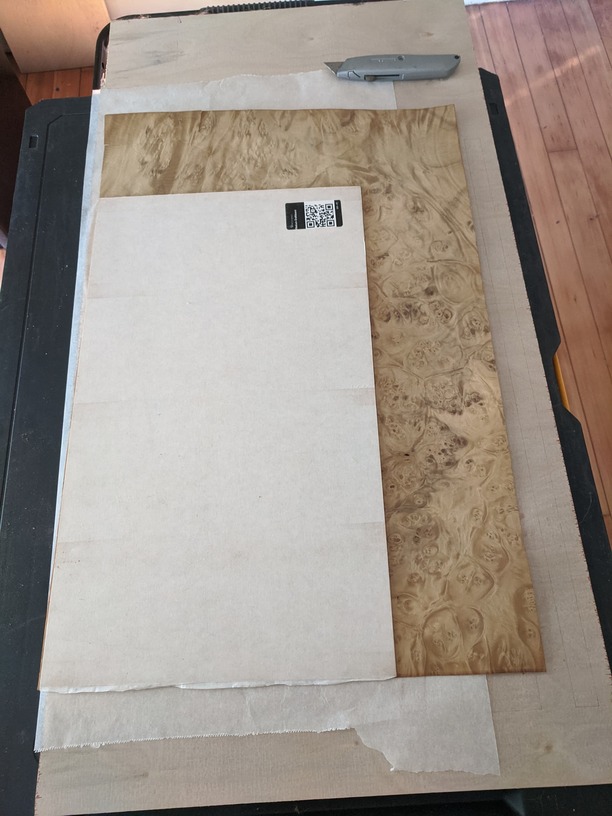
Trim by running a utility knife around all the edges. No need to apply lots of pressure to the knife, just make multiple passes. Repeat above to the other side. Note: if only one side will be seen, use a cheap veneer on the backside. Veneer both sides or you risk warping.
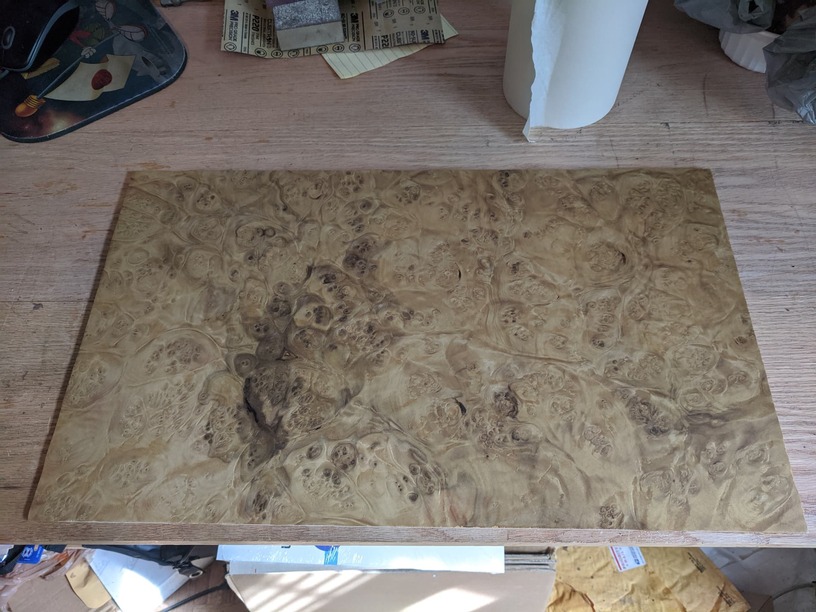
I hand sanded the veneer to 400 grit. Use a sander and you risk sanding through it to the draftboard. Three coats of Minwax wipe-on poly, clear satin, and I wind up with this.
I measured it, adjusted the spiral bowl file I have as it is sized for 1/8" material and this is more like .180", masked it and placed it in the glowforge. I made some test cuts on the far right to dial-in the settings. And by dial-in I mean overpower a little bit. Then I waited for nearly 19 nerve-wracking minutes as the glowforge did its thing.
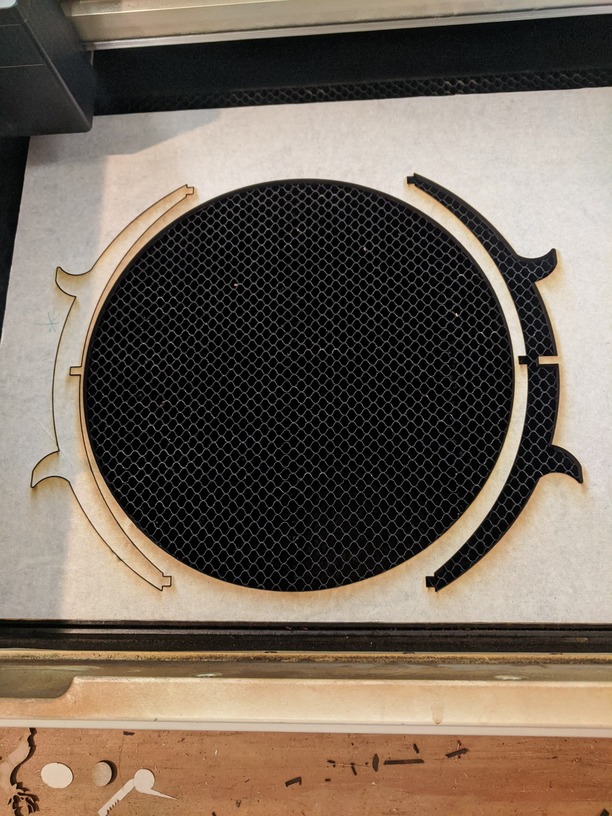
Turns out I didn’t overpower it enough. Luckily, there was plenty of extra to re-cut that leg. I should have made the bowl and each of the legs a different color; did the wiggle test; and go over any not quite through cuts again. But I said, naw, it’ll be fine. And this is the lesson to be learned from making your own proofgrade. Veneer can vary in thickness, but more importantly so can hand-spread glue. And glue spread by finger instead of a roller is going to be even more prone to variations in thickness.
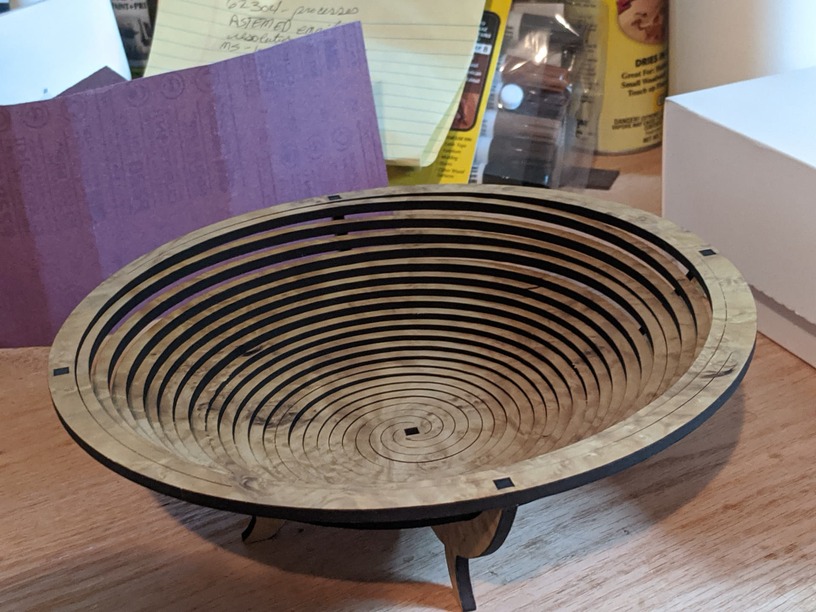
Here are the legs and bowl laid flat. Removing the masking on a spiral bowl is fun, can’t deny it. What I didn’t know until I assembled it is that some parts of the spirals were perforated cuts. Thankfully, they all separated without tearing any veneer, but I think I had a small heart attack. Not something that would have been caught with the wiggle test and not enough material to try again.
But it ended well, so it’s fine.
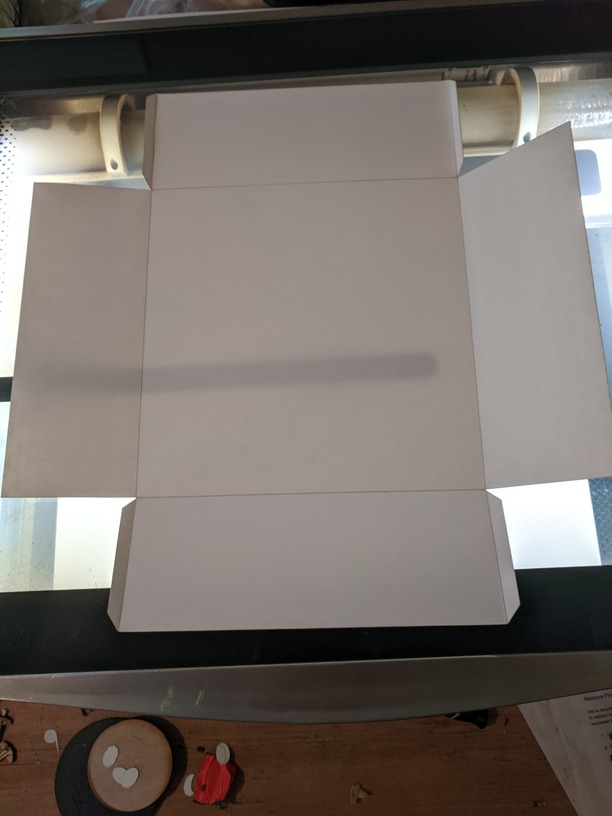
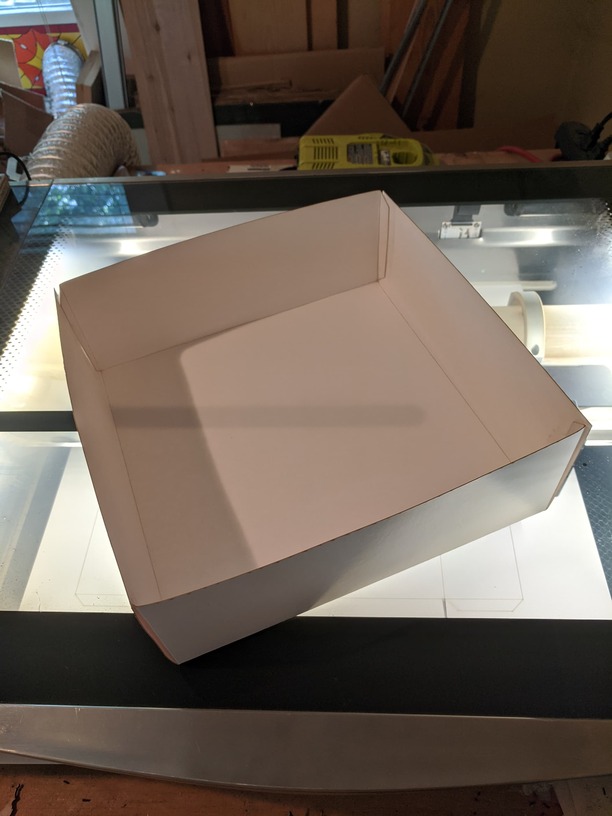
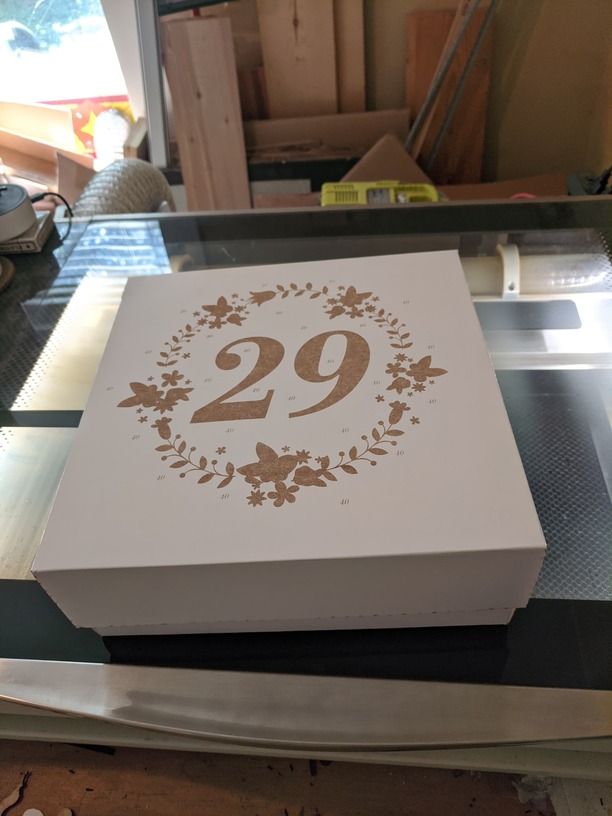
I had already made a box using this template maker:
You really need to use a glue pen for assembly. All I had was Scotch tape. The bends are scored, which are on the inside, so to engrave the top I cut first, flipped and then engraved. To make a box this large you do need a passthrough.
I made one of these out of proofgrade walnut plywood several years ago. I believe I started with the file from this post and modified it to make it 9-inches in diameter. But I really don’t remember.
