I ordered these wood blanks from TheRingLord.com on a whim when I was getting some differently shaped anodized aluminum blanks (dog tags don’t work for every project).
I wasn’t sure what to expect, but was pleasantly surprised. They have a nice beveled edge, which would is nearly impossible to create on the laser as I wouldn’t want to spend the laser time engraving gradients at the edge and on both sides. At $3.25 for 24 of the 1.5" blanks, not cost effective to do this or spend time sanding them to shape. I also hate painting and would have a tough time getting this smooth of a finish on them. If you like the look, even with shipping I think they are worth the cost in time saving.
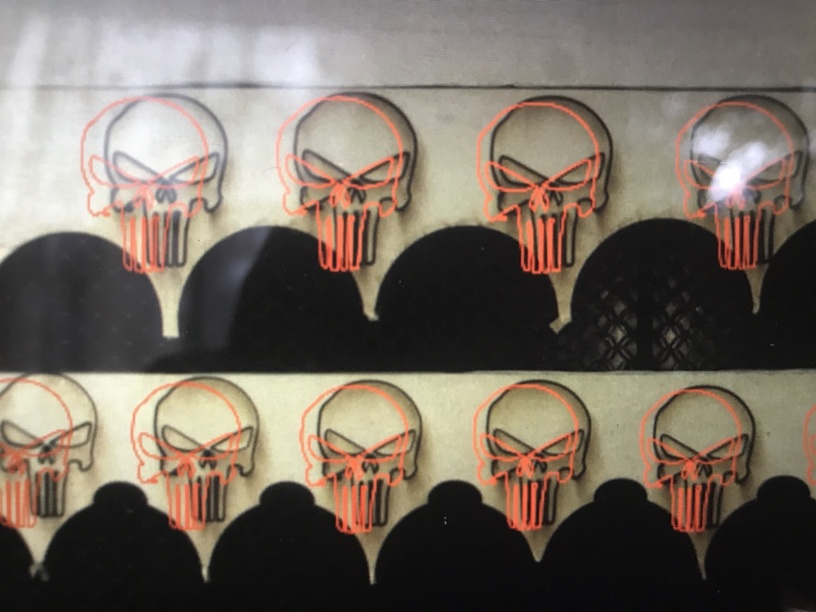
They make great pendants. I’m sure that others could come up with more impressive engravings that would elevate them to artwork. These are just for the kid’s Halloween extras.
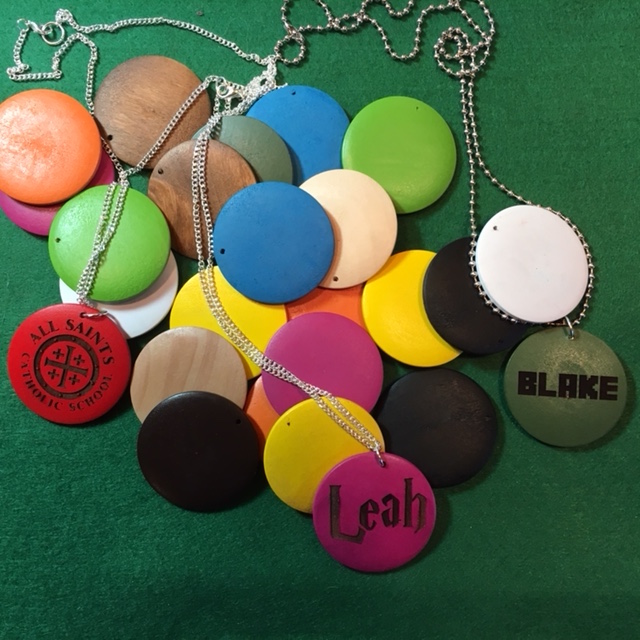
The photo shows 24 of the disks. I ordered 2 packs, so might have mixed up the colors a bit. I think the site says you get 2 of each color. Chains were just cheap jewelry findings from Amazon.
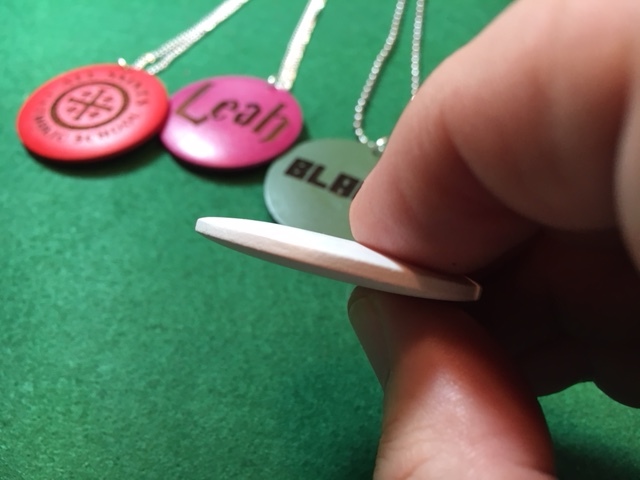
Here’s a photo of the profile of the disks. They are about .210" at the tallest and there was minimal quality drop off of the engraving at the beveled edges.
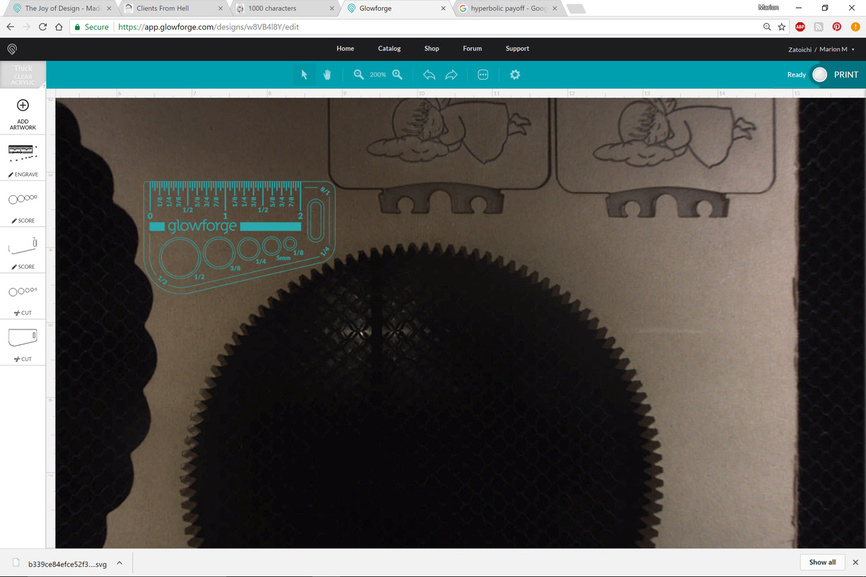
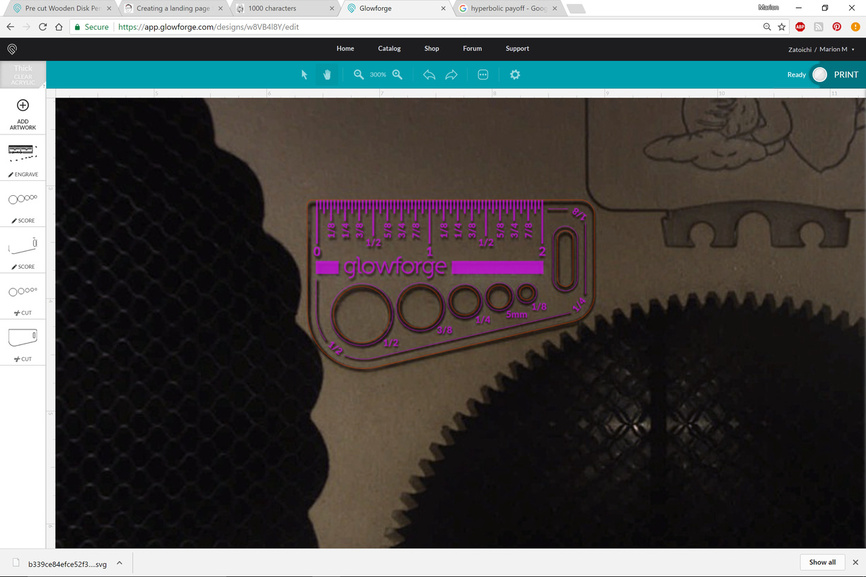
Until camera settings are tuned up, alignment for engraving pre-cut shapes takes a bit of effort. Others have devised ways to determine how to shift files for alignment, but I find it’s easier just to set up your file to match the shape of the design and cut a placement template. Hey, cardboard is cheap and cuts on it are fast. Here’s how I set up the file. I’ve covered this before, but am including it for anyone who hasn’t seen it before.
I place cardboard down and secure it with magnets. Set focus for the height of the cardboard and cut the outside RED with steps for the other colors turned off. The little line at the top helps me to make sure the hole in the disk lines up when I put the disk in the template.
Remove the cut outs without disturbing the outline. (Edit - then set the focus height to the height of the material actually being cut - this adjusts for the focus difference in height from the cardboard to the actual material) I masked one side of the disk and placed it in the template with the hanging hole aligned with the cut at the top of the template (I had a few of them pretty crooked at first - trust me, this helps). Turn on the BLACK layer and ignore the rest.
Flip, mask, and align the other side. Then ignore everything but the BLUE and engrave away.
The disks only come in multi color packs, but I should find a use for most of the colors. Shipping is by the pound though. The cheapest amount to me in WI was $7.80 for a pound of materials. Extra weight doesn’t add a lot, so try and pick up all you need in one shot.
Here’s a link to the “Blanks & Tags” page on their site.
http://theringlord.com/cart/shopdisplayproducts.asp?id=207&cat=Blanks+%26+Tags

 .
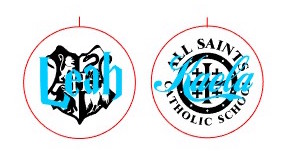
. . I thought she’d appreciate this more than a Hogwarts emblem.