This is my third machine and I hit snag again
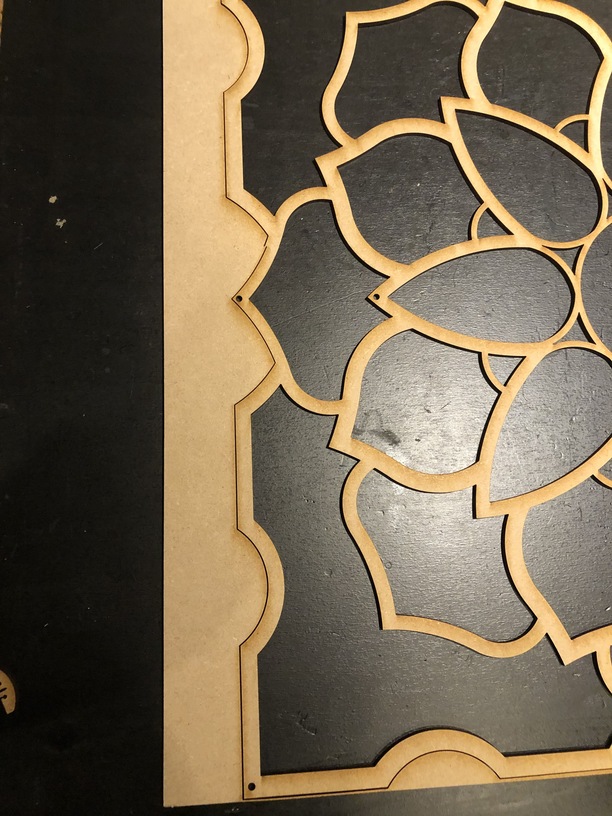
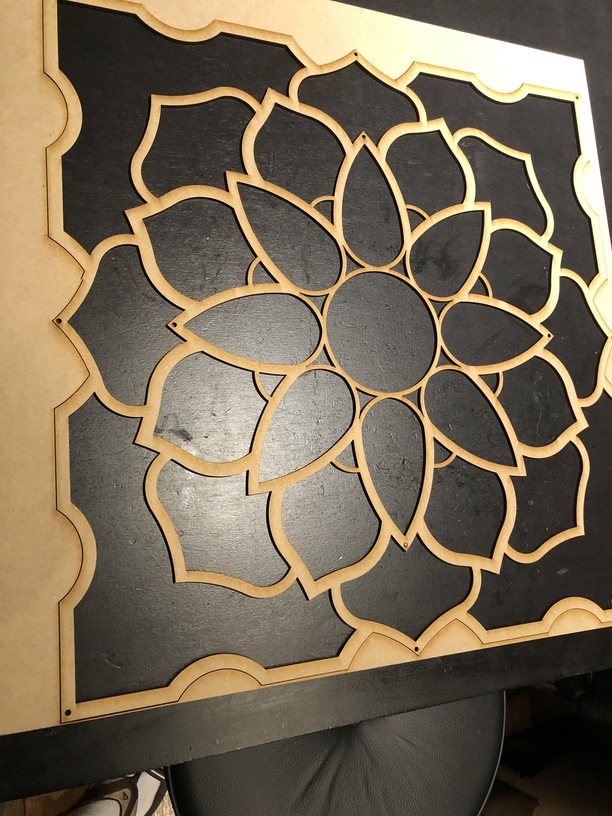
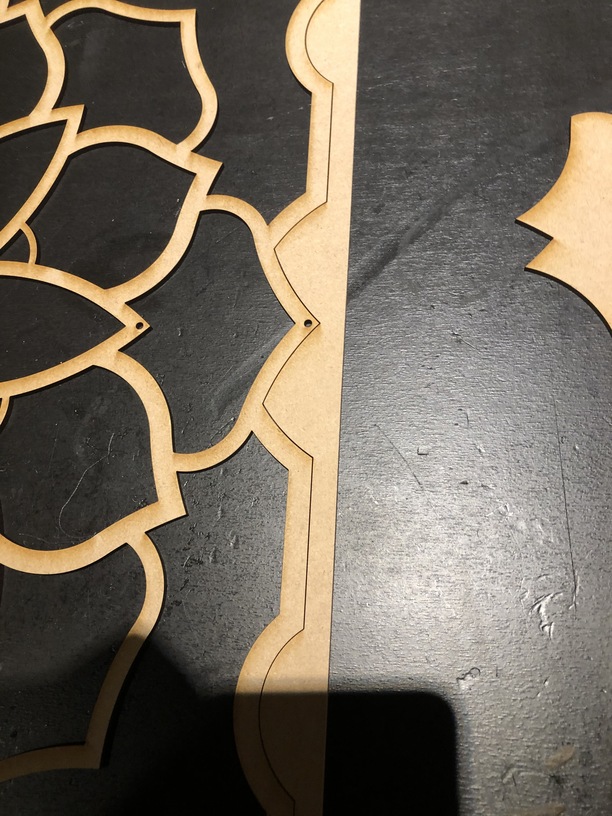
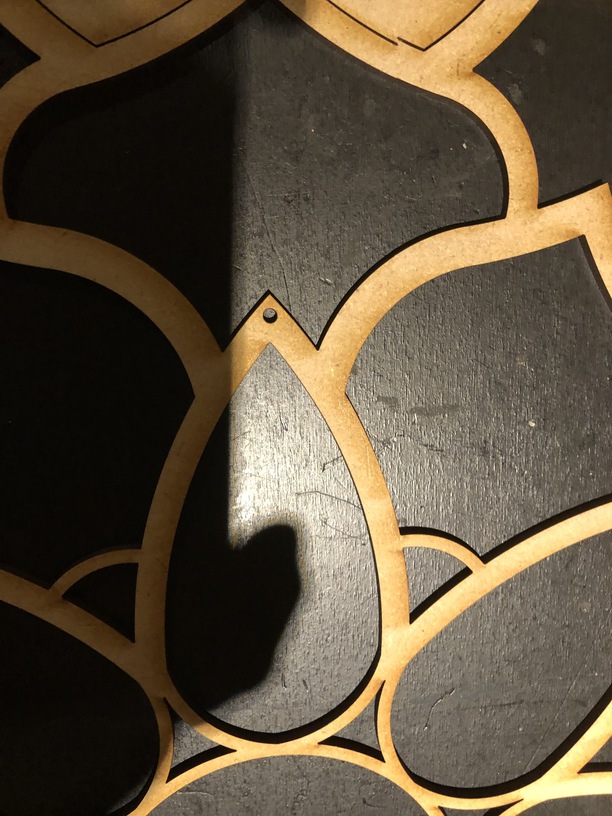
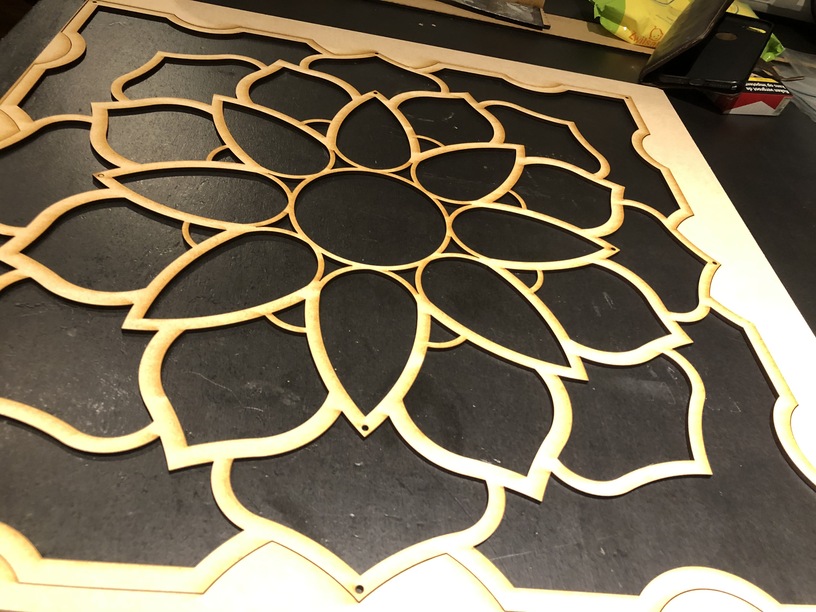
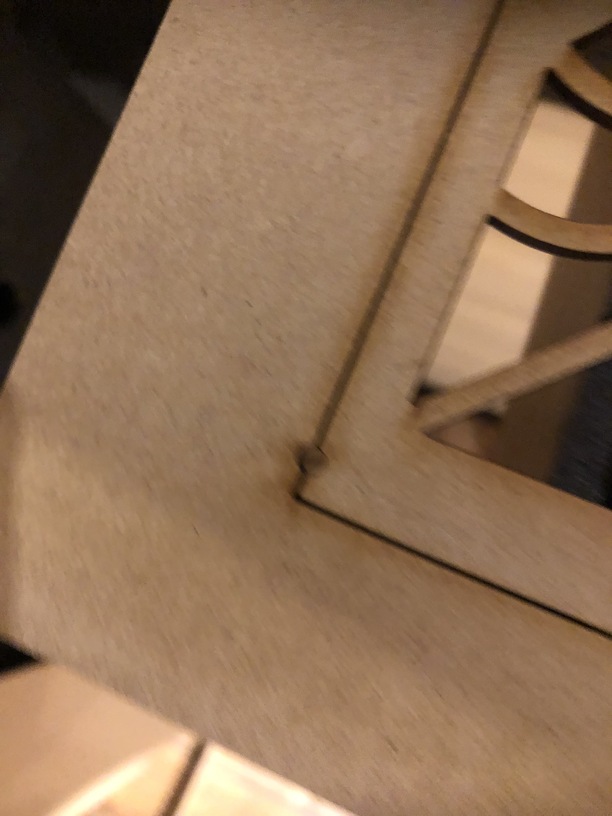
As shown in the pictures while running a pass trough print the left side of the print didn’t align while the right side did. I ran this print about 7 to 8 times and every time same problem. the other problem I had twice during a pass trough print was that the gantry derailed itself. this happend when the second part of the print started both times. I have a film of this happening but cannot upload.
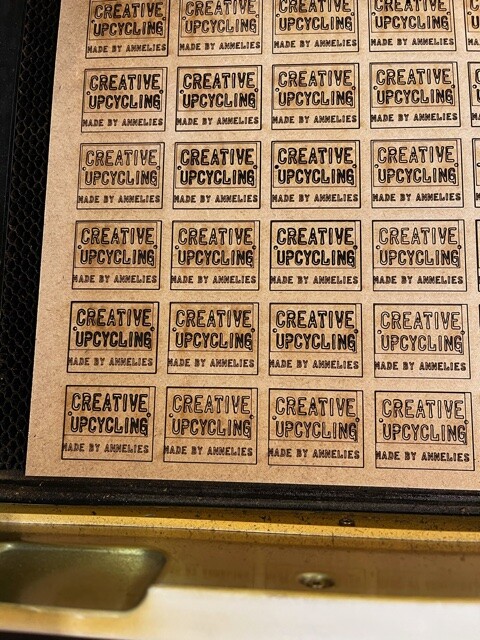
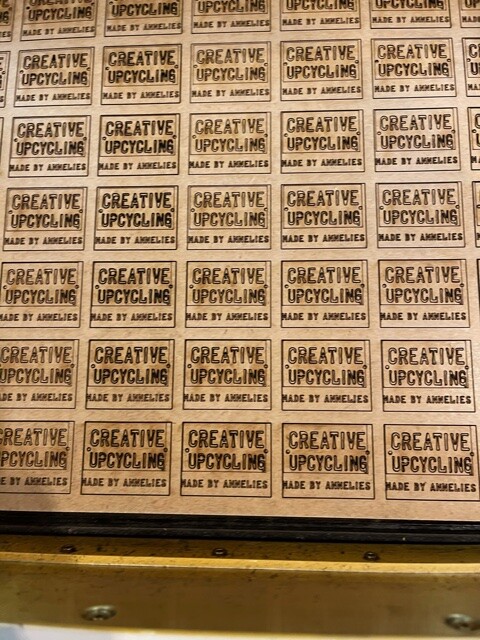
now for the labels this is the second time I printed labels and the print shifted during printing. see pictures !!
again wasted lots of material and asking for compensation and a solution !?
I’m sorry for the trouble when running your prints. Thank you for the detailed photos and description about what’s occurring. I’ve extracted logs from the prints to take a closer look.
Regarding the full sheet print of a large number of repeating objects, something which may help would be to group the print into a series of smaller print steps by selecting multiple copies of your layout in your design software and making them all the same color. A great resource which shows how to do this is our guide here: Advanced: Setting the Order of Your Print Steps. Will you please let me know if doing so helps?
Regarding the pro passthrough print, I went back through the logs and I found a few prints which appears to match the design in your photos from 11/7/2020. In the lid images taken after the prints completed, it looks like the material may have shifted or raised up off of the bed during the print. If the material is far enough off the bed, this could cause the head or laser arm to run into it and may lead to problems with print results.
Your print results with Pro Passthrough prints may improve if you support the material and ensure that it’s flat on the crumb tray inside the unit.
Here are some tips on how to do that:
A long piece of material can sometimes get tilted up or down, so use a stand to hold the material in place. Make sure the stand is secure, and be careful not to bump into it.
Load your material straight at the start. This will help ensure your design won’t veer off the edge.
If the material still isn’t flat against the crumb tray, it may help to secure it in place. For example, a lot of customers have had success using these Honeycomb bed holdown pins, made from small pieces of scrap.
When using pins to hold down material, make sure that none of the pins are within 2 inches of any location your artwork will print on the material. If they’re too close to printed artwork, this might interfere with the Pro Passthrough auto-alignment feature.
Please let us know if doing the above resolves the issue! If you still run into trouble, or have any questions, please reach back out and we’ll be happy to help.
It’s been a little while since I’ve seen any replies on this thread so I’m going to close it. If you still need help with this please either start a new thread or email support@glowforge.com.


 It’s linked up at the top of the page.