Problems cutting through materials all the way

I think you are right, waiting is my best option at this point. I emailed support as well to see if they have any additional recommendations to expedite my testing.

I was really hoping to be able to have things done for a project with my kids, but realistically I doubt I’ll have time now. If the tray doesn’t fix my issues, I am guessing it may take 2-3 weeks minimum for additional troubleshooting and get a replacement. That will be very unfortunate.

Just to make sure - when you were running the job - they were separate operations on the left. You set the material height for actual material thickness. And then changed the focal height within the settings for each operation.

I saw support responded on your previous topic about the material height not being what was expected for the material in question.

1 Like

Yes each one was a separate job, and I set the focal length each time. So a total of 5 separate prints. Also, I did set the material thickness (unknown material type) to 3mm. On the original support issue, I don’t know how much higher they were thinking it was. It was set to the default of .13 inches and I didn’t change anything. It may be because the PG board was offset due to the warp in the far right crum tray which I think is a good 2-3mm of warping in the honeycomb.

Just wanted to make sure the material height entry differed from the focal height entry.

If the two fields are the same, then it will use autofocus. If the fields are different, it will set the focus to match your entry in focal height field.

Makes sense. So the first run on the ones I accidentally double cut to the far left were done with autofocus since both material height and focus was set to 3mm. After that, I increased the focus in increments of .25. so it would have been different than the material thickness.

Another data point for troubleshooting- I think this is going to be my last for a while. I printed out the risers that are the same height as the crumb tray, found here: Risers to Make Lasering Thick Materials EASY

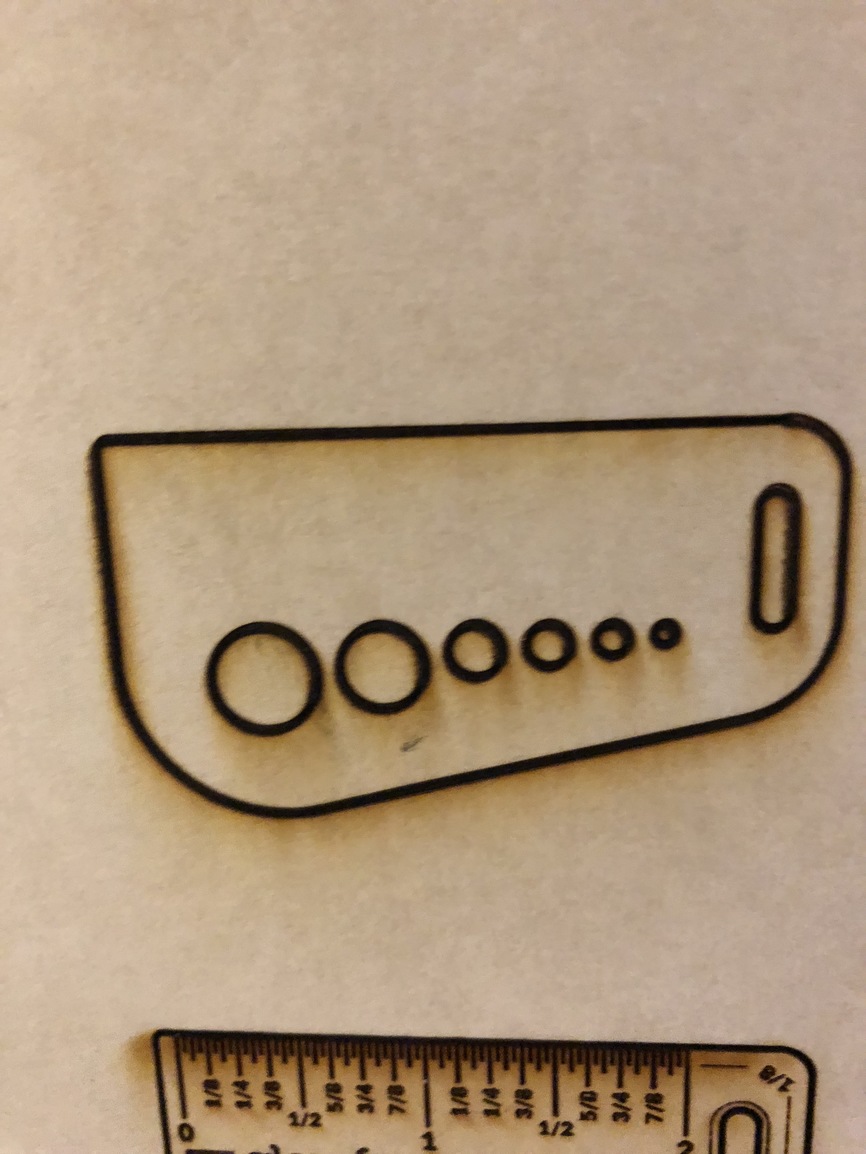
I set my PG Draftboard on top, and it seemed to fit nice and flat. Unfortunately, it did not cut through after 2 passes. :frowning:

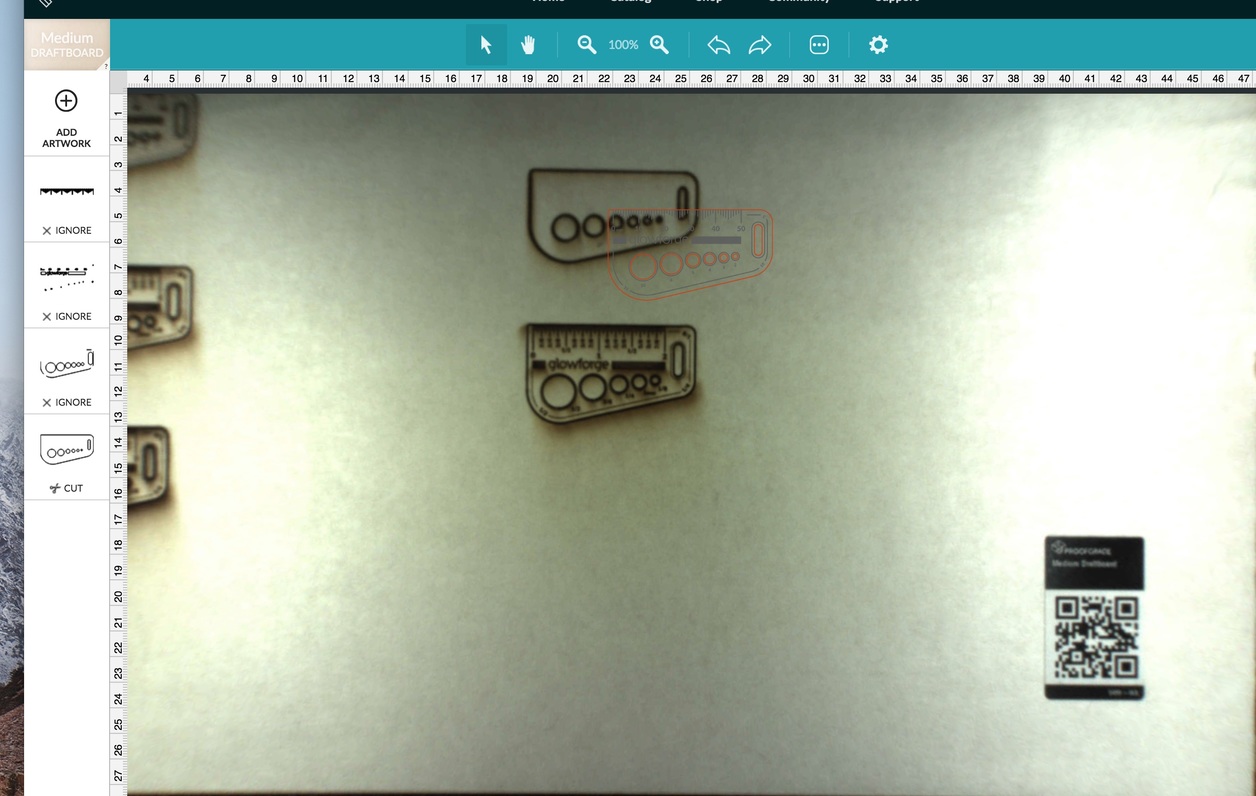
I also noticed, with or without the crumb tray, it isn’t detecting that I’m using PG materials, and the camera doesn’t seem to be in focus. I even tried adjusting the material height manually a few times (+/- 2 mm in either direction) and it didn’t help.

Here is what my GF looks like when I have the PG Medium Draftboard in. (Crumb Tray, or 3d printed risers):

Everything I see indicates a focus issue. Especially with the cuts all looking the same after you manually changed the focal height for each operation. If that was done correctly, it should have changed the focus point for each job and the cut lines would look different.

The camera focus is fixed from the factory and won’t inhibit the cutting ability. I don’t know why some of them are that fuzzy. You’d only have to be close with that wide of a lens for everything to stay in focus. That said, the lens doesn’t need perfect focus generally to read the QR codes.

All in all, I think the reality here is that you’ll need to get a proper crumbtray in, and then cut the gift of good measure to see what it looks like. (To get actual Glowforge support - it needs to be Proofgrade material on a proper crumbtray, with a known good file from GF - to eliminate other variables).

Presumably one of those pins in the ribbon cable connecting the head also controls the AF motor, so it might be worth checking to make sure the ribbon connector is seated correctly. If so, disconnect it, take a picture of the pins and post it up here.

3 Likes

I just double checked the seating of the connector, and took a picture of the pins and everything looks good. From my limited understanding and research, I think you are right- it appears to be some kind of focus issue. Too bad there isn’t some kind of lens calibration routine you can run to test it. I am not sure if the lens is even moving.

Thanks again for the suggestions.

After doing some tests and thinking about this, I have a hypothesis on what is wrong, but I’m not really sure how to test it. It seems like in the tests I’ve tried, engraving looks pretty decent and isn’t out of focus. However, cutting seems to be out of focus because the lines are wider, based on the feedback that people have shared in this post after looking at my cutting attempts.

Is it possible that the movement range of my lens is “stuck”, or maybe limited? Perhaps it can move appropriately for engraving, but the movement it needs to make to focus for cutting isn’t working- assuming it needs larger movement. I really don’t know how much movement is required for the lens to make on cutting vs. engraving, but it’s just an idea.

They’ll be the same between engrave and a cut.

Basically, the head has a focus mechanism with a number of steps/positions. The material height is either measured by the scan to set the focal height, or it uses your manual focal height setting, and then it adjusts the lens to the appropriate position which correlates to the distance.

I’m not sure if your engrave is actually in focus either. With an engrave you have a lot more leeway than a cut.

Here’s a Gift of Good measure i did a while back. You might be able to compare it to yours.

The good news is that if it is out-of-focus, and you’re happy now with the engraving, you’re going to be really happy when it’s right. :slight_smile:

image

2 Likes

Is it possible the cut lines are actually 2 lines close together from an expand operation? Zooming in to ridiculous magnification should reveal that if it’s the case.

1 Like

Thanks for the image example. From what I can see, your cut lines seem to look more narrow. However, I do think the engraving area does look pretty similar.

Frustrating, but I don’t think you can learn anything more until the fixed tray comes in and you can run tests on PG material. It really sounds like a bad unit so far, but nobody will be able to tell until some variables are eliminated.

The good news is you’ll be an expert about all this by the time you get your first proper cut!

2 Likes

Yep, I’m just waiting now. Update: Crumb Tray will arrive on Saturday, so I’ll resume my troubleshooting then.

1 Like

In case anyone is interested, I got an email saying I need to pack up my Glowforge and send it back. I have no idea when I’ll have a working unit, and they can’t give me any kind of time frame for the replacement. In the mean time, my warranty is burning away and I’m unable to use my machine. I am quite disappointed with my experience with Glowforge so far. I hope I am in the minority of having issues.

1 Like

On a related note, are there any instructions for how to put the packing materials back in? I can’t seem to find anything on the forums about that. I want to make sure I don’t do it incorrectly.

https://glowforge.com/support/topic/unboxing-setting-up/unboxing-and-setting-up-your-glowforge

1 Like

Thanks Jules. I knew about the unpacking, I guess I’ll just do it in reverse.

Update: all packed up and ready to go. Just waiting for my RMA label.

Also, your warranty is at work.

I’ve known people to wait months for warranty to finally get them back in business… with TVs, ovens, airbags… There is a precedent for your concern. Many companies are really bad at honoring warranties.

I never buy extended warranties because I’ve never had to send something back after 30 days. With most things, if it works out of the box then it works.

In my experience, your Glowforge replacement is really quick. My replacement passed my original unit in transit and I was up again in only a couple days.

My Glowforge was the first time I actually used a warranty, and it worked so slick and quick. If you can be realistic in your expectations of UPS, then I think you’ll be very pleased with the way Glowforge handles your situation.

2 Likes

Thanks! I sure hope it goes as quickly as it did for you. I am still optimistic. I asked them to send me a replacement as soon as possible but I haven’t heard back yet, and still waiting on the RMA, guessing I may not hear until Monday. I feel like it is a bit unfair to lose a month on my warranty since my machine never worked properly in the first place. Hopefully the next one is solid.