Hello all, just got the Glowforge the other day and trying to figure things out. I was able to make some simple stencil cuts on cardstock using an SVG file but today I can’t get anything to work. Many times I’ll get errors trying to upload files, the rest of the time I’ll get an error during the “Preparing your design” phase. I am trying to do some etching. I have tried PNG and JPG’s from Photoshop and SVG’s from Illustrator. Here are some questions. I’ve been using Illustrator since Illustrator 88 days and Photoshop since 1.0 so don’t shy away from technical answers. Here are some questions.
Is there a size limit on the PNG or JPG file when coming from Photoshop? I have a pretty small (less than 1MB) that it’s choking on. Granted it’s complex but isn’t that the point with the GF?
I’m going through the Export As… menu in Photoshop.
In Illustrator does type need to be outlined? What about strokes? Is there a preferred stroke width for setting up cuts?
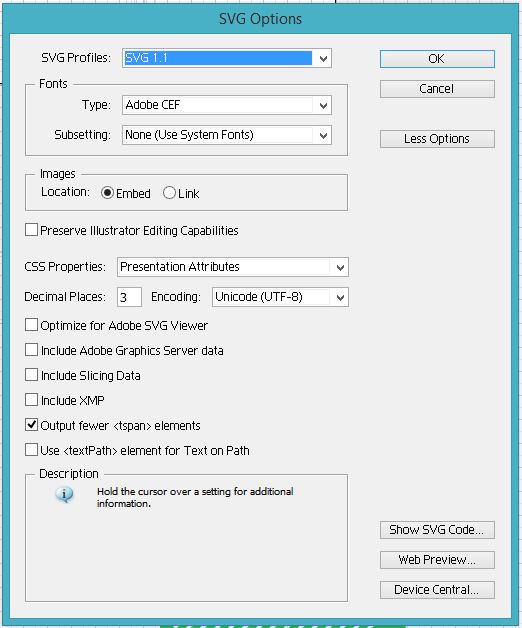
I’m doing a Save As… and selecting the default uncompressed SVG. Any other settings I should be taking note of?
When setting up a file for multiple sets (engrave, score, cut) and using different colors how do I set those? Is it an upload the single file and then define things? I’m trying this with an SVG but it won’t let me upload the file so can’t test it out. I’ve gone through the Inkscape tutorial but not sure how the various steps end up there as when I add a file it adds the entire file. Native .ai or PDF and layers support would be nice!
Can I embed bitmapped images in my SVG or PDF files? Lets say I am combining a litho style illustration with type in Illustrator and the illustration comes from a scan or photo. I always prefer not having to trace images as the quality is never great.
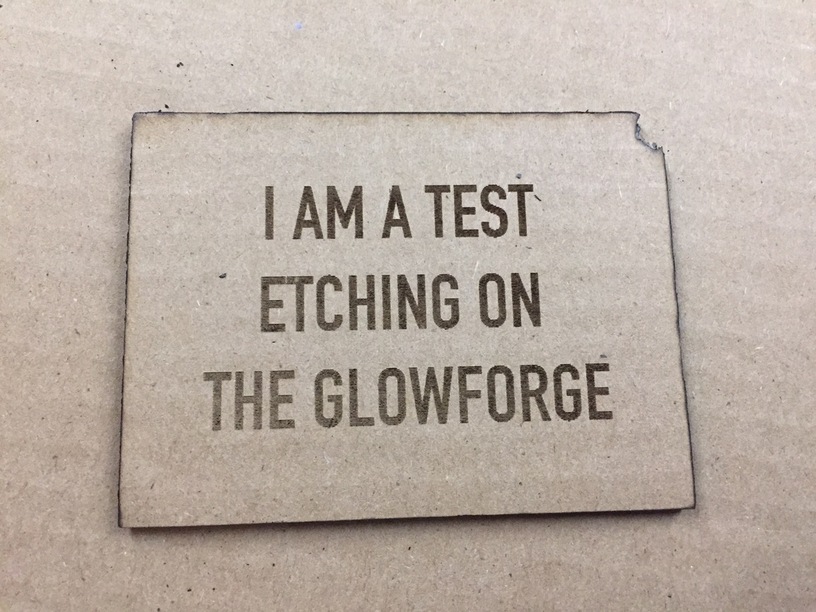
I’m using a custom material right now for testing. In this case just some cut up cardboard from an amazon box.
I’m on a Mac and have been using both Chrome and Firefox as browsers for the app.
Lots of questions - many of which are answered in this tutorial, so you might want to take a quick gander:
Yes, it can hang up on the higher resolution PNGs and JPGs. Try Saving for Web and Devices (the results are going to be pretty much the same) and remove any background to lower the pixel count. (Crop it as small as possible.)
In Photoshop, you can just save it as a PNG or JPG, you don’t have to Export it.
Type needs to be converted to Path in Illustrator. You only assign a stroke color to it if you want to CUT it out or Score it. If you want to engrave it, just leave it with a fill but no stroke. (You still have to convert it to a path first though.) Type > Create Outlines
Just use a different color (either stroke or fill) for each separate operation you wish to perform.
If you want to cut everything out, make all cutlines black. If you want to cut one set of lines first, followed by cutting another set of lines, make one set black and one set red, then order them in the interface. Fill colors are treated the same way - they can be engraved in batches if you use different colors to create them.
Yes, yes, yes…always embed your images.
I’ve found that Chrome works better for the interface.
Are you adding the PNG/JPG by using the “add artwork” or by uploading it using the “New Design > Upload” function? For raster, I have better luck using the “add artwork” function.
Type needs to be converted to outlines. If uploading a design that had text, the system used to just give an error. I tested it the other day though and it gave me a specific error about not being able to process text YET. It’s still better design practice to convert to outlines before sending to print, especially when you can’t build a package with fonts. You can set your SVG export up to convert all text to outlines so that you still have editable text in the original file.
Stroke width won’t impact the cut or score width - it uses the center of the stroke (which you can see using view outline in Illustrator). I like to set mine around what the expected kerf would be, especially if you have design components pretty close to one another.
Glowforge recommends using Save As - though I have been using Export for Screens without a problem. Here’s a screenshot of Save As and what I believe are all of the correct settings. These settings also make it to where you can upload a SVG easily to the forums for sharing, or design help.
As mentioned, I use Export for Screens more often and the following settings. I like it because it saves my export settings and I don’t have to remember to change them like when doing a “Save As”.
Yes, you’d upload the single file and then define things which will combined by attributes. Strokes will come in as a cut, fills as an engrave.
Yes, most of the time - but I think it has issues every now and then. My experience is that it’s easier to embed the raster/bitmap because it’s easier to scale the image to the size you want and add a corresponding cut line.
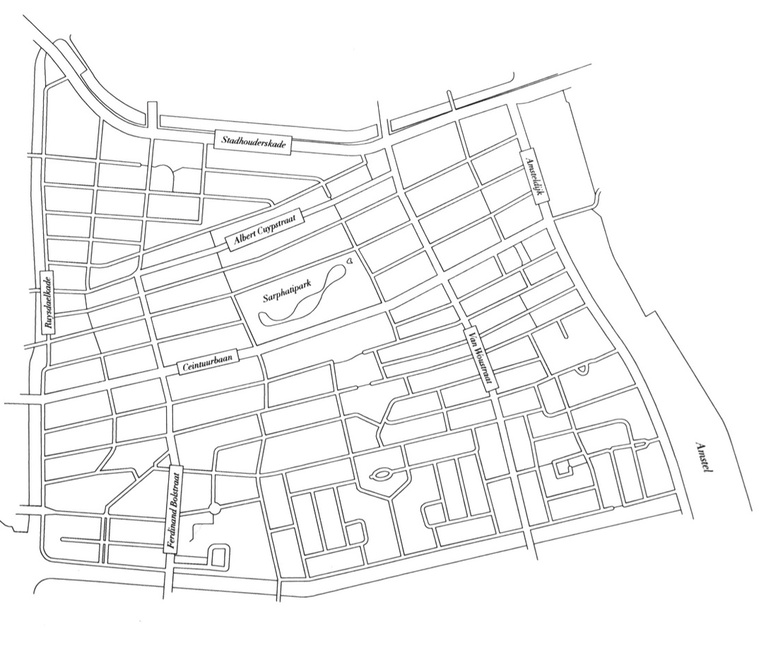
Thanks! I’ll give that a try. The image I’m trying to engrave should work so not sure why I’m having trouble. I’ve included it. I’m trying to engrave at 3/100/.15".
That file I actually got to load fine but it craps out when going to print. Says “preparing your design” for about five minutes and then dies. I’ve tried it as a JPG and a PNG from Photoshop. It’s just a scan so no actual type or anything.
It’s not always the size but the complexity and that isn’t necessarily strictly size dependent. And it’s also impacted by what you choose for your engraving parameters. Try stepping down the LPI as well. It’s unfortunate but the only way to know if that works is to wait for the 5 or 10 minutes it needs before it craps out.
I did 20+ hours of work on a design that I thought it should just have engraved. Vectorized it and got nowhere. Bitmap translated the vectors and got partway there. Then I started messing with the LPI settings.
I’ll post something in the Made by category but won’t be able to refer to the settings even though it’s on PG Maple Ply. But I will note where the settings came into play. Just something you have to experiment with - especially since it’s image dependent anyway.
Ok, I’ve got a very simple etch and cut SVG out of Illustrator. It’s printing away. I’ll continue to mess with the settings. Speaking of settings, is there a good overview of what all the settings mean and their range with example? And is it possible to save custom materials and settings?
There are some calibration tools that folks have uploaded (I’ve done ones for cuts & engraves but I have not re-run them for the new settings). You can use those to see what might be good starting points. For materials that are similar to Proofgrade materials (e.g. Baltic Birch plywood is similar to PG Maple Plywood) look at the PG settings as your starting point.