Starting this topic to document some more catalog designs and materials.
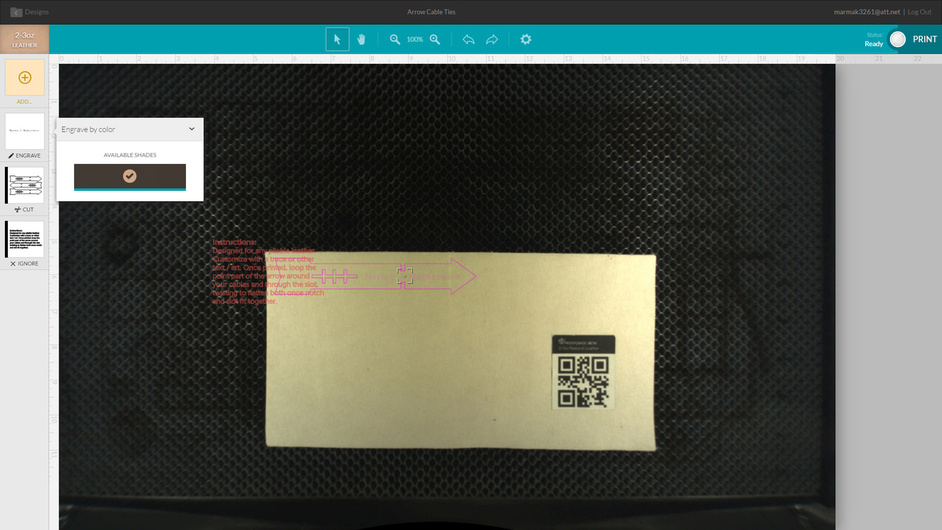
Here is a screenshot of choosing an engraving setting for the 2 oz. leather. Note it says “available shades” and gives only one choice. Makes sense with the light weight leather to me.
Here are some shots doing along the way. I can’t do standard. There is always something I have to fiddle with. My handwriting is garbage, so I had to put some lettering on this to see how it works. I used the Hershey text extension in Inkscape, opened in GIMP to convert to bitmap. Hershey text does not give you the best files to work with. This is low resolution in the engraving. I can’t emphasize that enough for those who like to zoom in.
I have a later example of just using the text tool of Inkscape to do the text and opening it in GIMP to export as JPEG.
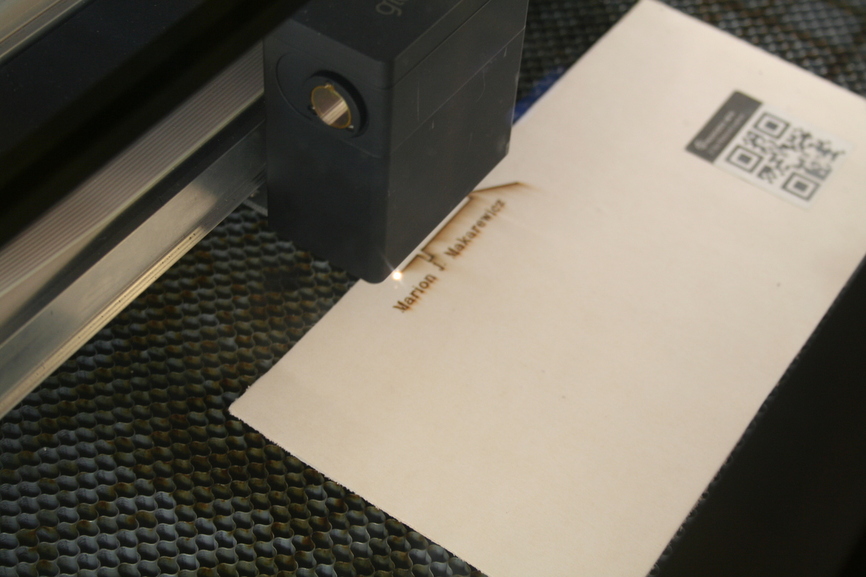
Engraved the text first. I added that feature. Once again, it was low res. Might still need dialing in.
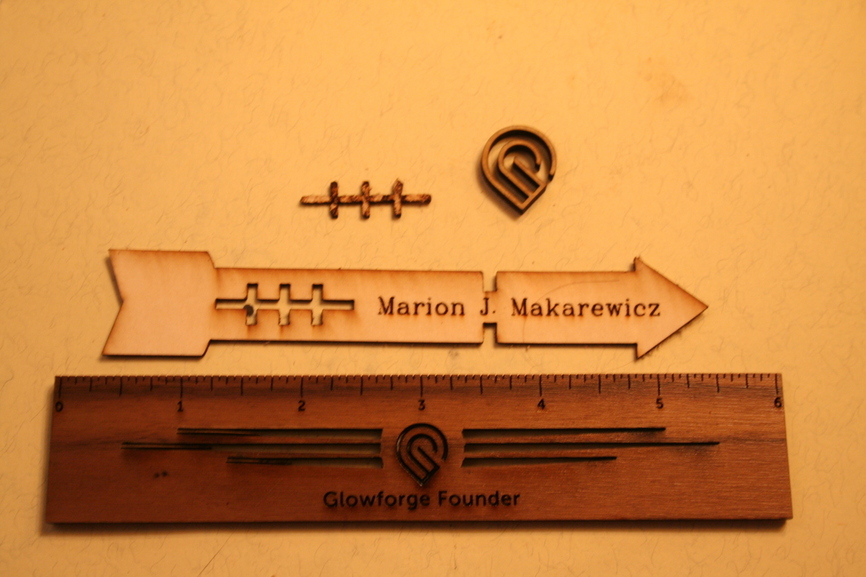
This has the masking on. Very interesting adhesive. Perfect for the leather. It comes off and leaves no residue. This is crucial. Underneath it is pristine. Note the soot on the surface of the masking, which is around 0.07 mm. One definitely needs some fine weeding tools so as not to grab the leather surface and just the mask. My fat thumbs and rough nails was like a backhoe picking cotton.
Finished leather cable ties. Hue of the image is a bit wonky. The old Canon DS 126071 is going south on me.
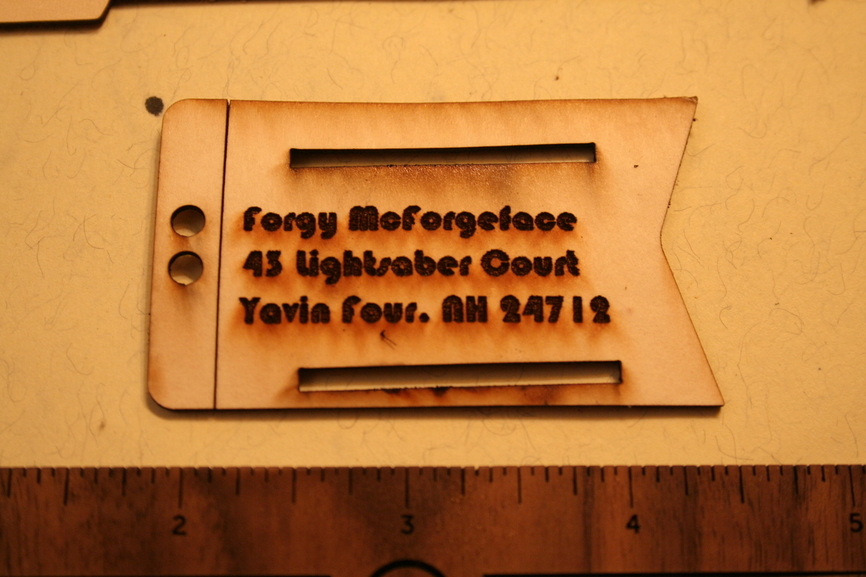
Now going off road a bit. I wanted to do a finer engraving on leather, but I had already weeded the cable tie. I could have put something on the feathering. Instead I decided to cut a leather luggage tag. Wrong weight of leather and the luggage tag is set for hardwood. I could have manually engraved, but just kept the settings as is. I printed it, just a couple minutes, and then took it out. The score line from the hardwood luggage tag between the tie holes and the body of the tag went almost all the way through, just barely holding on.
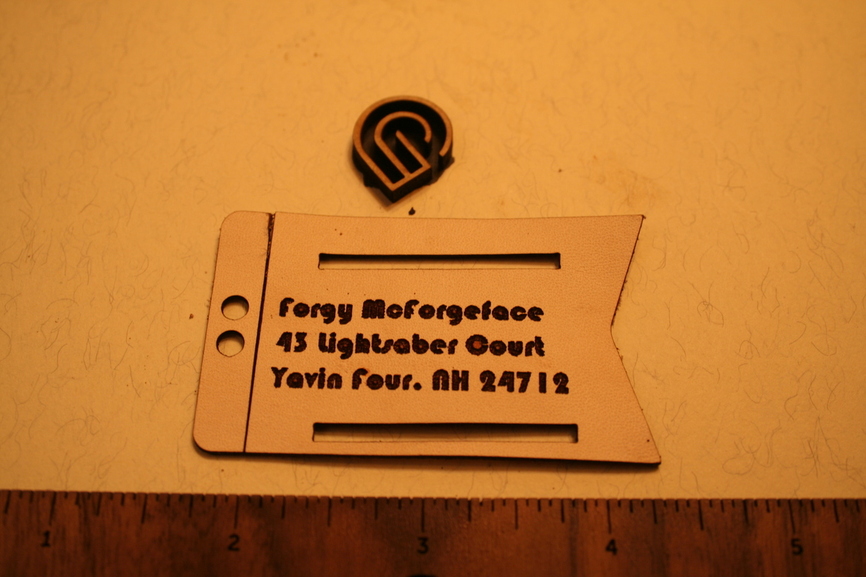
So I drew some rectangles in Inkscape and dropped them in the file to cut the slots. That was coming back to the material after having taken it out. Didn’t think to align it better to the leather (I really could have) and then cut the slots. so you can feed it through a strap, much like the belt buckle recently posted.
Weeded
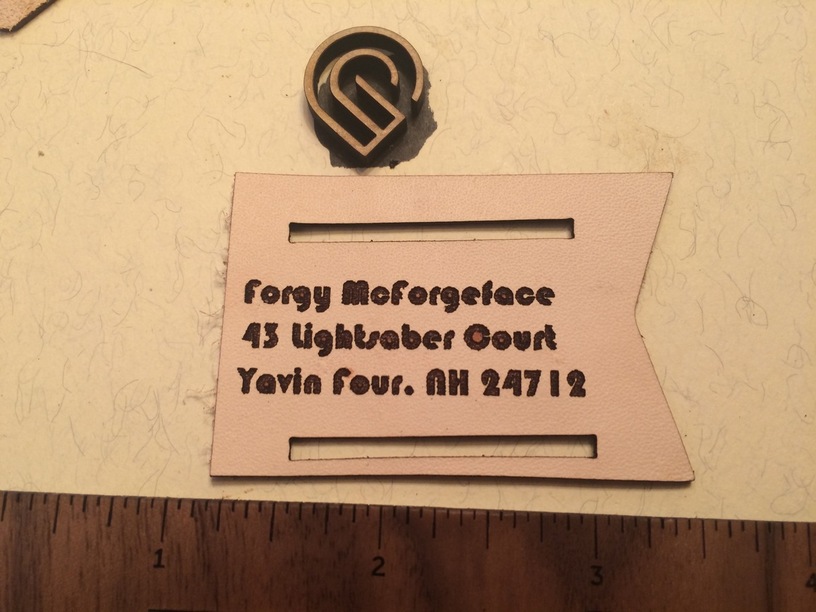
Once again, note that I had a design file that was set for hardwood that I was using on light leather. So this was an experiment.
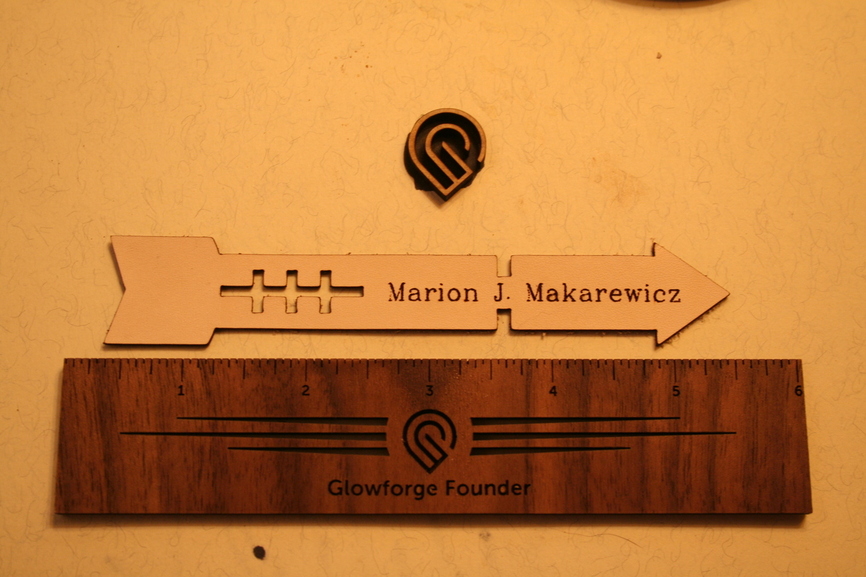
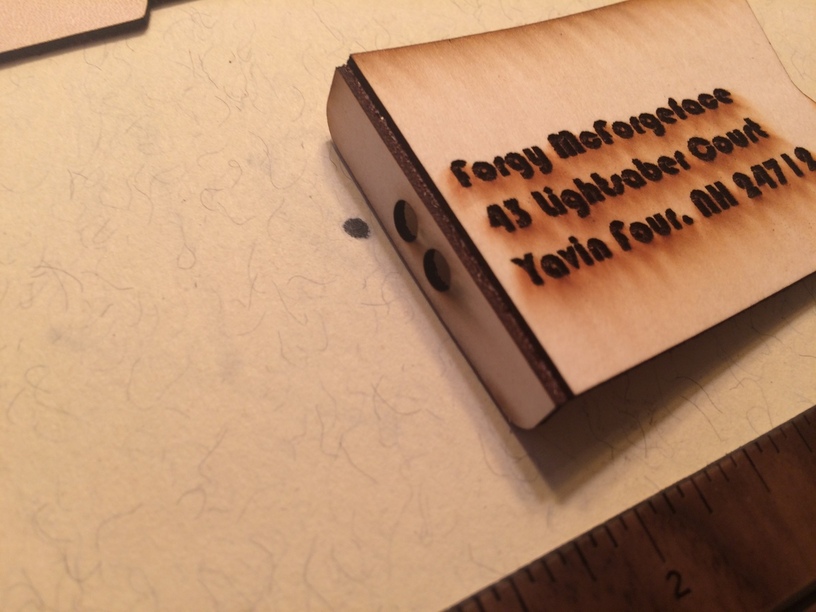
And stripped of the loose flap. Looks like it was meant to be like this.
Remind me to get a contrasting background as I document different materials!


 , mainly because I am a noob in lasers