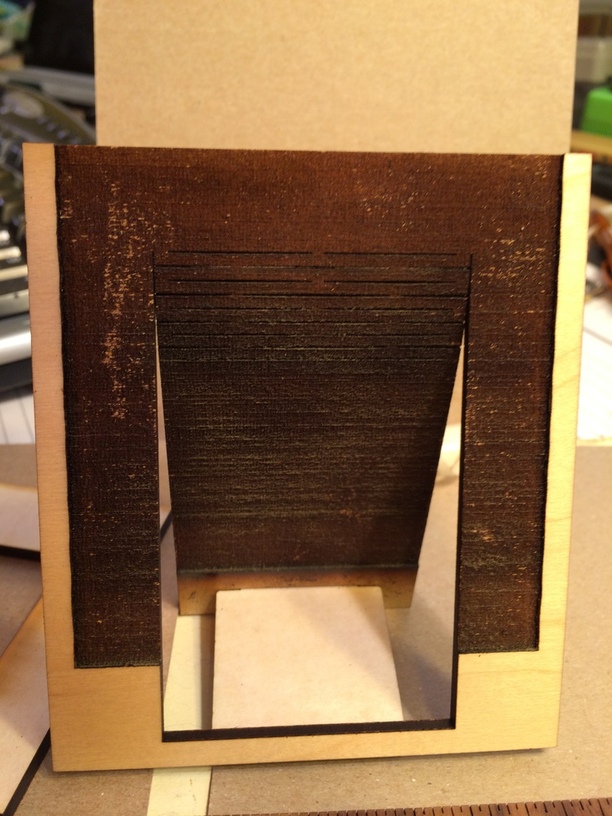
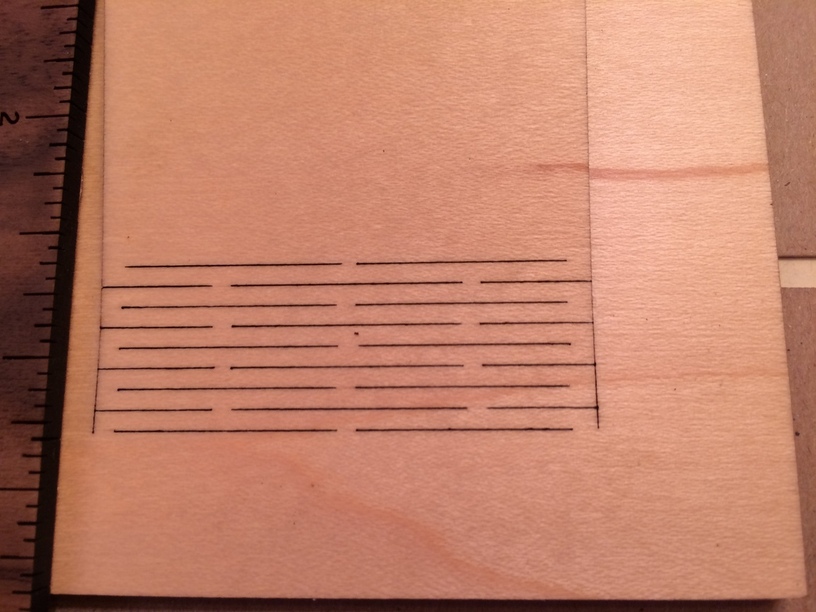
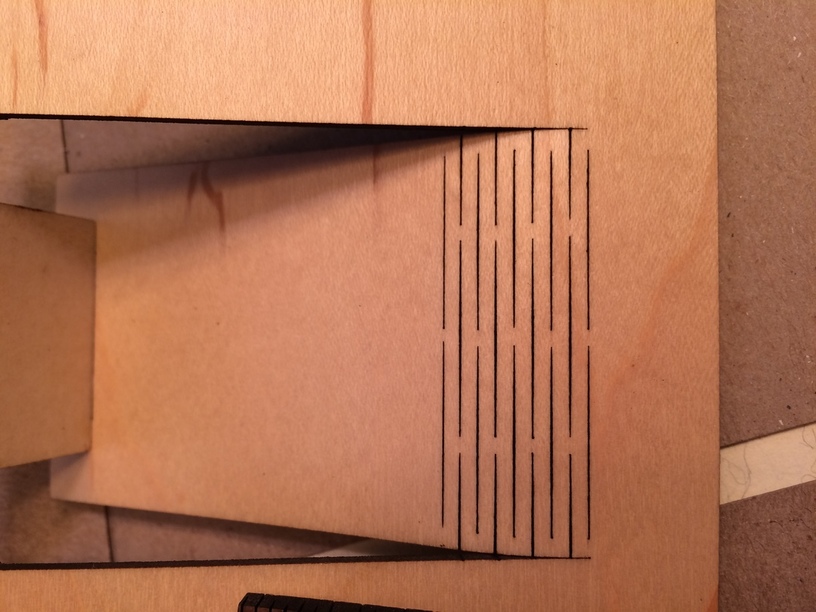
This is on ProofGrade 1/8" Maple Plywood, the same material that the award plaque is out of. The print time lasted 33 minutes for a 3 1/2 by 4 " photo holder with a living hinge. The bulk of the print was spent in a deep engraving that would hold the photo.
It was fine that the print was a half hour, that allowed me to start a live stream. I know folks were eager to learn that MakForge was back in business. There are printed instructions embeded in the design which makes me appreciate the challenge the Glowfolk had in front of them to have the design transparent over the image of the bed. I need to remember to read them, I hadn’t, so I assembled in backwards at first. Well, really, I was so interested in seeing the hinge flex that I did the finished side as the outside curve. The engraved side is a bit dark to appreciate the lines.
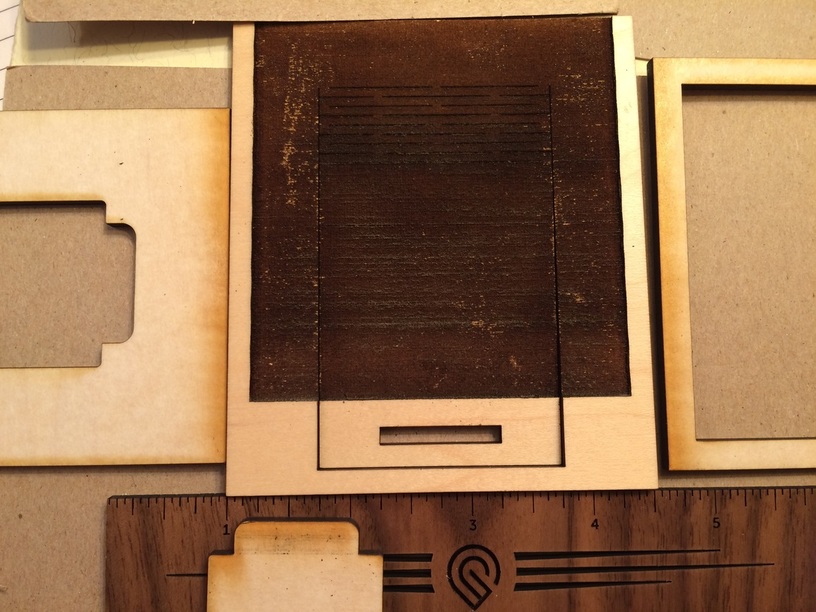
One thing to note is that you can import a graphic to put at the lower right and left hand corners, perhaps the stylized initials of the subject of the photo.
Here is a shot to show the contrast between the material that still has the mask on it and the weeded final, finished side of the piece. Note the soot. The masking totally prevents it. No need to do anything to the surface of the wood once the masking is off. Should have taken a pic of the space below the engraved box where the tab inserts before weeding. It was a pretty, sooty foot. Took the mask off and it was fine.
Here is the bent wooden hinge. It is solid. Nice radius to the bend. It bends easily to the width needed to place the spreader tab. I’m holding back on my desire to do some more hinges.
It’s kind of finished. I could sand the engraving down to remove some of the char. A better pic of the hinge would be nice but it’s a bit challenging to get the radius and lighting for me. @JeremyNielsen, photo tips are welcome!
Hmmm… tips… . There’s a lot a photo nerd like I could get into but… I’d work on the background and lighting.
Background. Maybe something like this with a few different colors of paper for different materials?
and then I would suggest photographing when there is sun out near a window (with your lights off) or change the lighting in that room to be daylight balanced (so its not so orange).
Trying to go through the catalog, you know, do the exercises, answers in the back of the book! Mainly to test catalog designs and materials. And that’s good because I can establish a standard of what to expect and see how far my designs deviate.
Definitely background color. I looked for something and all I had were white or tanned piece of paper! Light box, light box. Yes. I think that something like that appeared on the forum in passing or perhaps it was a Make article. That I could recommend for anyone who is wanting to share.
Hope I’m not embarrassing you all too much. I saw @Hirudin video and checked his channel out. Nice stuff there!
I used a similar DIY light box for a lot of stuff, made out of a big cardboard box (open top facing you, holes cut in sides and top) with the holes covered with some cheap muslin.
Natural light is free and easy, but if you do night work and want some supplemental light, just make sure all the light is the same (if you buy some LEDs/CFLs, for example) and turn off your overhead light. That way you can effectively change the white balance in post and won’t have to fight with several different color temperatures.
Good cheap backgrounds can include creating an infinity edge with some poster board (cut a rectangle to fit inside your light tent, so that it curves around back and eliminates distracting hard lines from your background) or fabric.
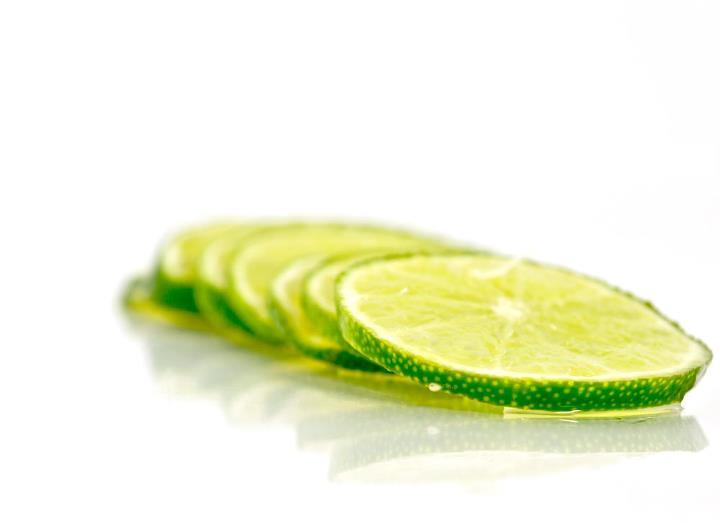
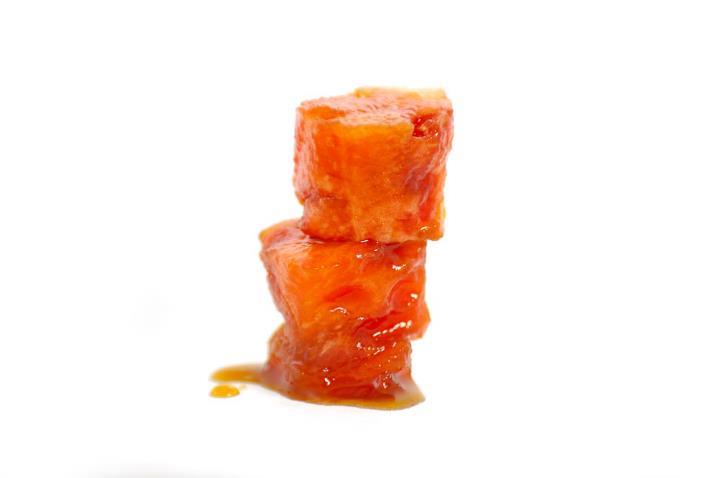
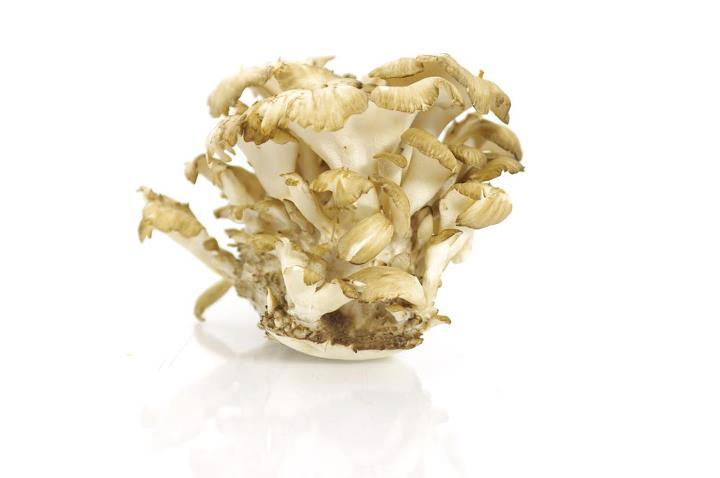
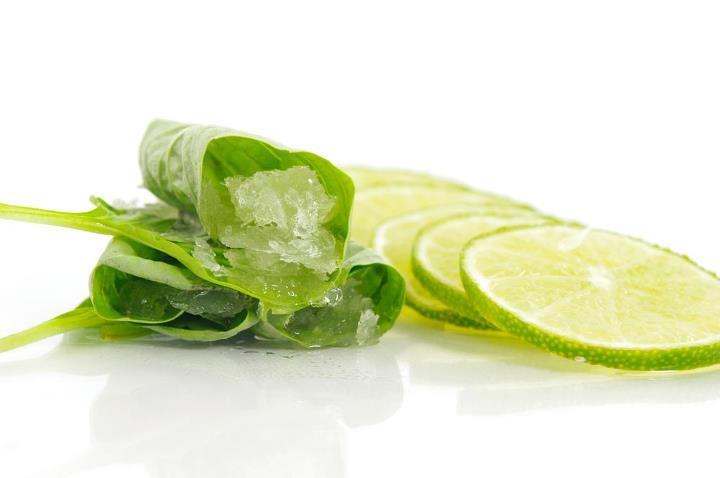
A good way to make your photos pop a little is to slide some sort of reflective surface underneath them. We used to use clear acrylic on white fabric, but some fun options include cheap polished stone tiles from your local home despot. Here are a couple of shots from a few years ago when I was experimenting with food:
Picture: yes! I was just thinking of keeping it turned around so I could look at the living hinge and marvel at its precision! Picture pics to post later.
Not sure I would have bothered - I’d have made it a “build up” with two layers - one for the outside frame and the second for the hinged backing. Glue them together. Done in 15 minutes
It’s important to have role models and examples to follow. This is good motivation to improve.
And it helps to have at least basic ewuipment.
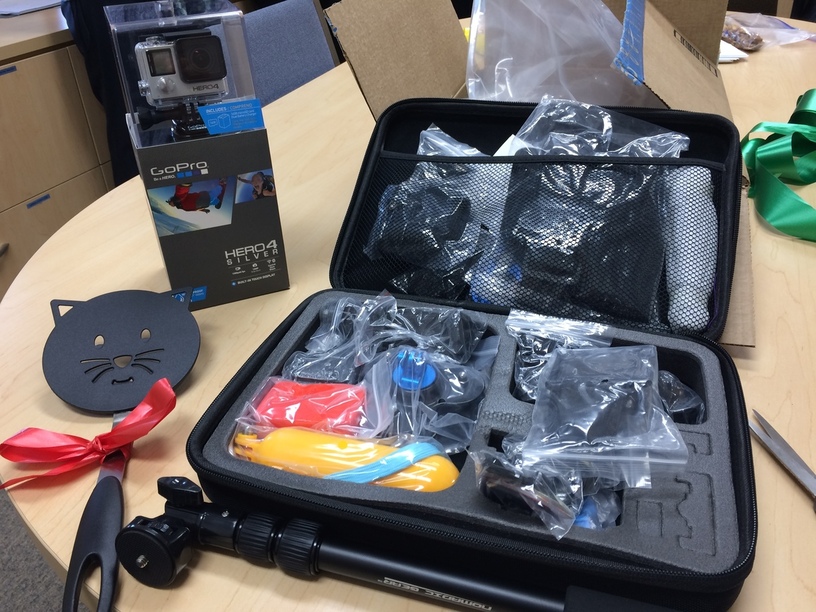
So my colleagues at work pitched in and gave me my Christmas present early. They couldn’t stand me inflicting the world with more crummy video. Here’s my new GoPro and nomadic gear case filled with all the accessories. Yipppeee!
 )
) thats alot of deep engraving:scream: