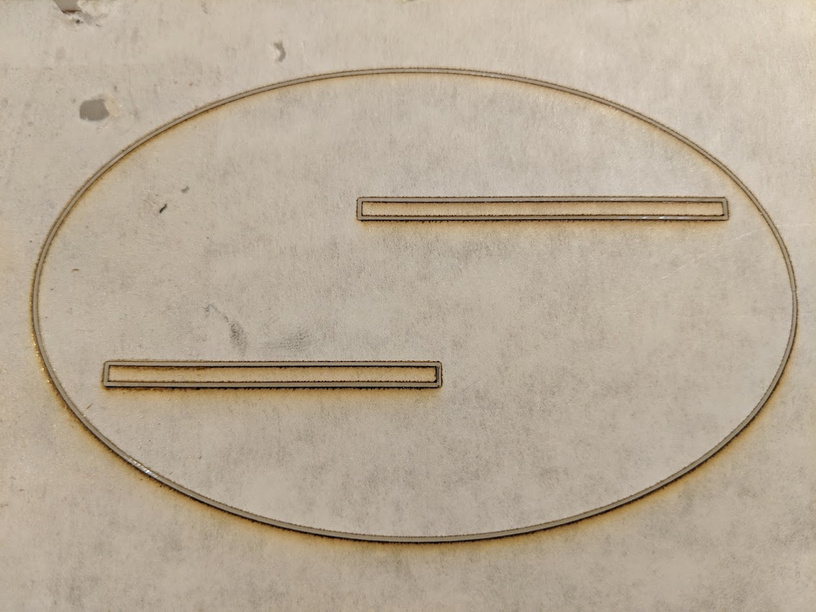
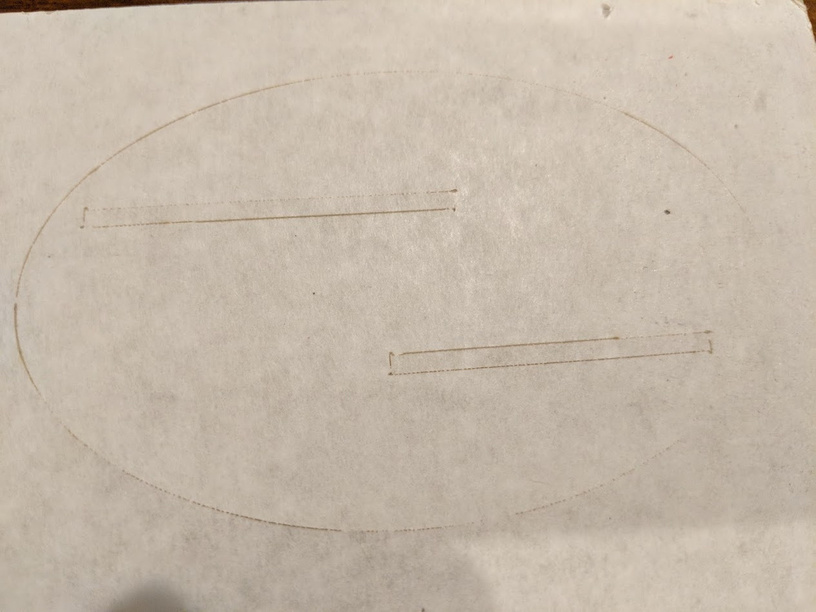
I was just working with some of the Proofgrade clear acrylic and found that a large section of the cut did not the entire shape. In fact I ended up having to punch it out with a screwdriver, which did not go so great forth edges. You can see in the picture of the back that the section on the right did not even go through the tape.
After cutting this a few more times, I found that a speed of 120 (instead of the PG setting 126) was slow enough to cut all the way through consistently and not cause anymore damage. I don’t know if this belongs in the beyond the manual forum instead, but hoping that GF sees this and can adjust their defaults to be a little more consistent.
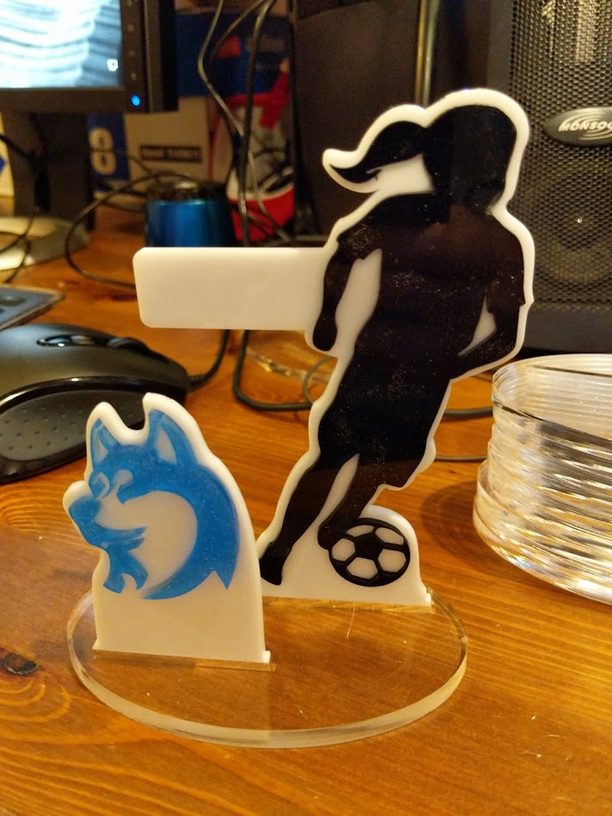
What a great project! I’m so sorry your print didn’t cut through all the way with default settings.
Have you had trouble cutting through Clear Proofgrade Acrylic with the default settings on other occasions? f so, do you remember the approximate date and time?
It’s also possible that your unit’s lens or windows are damaged or dirty. If the laser isn’t able to travel freely, your materials won’t cut through. Please follow the cleaning instructions for things that need wiping, and also check carefully for scratches or damage on the lens and windows on each step.
After you’ve cleaned, would you try the print again using Proofgrade settings and let us know how it goes?
It’s been a little while since I’ve seen any replies on this thread so I’m going to close it. If you still need help with this please either start a new thread or email support@glowforge.com.