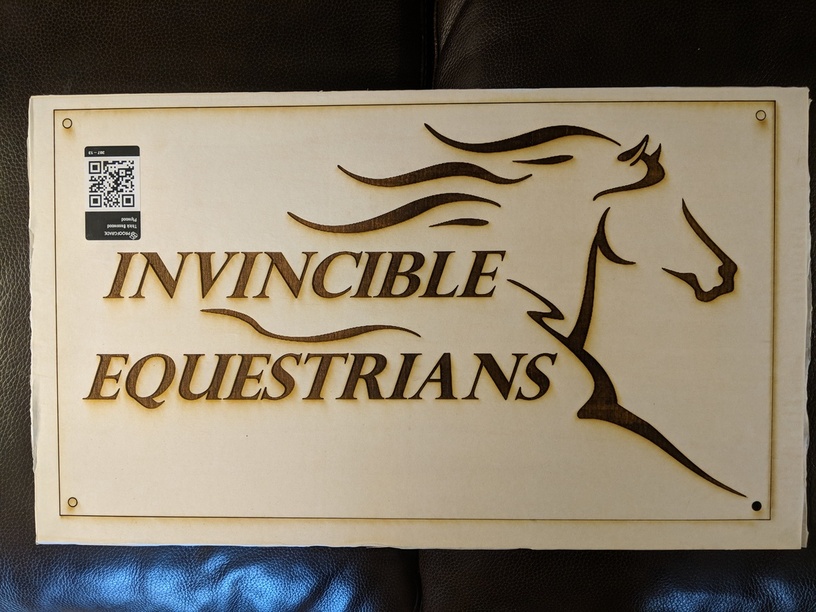
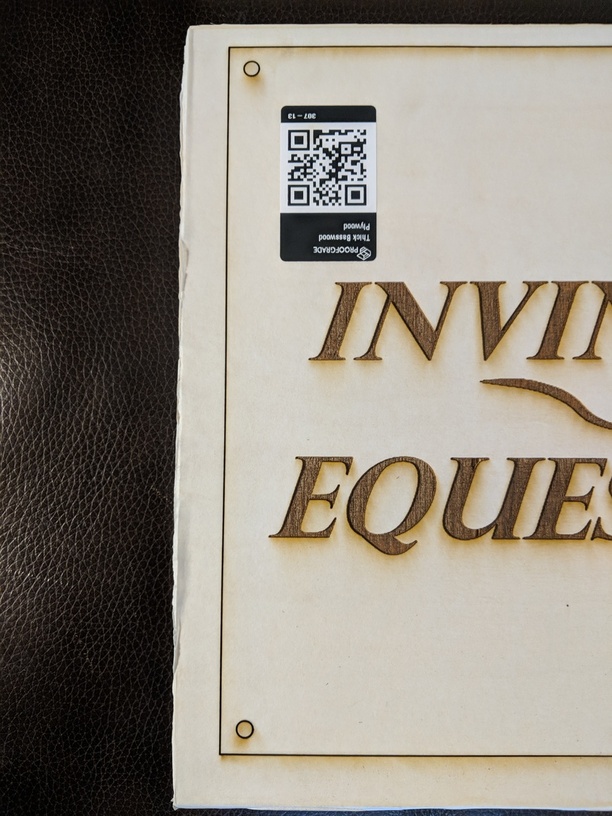
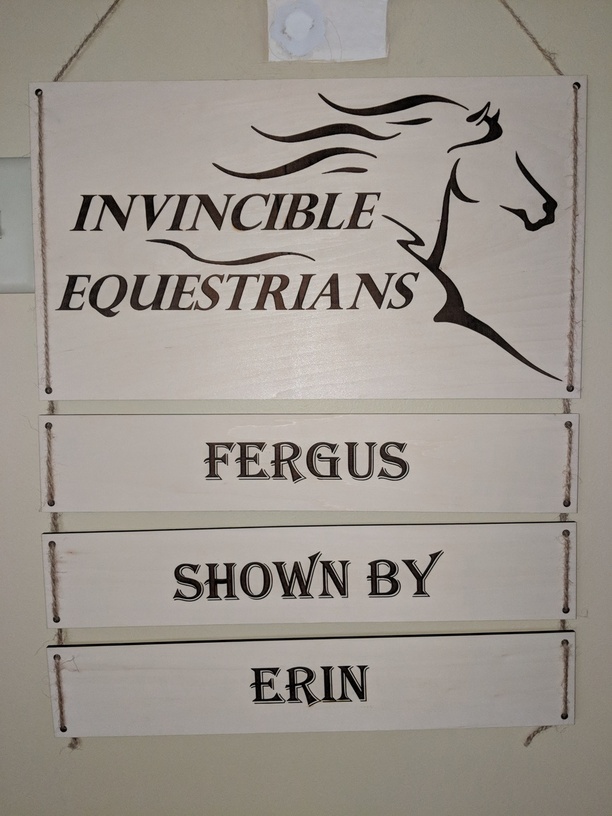
Trying to make horse stall signs for my daughter’s 4-H group and have run into a bit of a snag using the thick basswood plywood. Not entirely sure if it’s the material or my replacement Forge that’s the issue though.
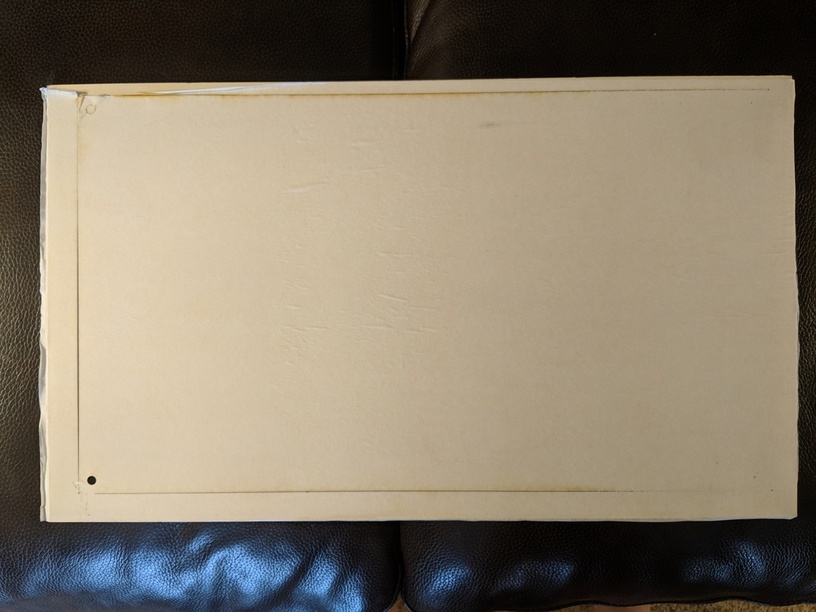
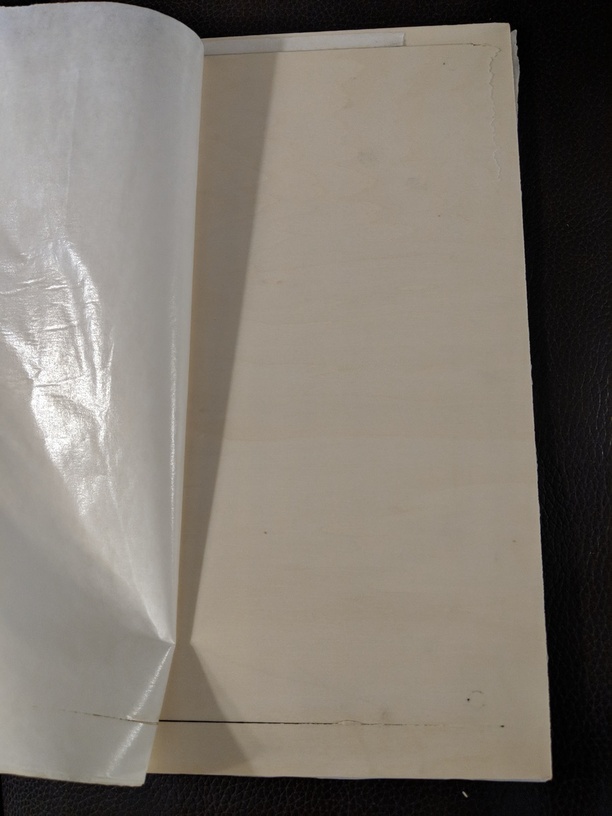
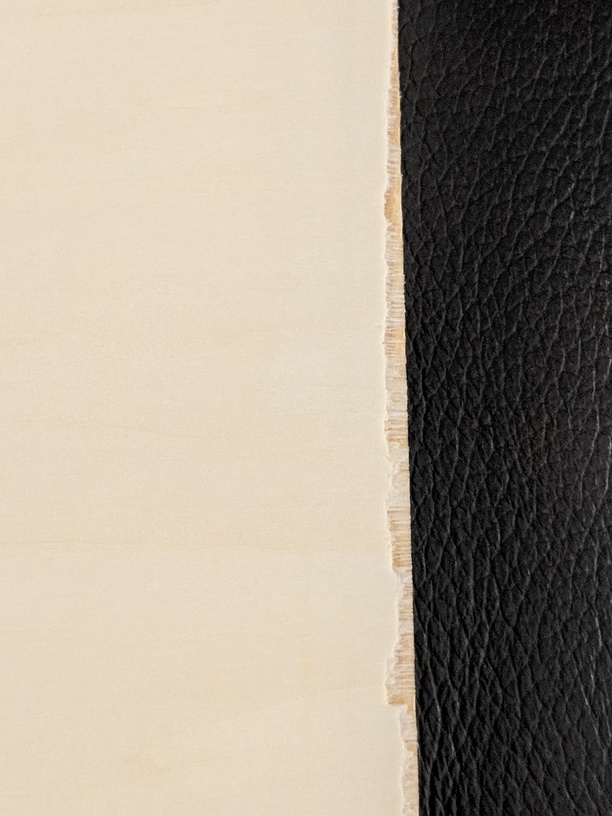
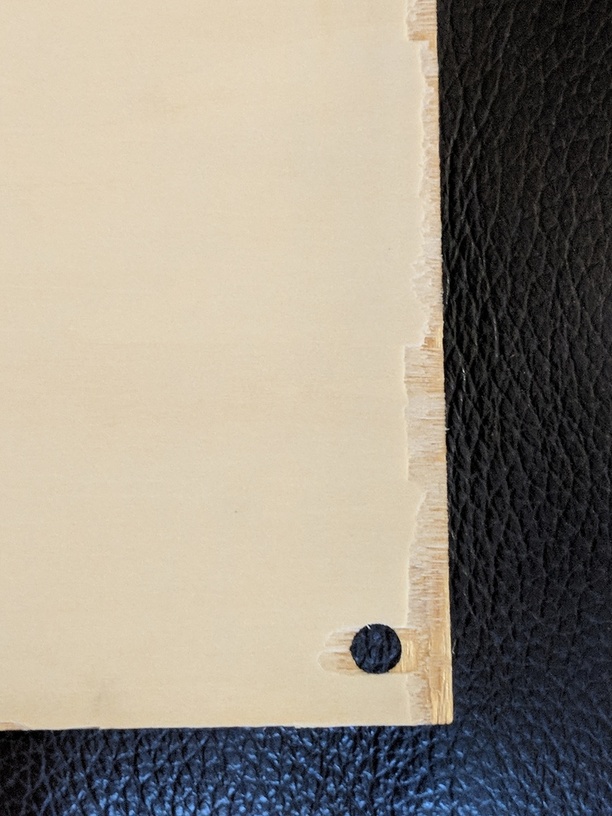
When cutting the signs at 10.9" x 18.9" I’m finding that the left side is not cutting through. Some of it can easily be pushed out, but the rest is causing tear out on the back of the sign. I’ve cut two of the signs thinking that it might have been the first piece of material, but the result was identical so now I believe my replacement Forge may have a problem similar to the one it replaced but in a different part of the bed. At $15 a sheet I’m hesitant to keep trying in expectation of different results.
That can happen if there is any warp in the material at all. Make sure the material is flat against the tray in all spots…I like to use these honeycomb pins to keep the material pinned flat:
Alternatively, you can specify a second pass be cut, or slow the cut speed down by 5 or 10 points. Go to the Manual settings and you can adjust the cutting speed using the little slider.
I’ll double-check but I don’t recall noting any warp, especially at the edge. The masking is rather sloppily applied though which does make it tough to fit flush into the bed so there may be a problem there.
For the piece that’s still in the bed, I’ll run another cut and see what happens. Then I’ll try another piece with the back masking removed. Since I’m cutting at near maximum capacity I’m not sure if I can make the pins work, but I’ll also give those a try.
If you can press on one end and it moves, there is warp enough to mess you up. It’s just about impossible to get something unwarped that has been shipped…the humidity causes it and most folks don’t park them for a couple of weeks with heavy books on top to flatten them out. (Who has time for that?)
Try slowing the cut down by 10 points if you can’t pin it. That’s going to finish the cut.
the other option, if you can’t fit the pins, is to use magnets. strong ones. they can hang over the edge of the board if needed. i use magnets i’ve salvaged out of old hard drives.
Some warp in the middle, nothing on the ends, but slowing cut and removing back masking seems to have resolved the issue, at the price of 15 minutes more per burn… now to cut 20 more of those beasts and 60 1/3-height name plaques for the horses and riders.
You can also put magnets in the field of a design to get internal flatness variations managed. I also do that for thin cardstock - it keeps internal cuts from moving around. Sometimes I have to adjust them after the bed scans but it’s really helpful to have the material locked down in the middle too.
Didn’t change the speed on the engrave, only on the cuts (from 182 to 170)… went from 57+ minutes (draft graphic on the engrave) to an hour fifteen. Didn’t expect that jump myself… oh… I bet it went back to defaulting the engrave to draft photo… need to take a look
Yep… cost us one full sign already, time-wise… Only 14 more to go before I have to start on the name signage… that’s back into Inkscape and I haven’t taught the daughter to do that… yet.
Also scoring those areas that didn’t quite make it through with an exacto blade will usually be enough to prevent tearout on the surface. It’s saved me from redo/wasted material a few times.


 yes, i do this as well. especially with lighter weight items.