A lot of other lasers offer the user the option to pulse the laser and/or run the laser continuously in one place (i.e., one X-Y coordinate) for some period of time. Has anyone discovered a way to do this with the GlowForge?
Why? I recently purchased a Mahoney Laser Power Meter, and I’d love to measure the real output power of my laser. However, the measurement takes 27.5 seconds of continuous laser irradiation. Others have created a spiral drawing to get the laser to stay on for that period of time, but it’s tricky to get the path length just right to ensure 27.5 seconds.
Any hacks, help, or guidance is greatly appreciated!
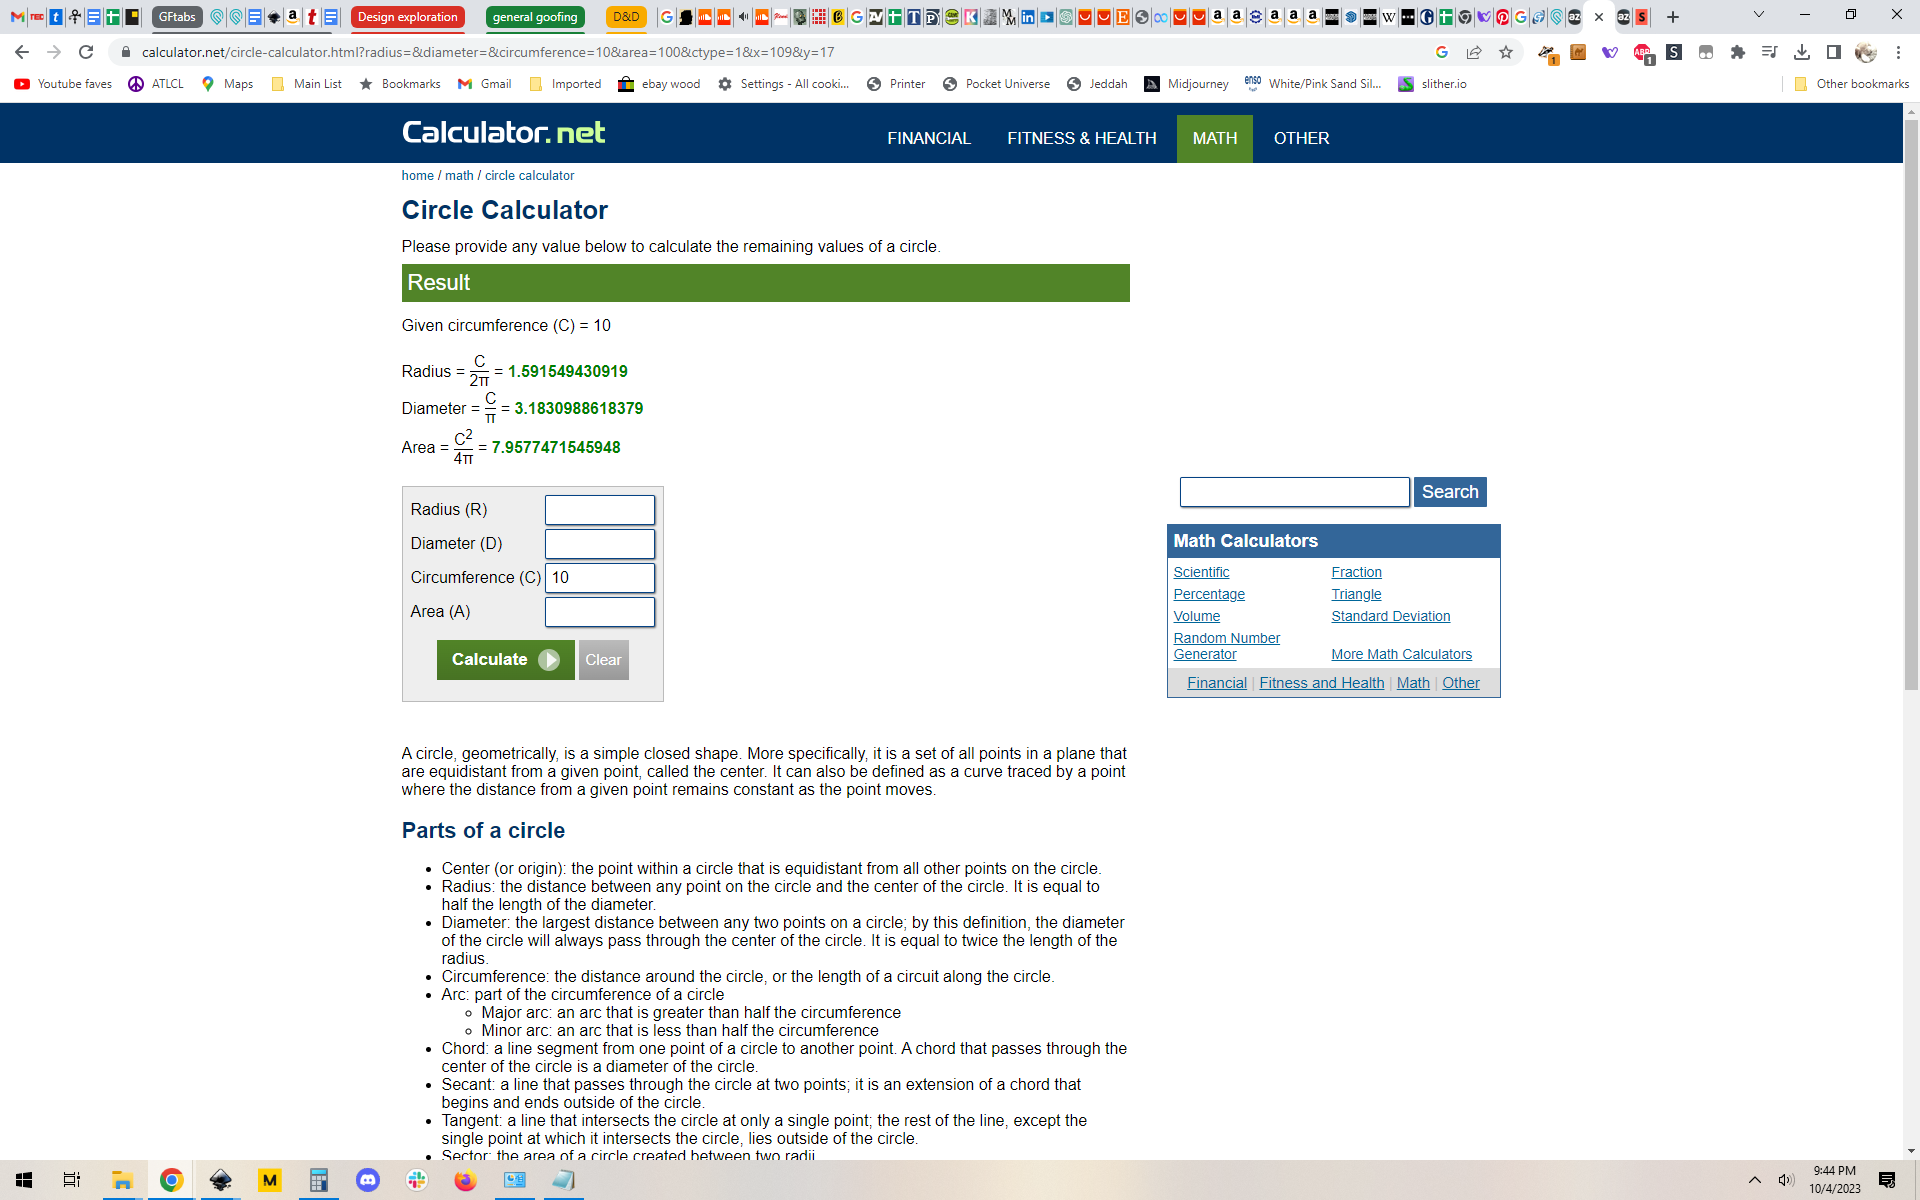
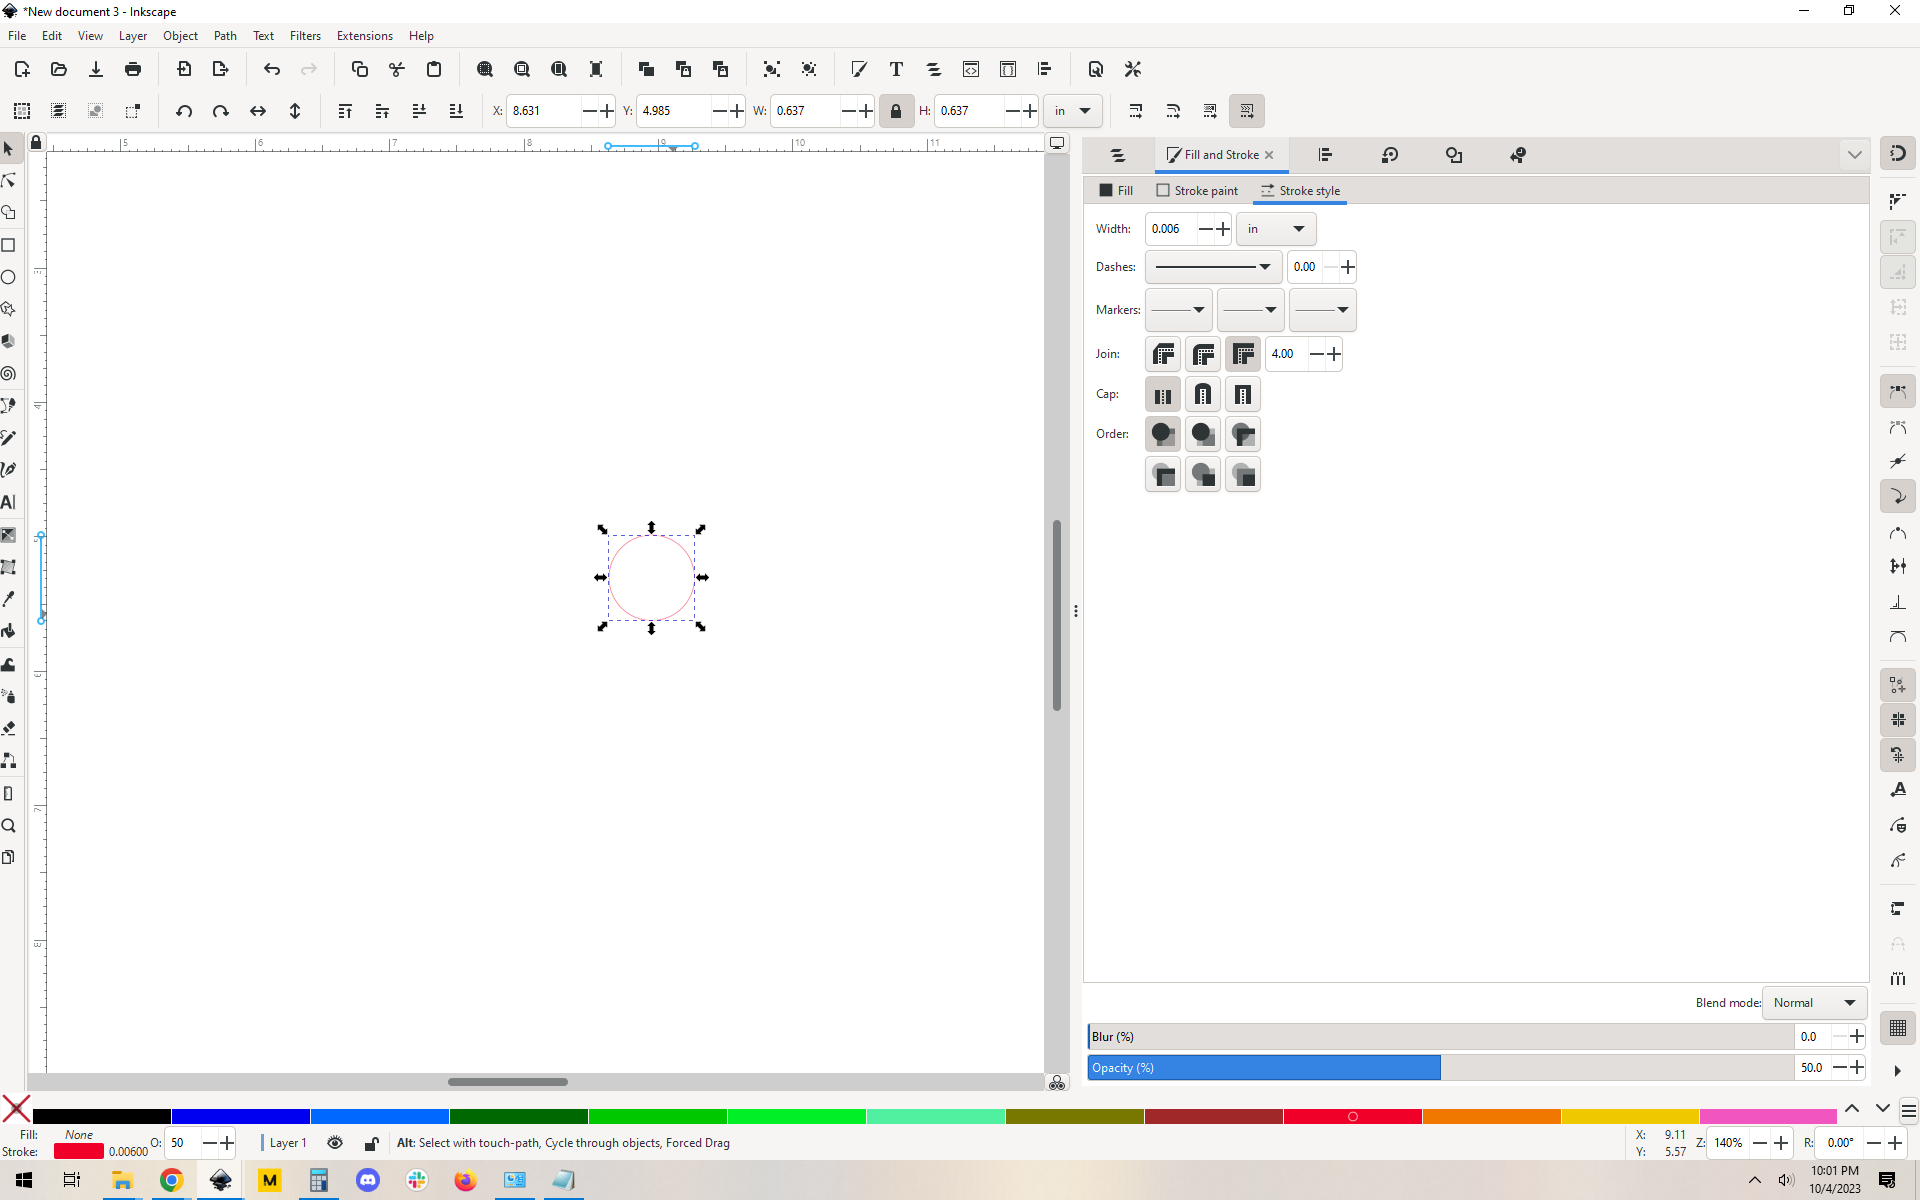
Ok here’s what I’d do. I’d make a circle path with a known circumference, say ten inches. Then I’d run it at the slowest speed and time how long it takes.
Theoretical example with made up numbers follows:
Let’s say it takes 16 seconds.
Now you have a known inches per second and can back into how many circular runs it would take to hit 27.5. In this theoretical example:
10/16 = X/27.5 or X = 275/16 or 17.1875.
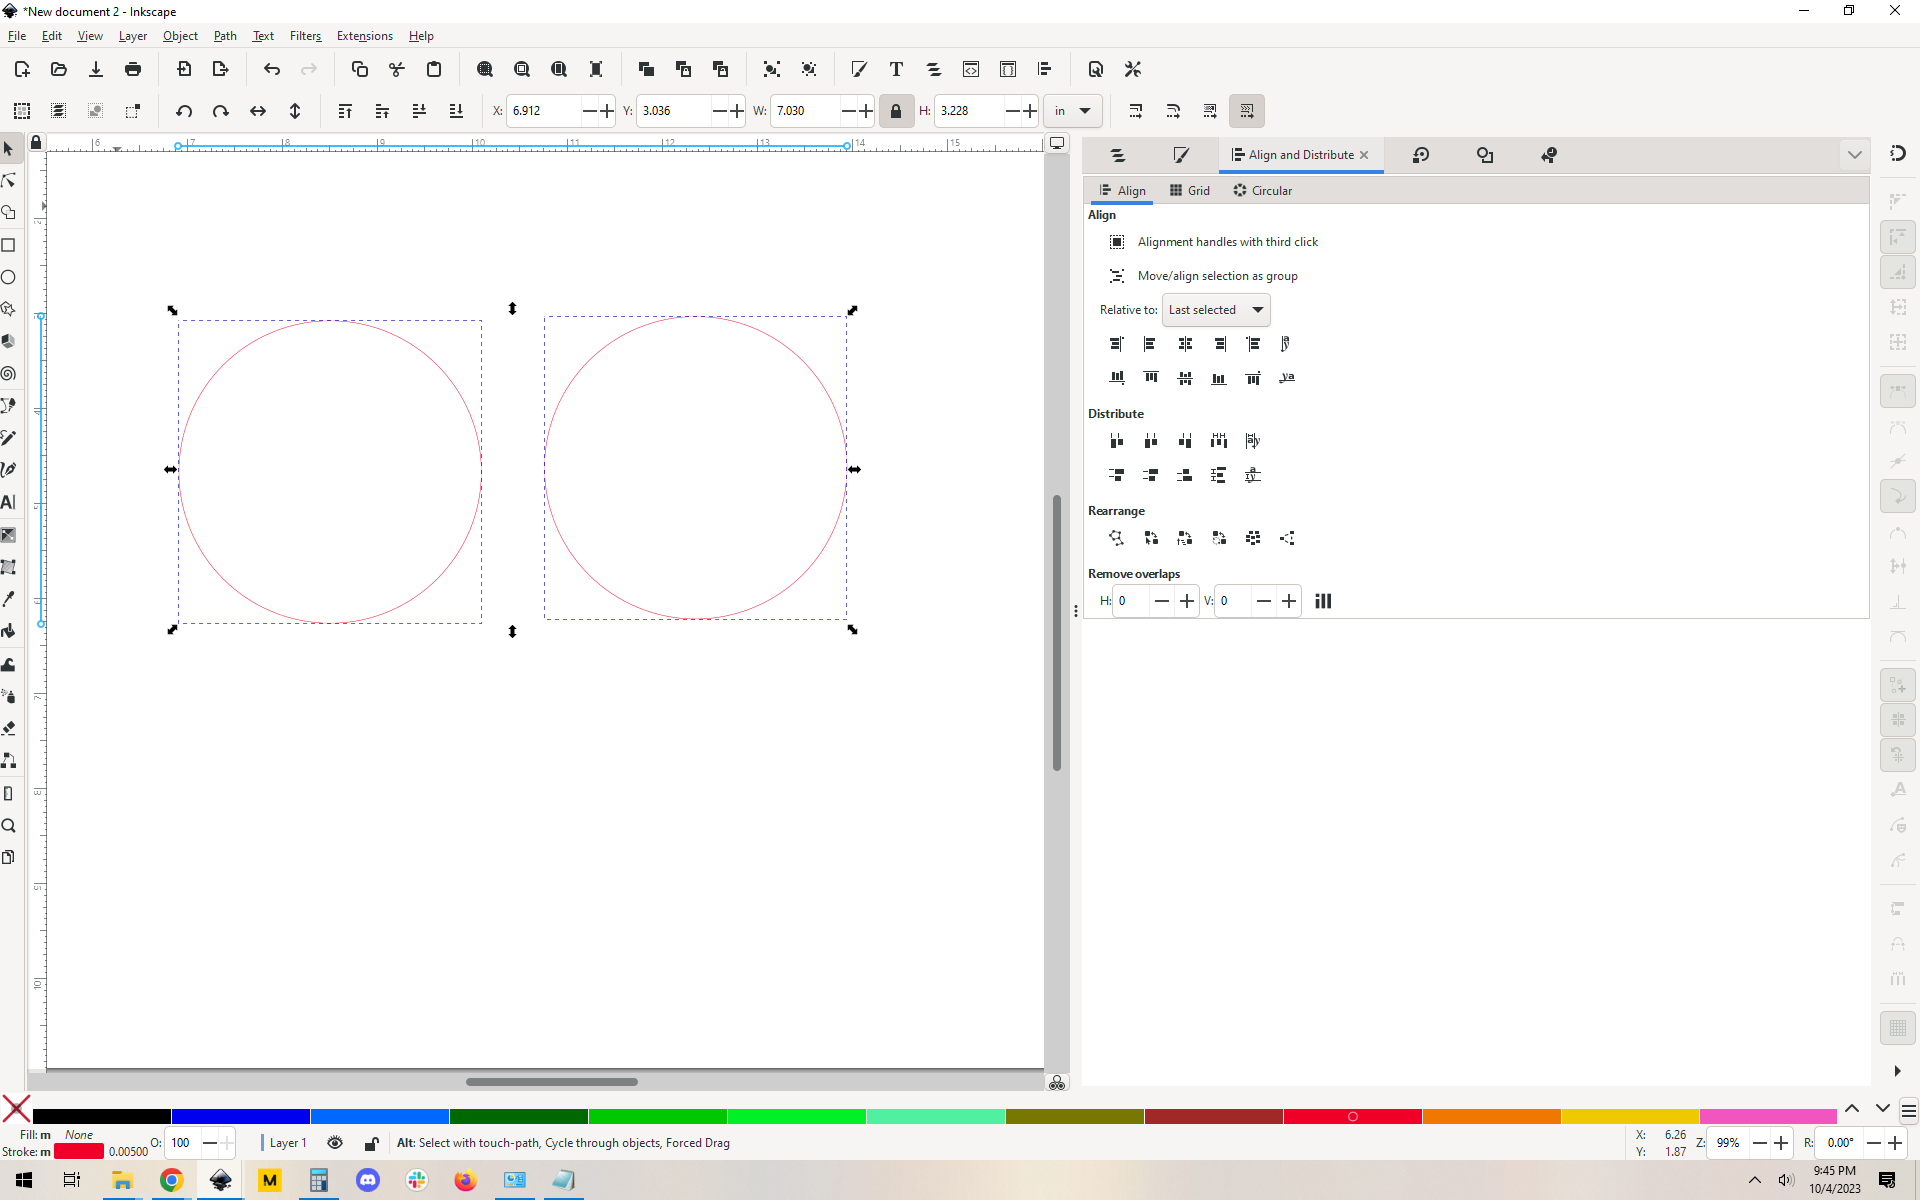
Since circles are 10” around, that means you need to go 1.718 “circles”, or one circle and 258.5 degrees around the next one, which you can easily draw in a vector program.
Break your circular path at a node, attach the partial circle to it to make one path that loops and doubles itself for 258.5 degrees and run it again as a test.
So now your only problem is how do you accurately time it during your test? This is the fun part: film it with a stopwatch running in view but out of the laser path. You can review your video frame by frame to get pretty exact time stamps (how accurate this is will depend on your frame rate in your video but even relatively poor frame rates will be accurate to 1/24th of a second… and if you really want accuracy I’d film it slow motion. Higher frame rate=shorter time per frame so your accuracy gets pretty good.
Thanks for your response! This is all well & good except that the Glowforge stops for ~1 s after it completes each circle. I think I’ll have to do a spiral design, applying the same principles you suggested.
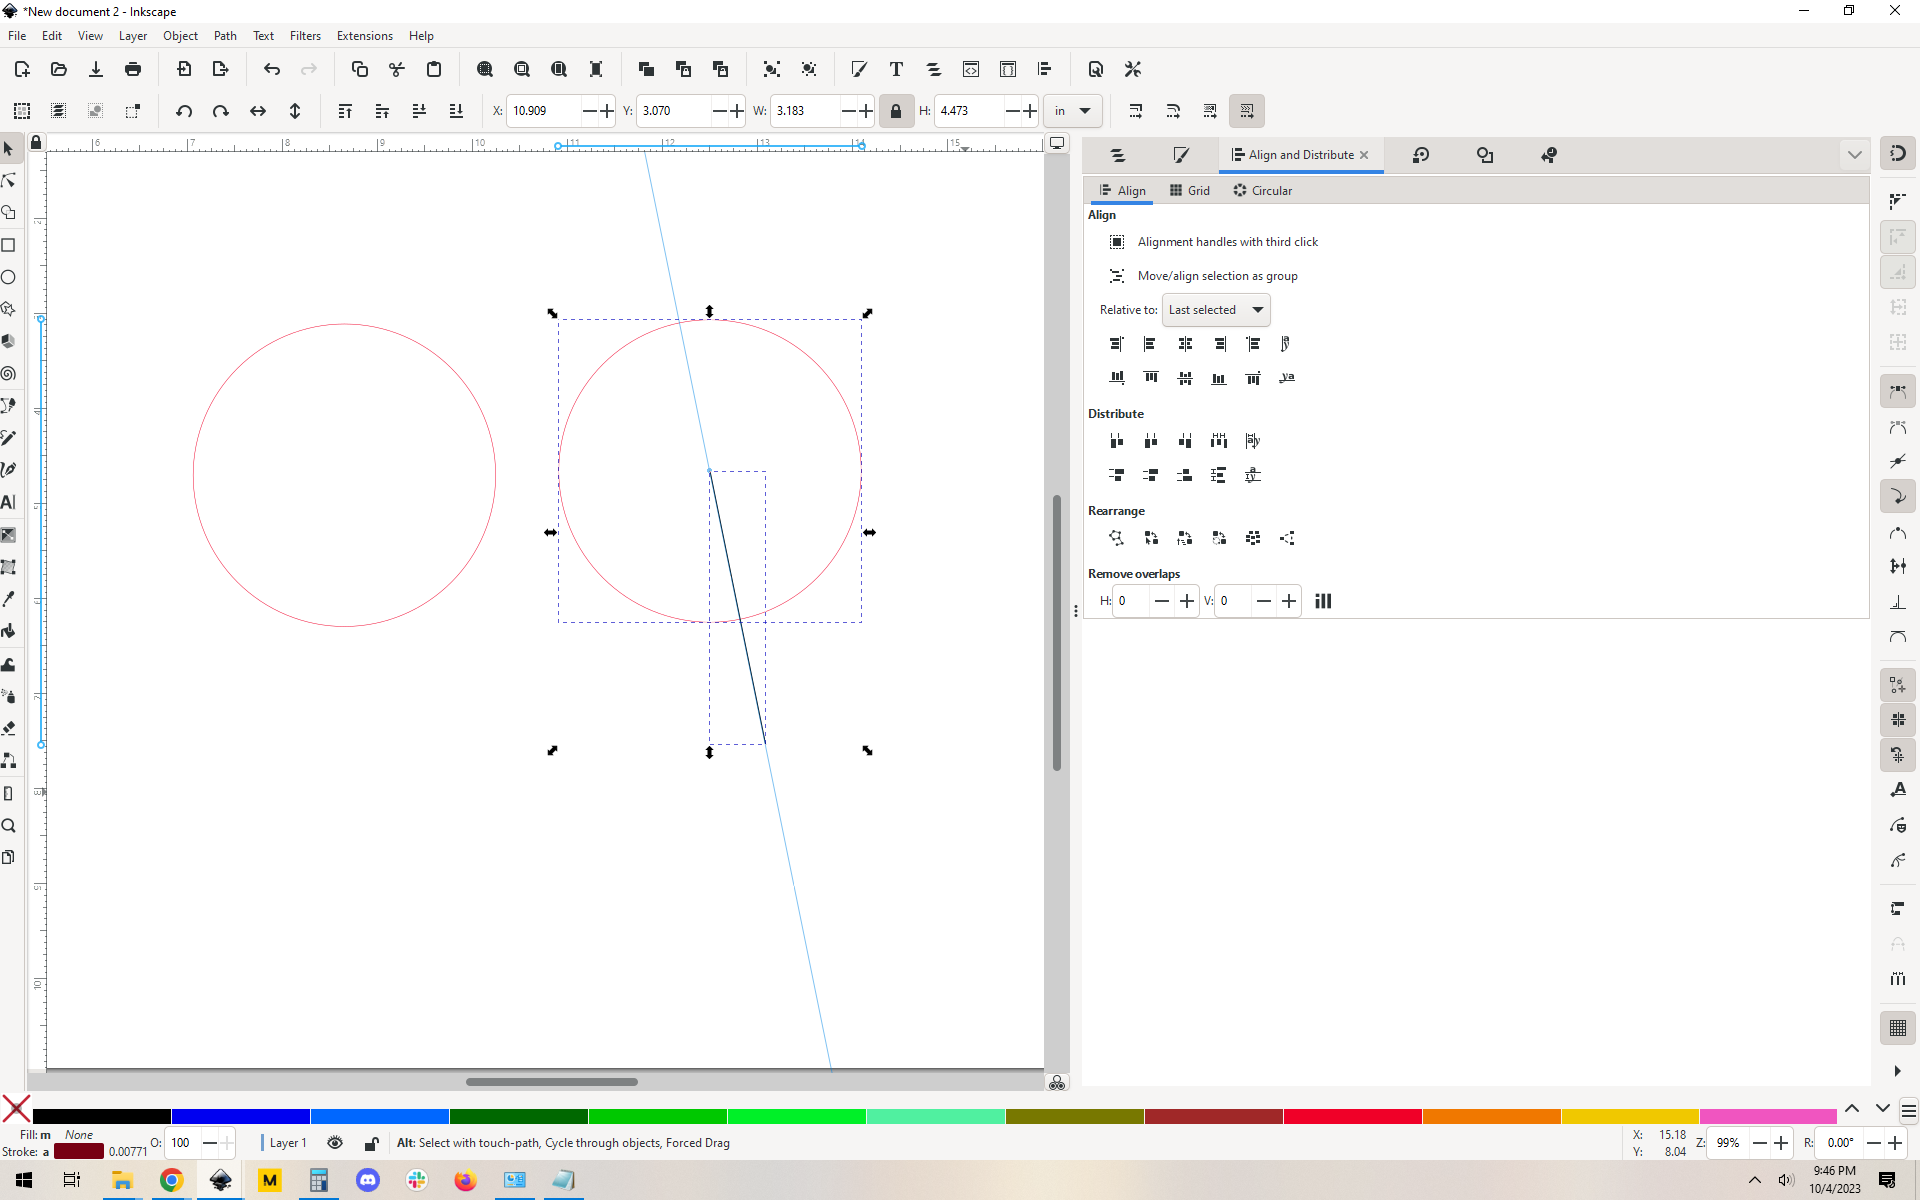
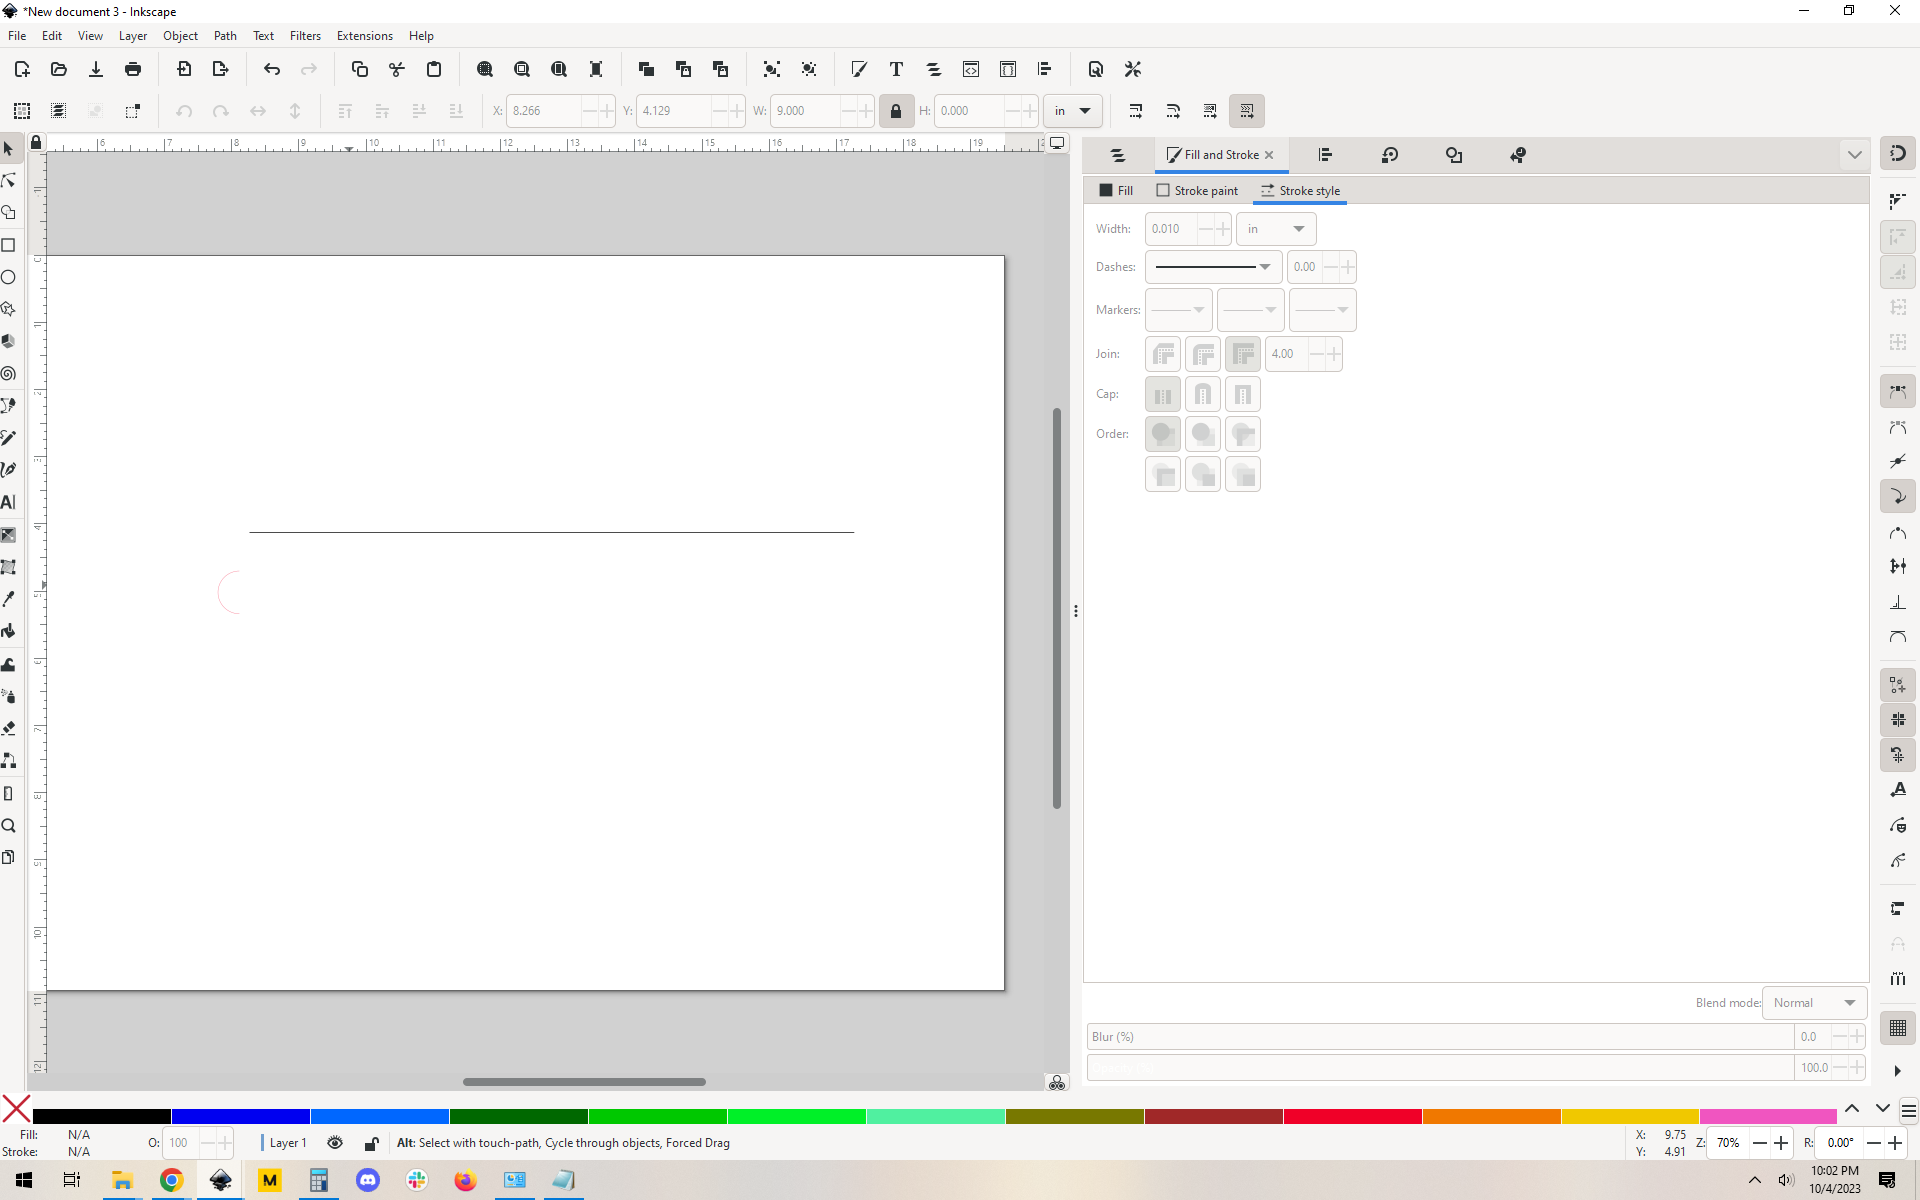
Select your new line and the right circle, and use the path tools to do Path->cut path. This will put a cut in it at exactly 258.5 degrees. You can then delete the segment of the circle after that point to get this pair:
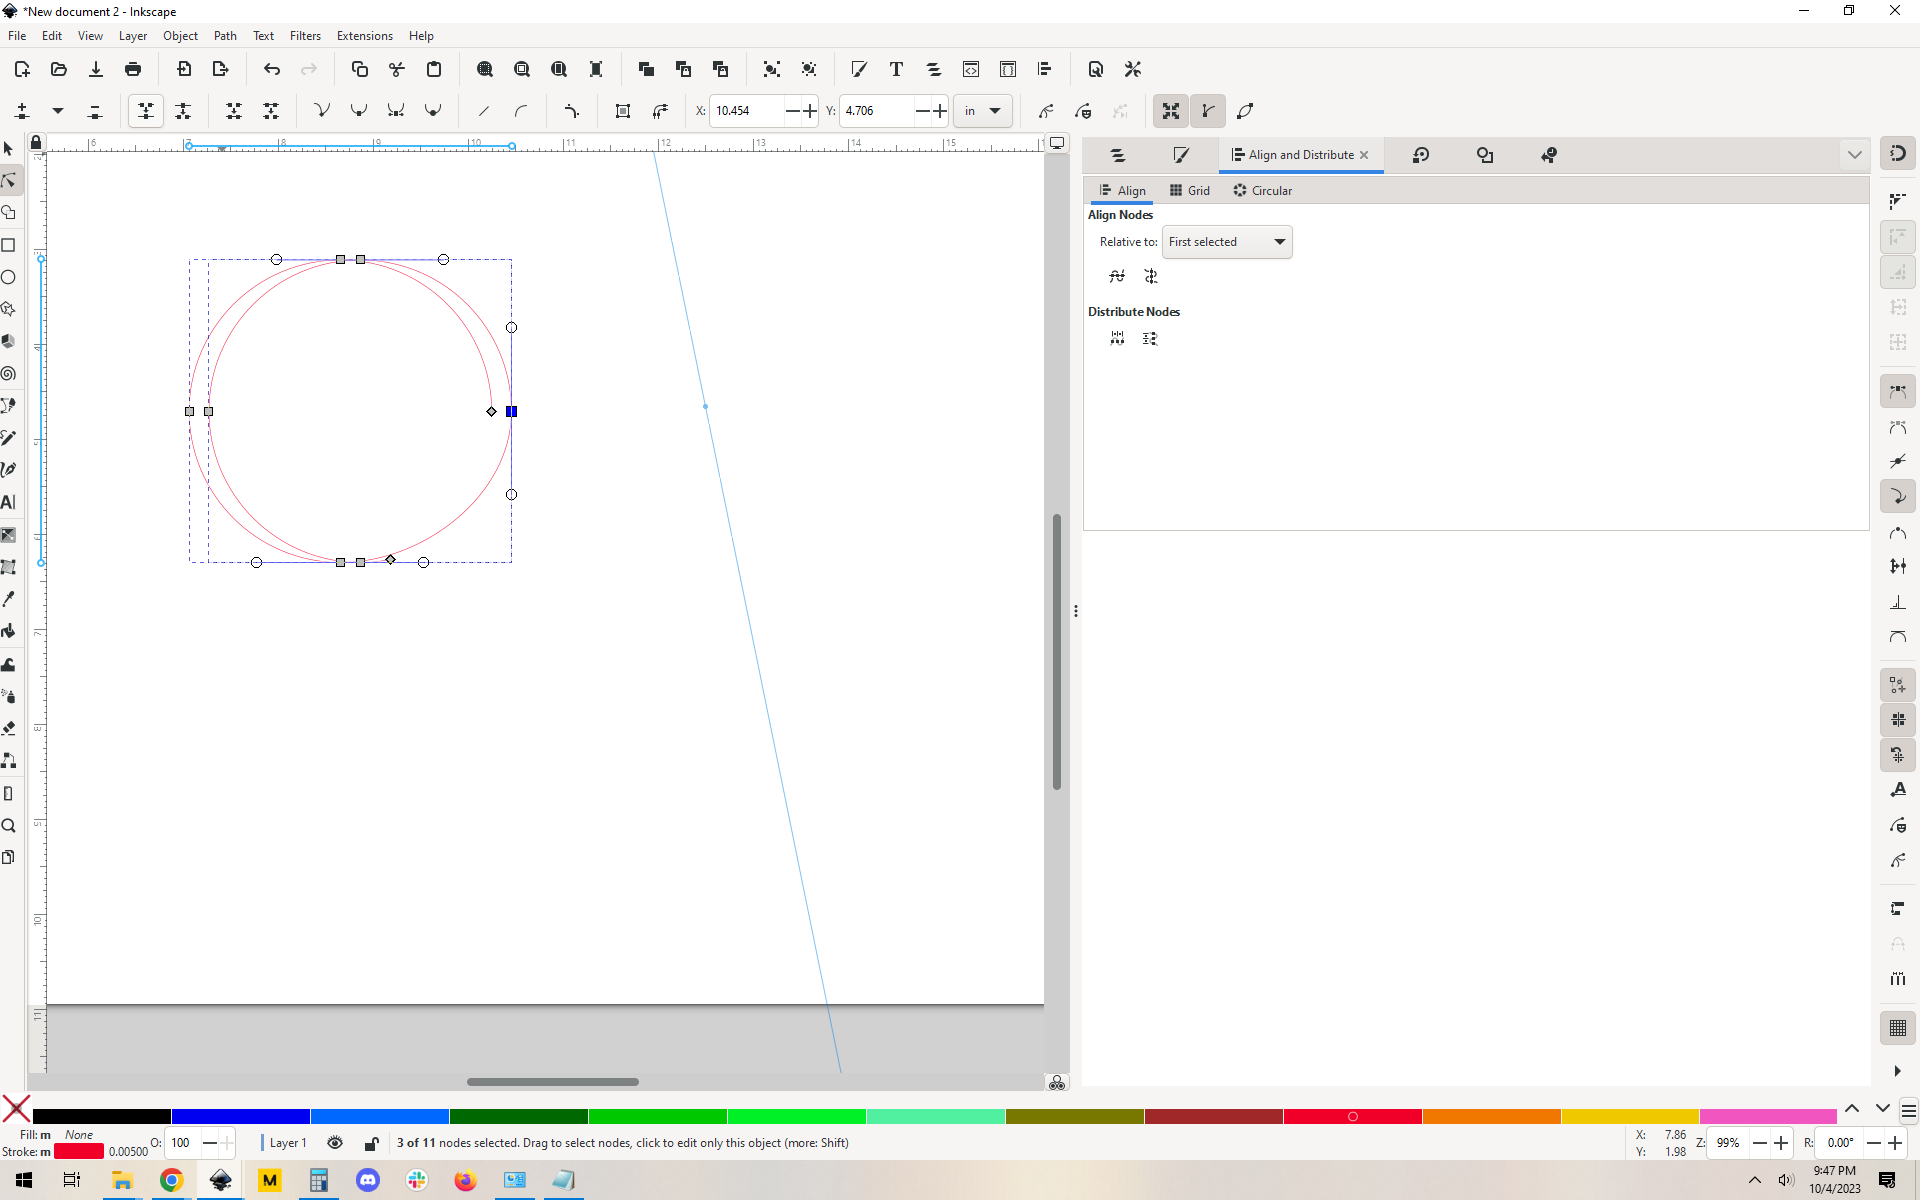
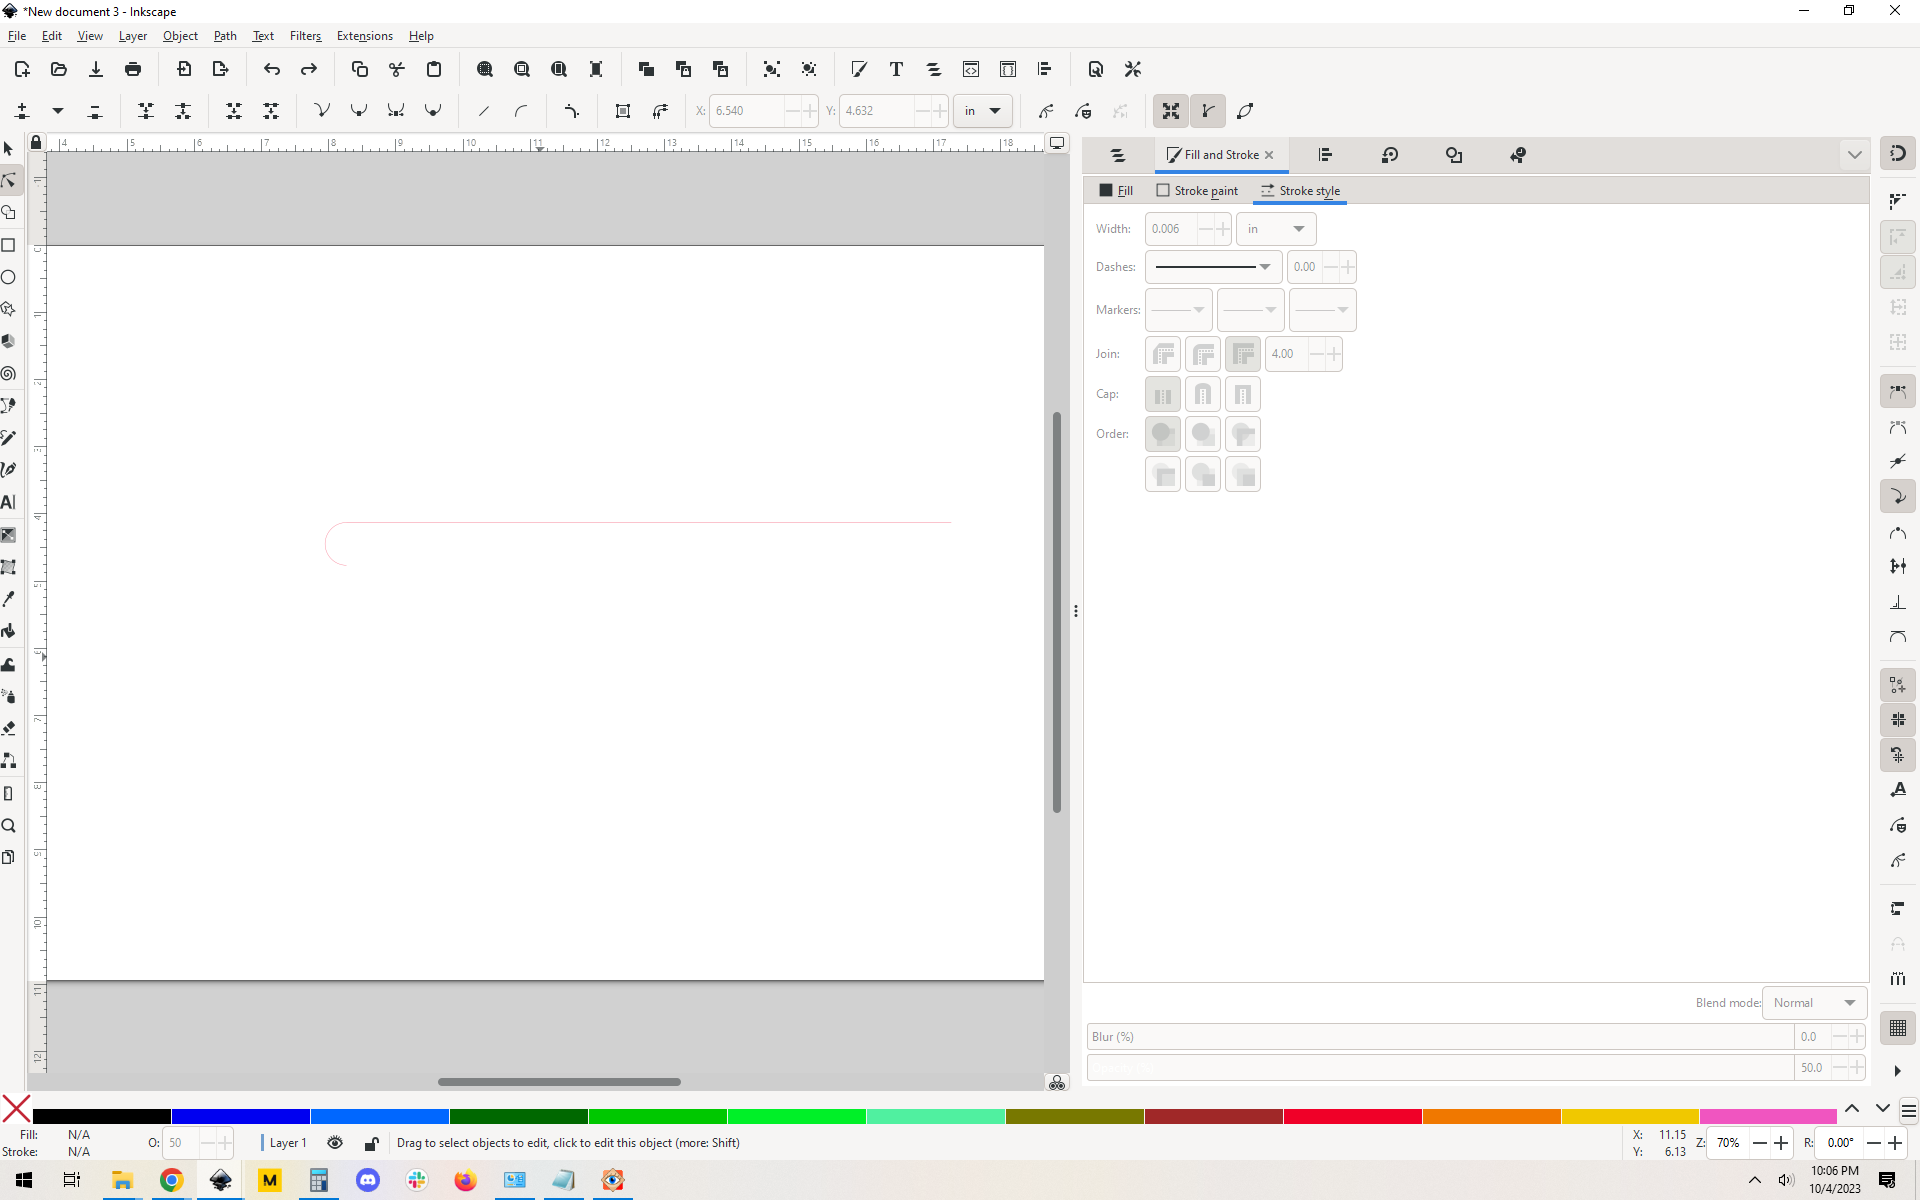
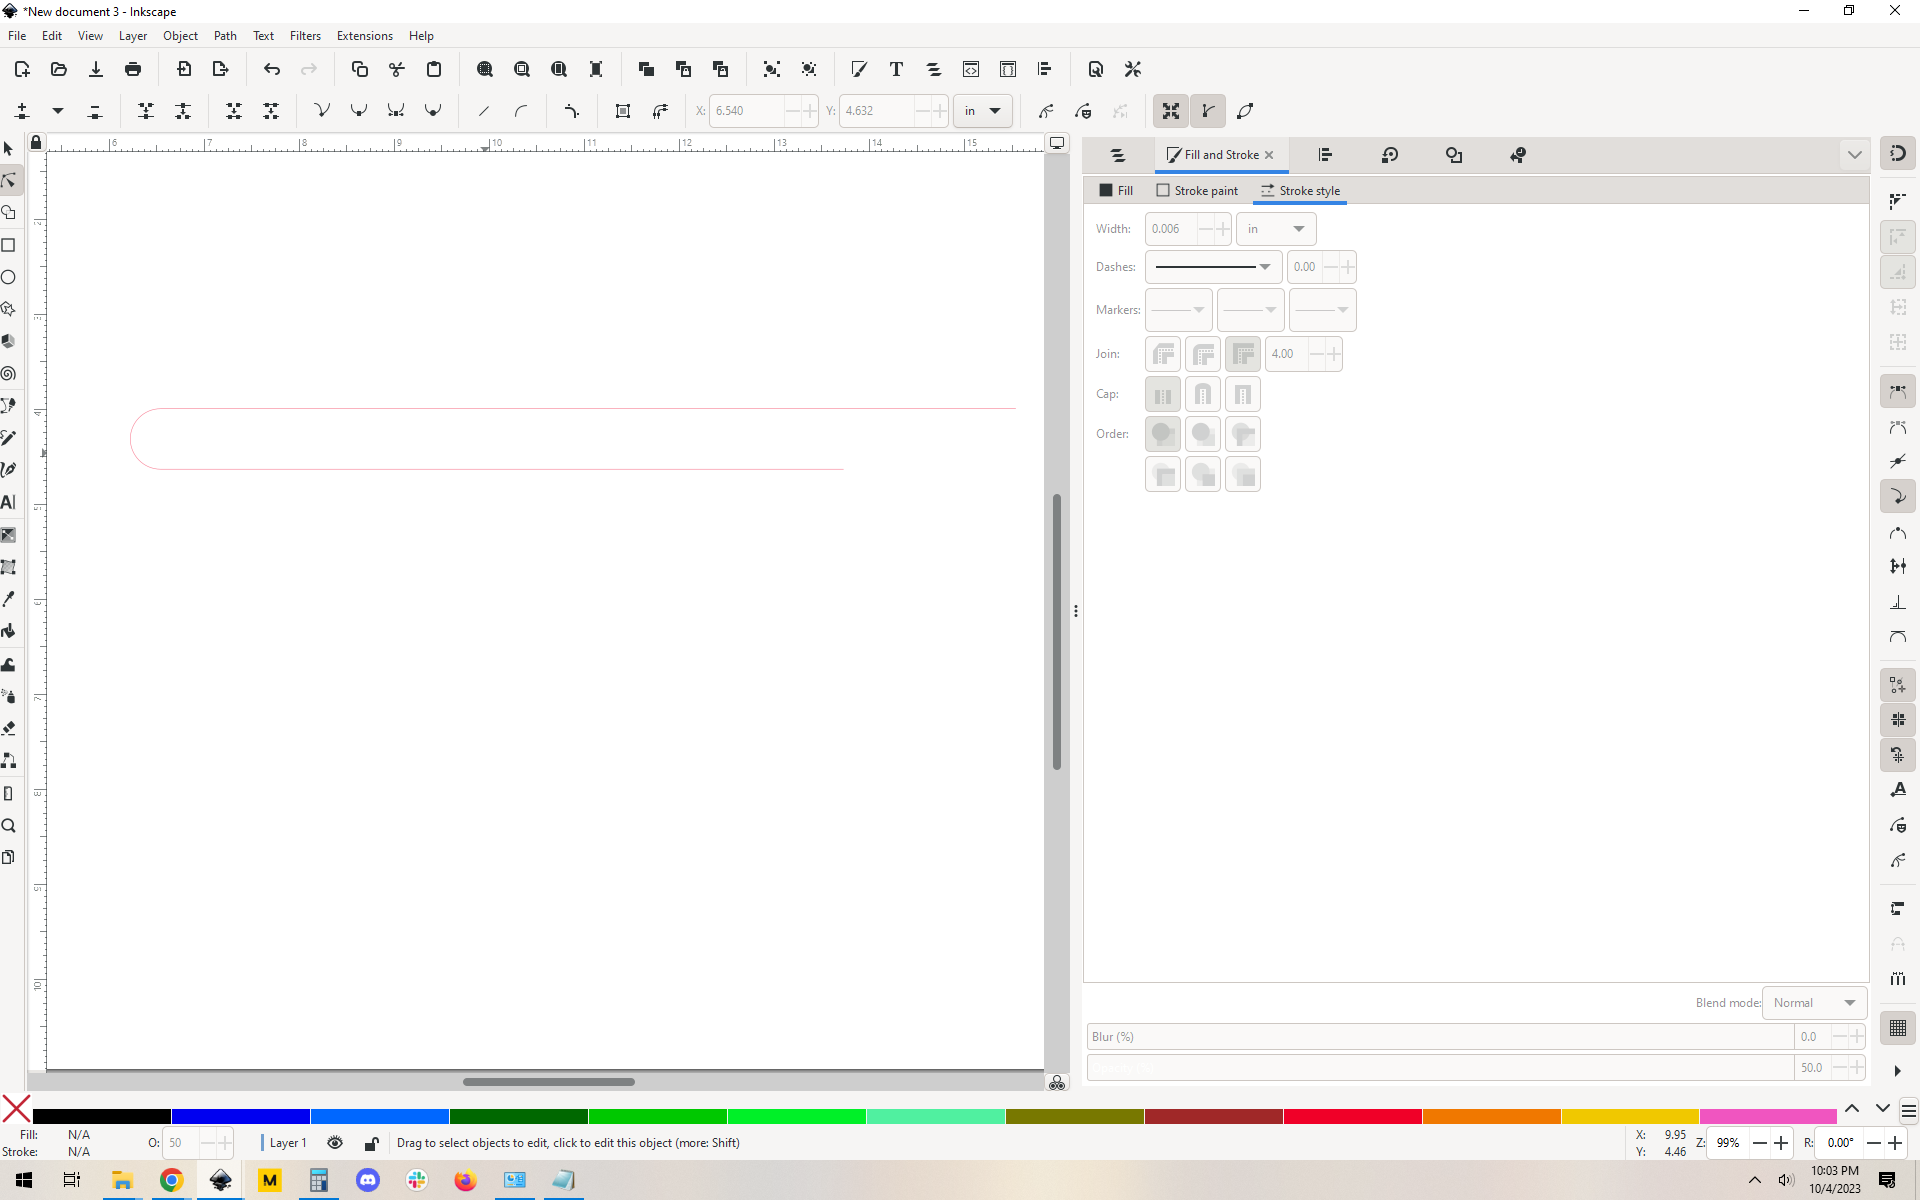
Here they are snapped together, at the rightmost nodes. Join the nodes that are snapped together. Then drag your nodes to sit on top of each other as expected, and you now have 1.718 circles that loop around on themselves, one continuous path.
Here’s the SVG if you want to fool with it. It looks like one plain circle, but it really isn’t. Grab the nodes and drag them around to see for yourself.