I imagine most people will have more room in front of their machine than behind. If you feed a long sheet in from the front then you would be able to make something as long as the distance from the front of the cut area to the wall behind the machine. However if you then take the sheet out and push it in the other way until the end of the last cut is visible to the camera, then do the next cuts while drawing it out, then I think you will be able to make something about twice as long without having to move the machine away from the wall.
Has this mode been envisaged? Obviously it would need to recognise the cut had been rotated 180 degrees and flip the artwork to match. So it is almost just an extreme case of coping with angular misalignment.
Have been trying to figure out what the arrangement of equipment will be needed to do a 20" x 8 Foot piece through the pass-through.
So far I have found these items to minimize the misalignment (from a procedural process - not the GF software:
Need at least 4 of these - (adjustable, inexpensive, easy to position) with some sort a guide on one side.
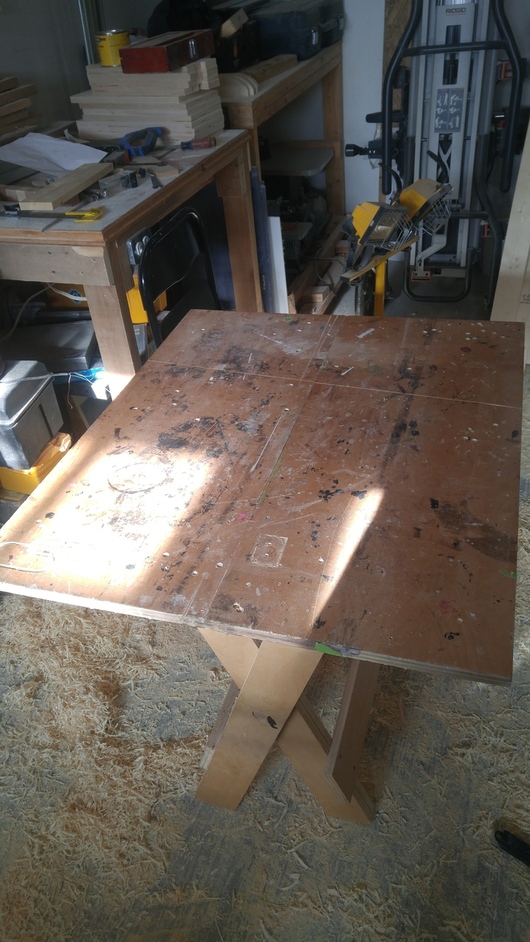
A fold-able table for storage, but needs to be modified for height adjustment and GF footprint table top:
Now once you have the stands adjusted to the slot opening height, you can use the material to align the closest stands (going through the GF slot).
That will keep the material supported and physically aligned with the pass-through slot (minimizing the mechanical issue of the process). Also, since all the units are fold-able, everything stores out of the way and you can the use the GF in your normal work location.
As a sometime woodworker who has been through a lot of roller stands and the like, I would recommend infeed and outfeed tables topped with some kind of very lightly textured laminate and attached to the same table as the GF. Otherwise you may spend a lot of time getting things aligned and leveled. (And yes, the magic camera can supposedly align the cuts/engraves, but that doesn’t help if you run off the side of your material. And misaligned/unlevel rollers will guide you material sideways.) For rigid stuff with straight edges, you’ll want a fence on the infeed and outfeed that’s aligned with the GF axes.
For the 180-degree case, meanwhile, I’d think there would be manual workarounds, if not immediately then very soon. Because from what’s been described of the machine’s interior, even the basic can hold sheets larger than the cutting area.
Mine has a lot of mileage and Battle scars. I left the other one at a company I use to work for some years ago. Still pissed about that. And they are great for really small shops.
I think that if you are going to do a steady diet of long parts, you should build an infeed and outfeed table, similar to a high end mitersaw. I would use laminate for a slippery top surface and make the Glowforge inset so the feed height is flush with the infeed slot.
You would need 18’ depending on how flexible your substrates are. 8’ infeed, 8’ outfeed, 2’ for the Glowforge.
Paper, you might be able to run off a roll and reroll in a short area, but 1/4" hardboard would need the full length.
 software: