As others have said, you can rasterize your image and use the photo engrave features. I tend to prefer designs with fewer, more boldly defined “colors,” so I do a lot of engraving of vector shapes.
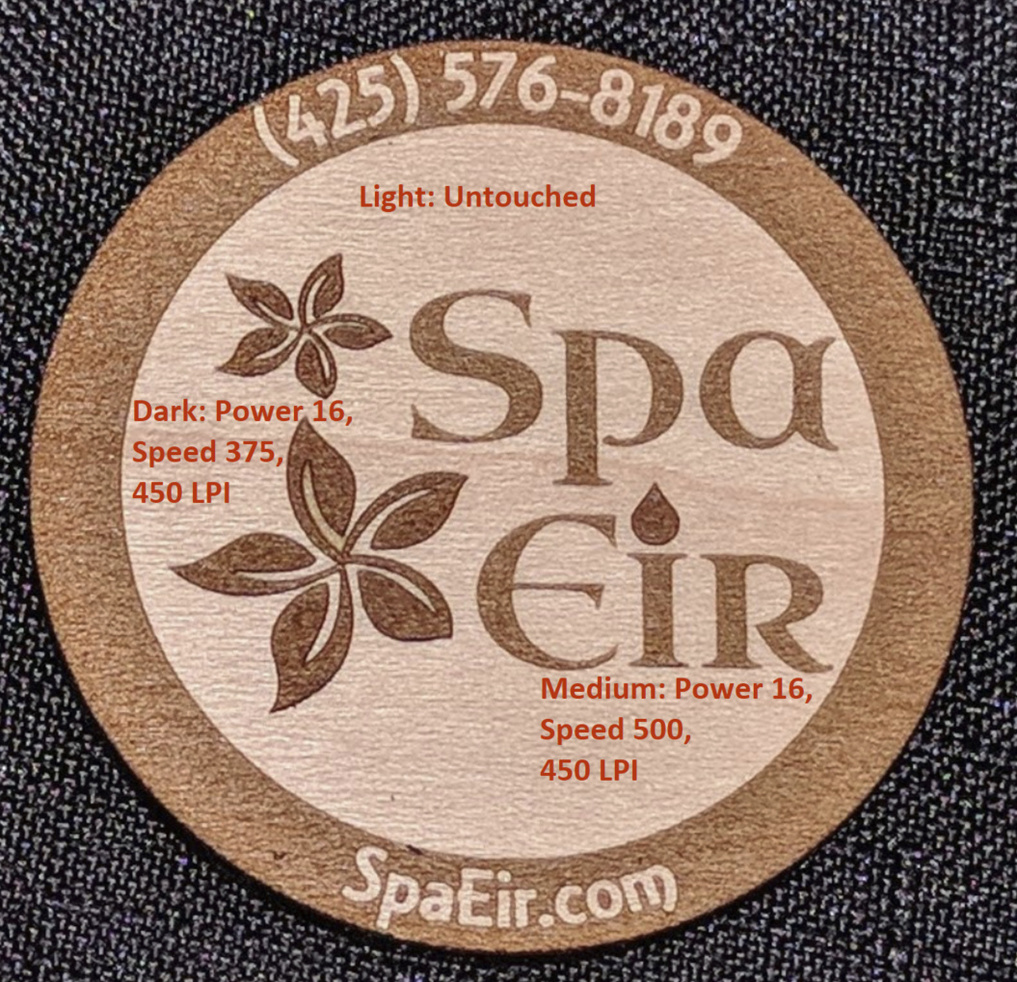
For example, here is an object on PG Medium Maple Plywood.
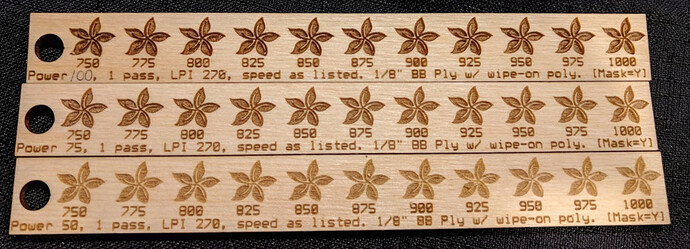
When I first try a new material I make a bunch of test objects to show what the shading is like at various speed/power combinations.
Here are some PG MMP vector engrave tests. (somewhere I have another set at higher speed)
For comparison this is a grayscale raster object. You can see that there aren’t that many distinct shades in either mode.
This is baltic birch. You can see it just does not get as dark as PG MMP. I think the inner MDF core of PG plywood is superior for “colored” engraves, but BB is so cheap I will keep using it for a lot of things.
For my “final” settings I try to use as high a speed as possible to keep job time as low as possible. I have also learned to live with 270 dpi for most wood projects. I don’t think most other people will notice increased resolution, but I sure do notice the increased job time…
Unfortunately there is just no way around a lot of experimentation!
As for making cutlines, try this method in Illustrator. I got it from @ekla and documented it with pictures:


