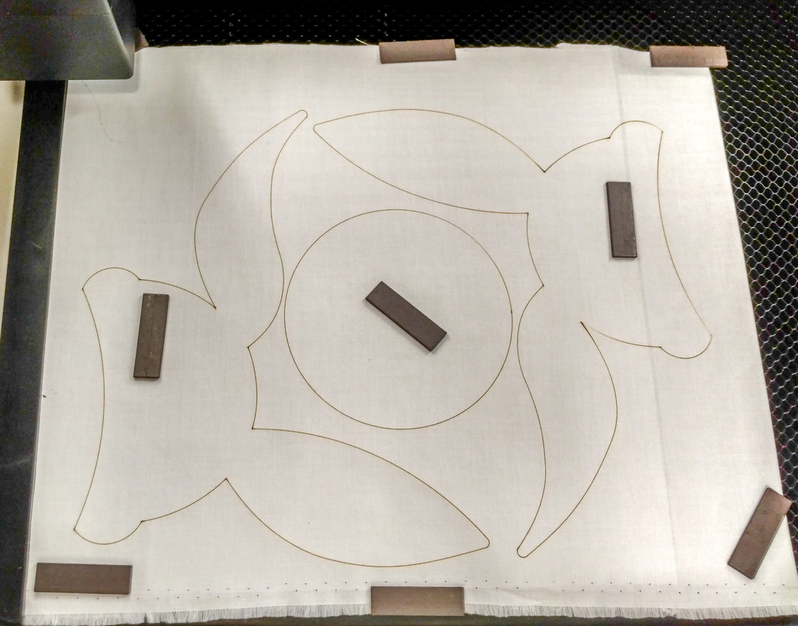
When I first saw the Glowforge video I thought this might be just the thing to cut out fabric for quilt applique. When my machine finally arrived the third thing I tried was to cut some adhesive backed fabric.
This is cotton fabric, backed with an iron on adhesive, (Steam-a-Seam2 light). I found I could cut all the way through the fabric, but leave enough of the backing paper to keep the parts from falling out.
Cutting all the pieces by hand would have been a pain and rather time consuming. It was much faster to use Art and Stitch ( a quilt/embroidery design program) to trace the photographed pattern. It will output an .svg file that was usable in the Glowforge.
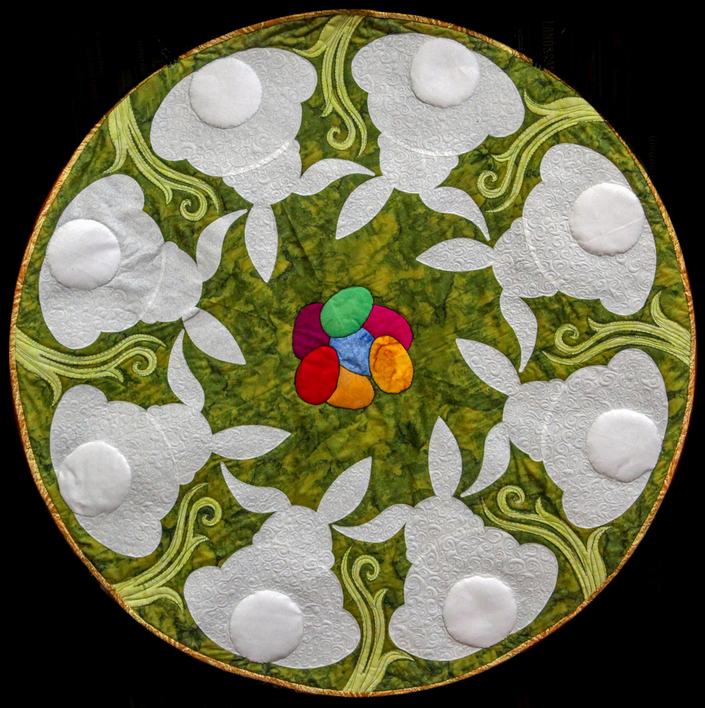
Wonderful applique! I think this machine will be a real boon to those cutting fabric pieces like this. I have a Brother Scan n Cut that theoretically can do the same, but because the blades dull so quickly I have had a lot of trouble using it for this type of thing. (Actually, I haven’t used it for a year. I ought to sell it.)
Sorry, we were talking about fabric weren’t we?
I don’t remember and the more I think about it, I think I cut it with a paper cutter.
My only excuse is senility.
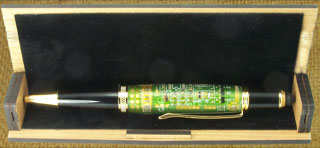
I like the corn cob pen too. It is treated, like a lot of other spalted (partially decayed) woods, by impregnating the material with resin under vacuum.