I have done this a lot, here are some tips.
If you are doing simple shapes, like cutting out a hole and popping another piece in to it, you just need to make the inner piece slightly bigger. Use the Offset Path function in Illustrator to add + 0.007" to +0.008". (That’s the kerf width–the width of the beam itself. The exact value depends on what you are cutting but that’s the right range for 1/8" acrylic and plywood.)
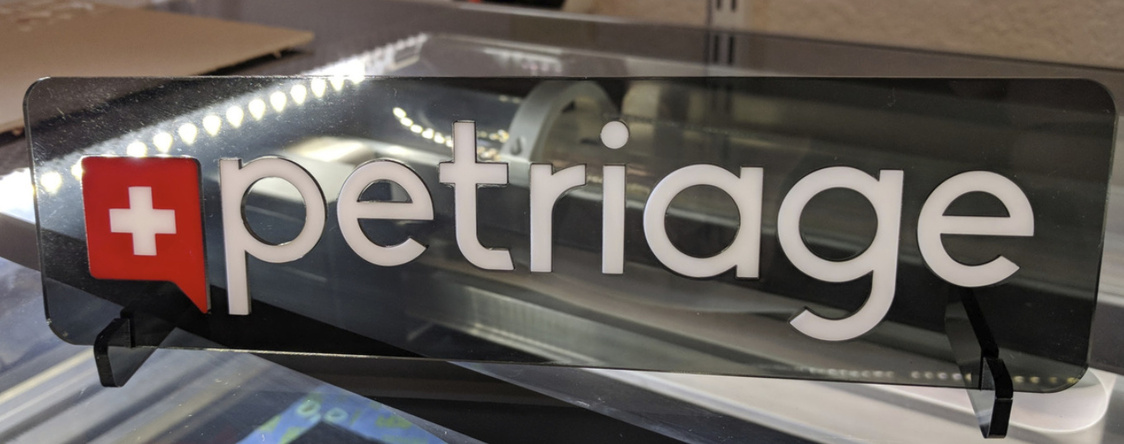
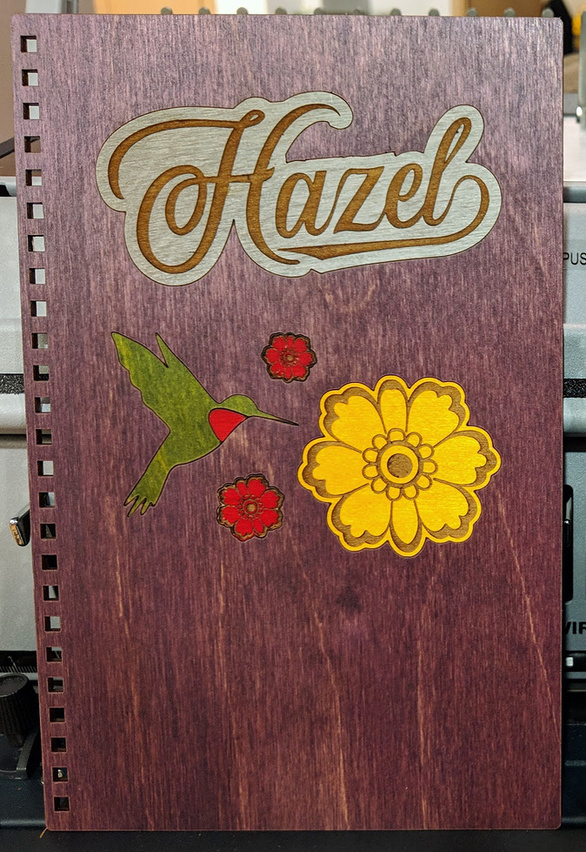
I used that method to make this sign. Of course, the insides of the letters needed the same kind of compensation. It’s easy to get mixed up so figure out a method to organize the shapes you have processed.
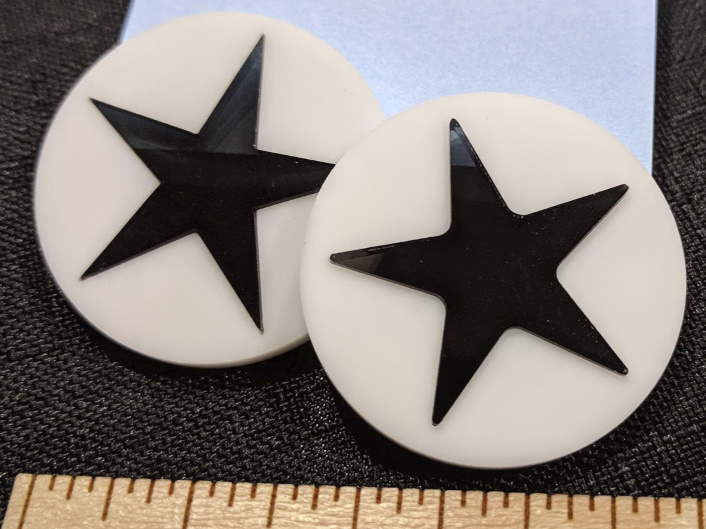
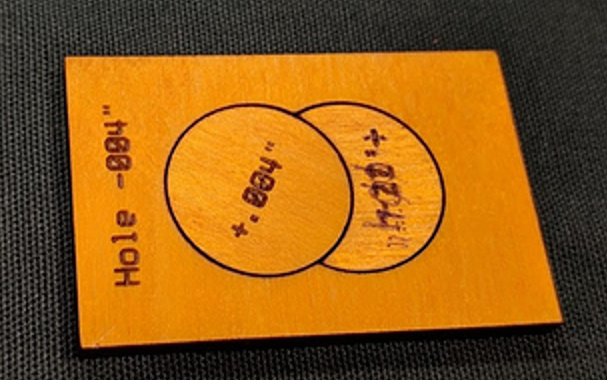
If you are doing more complex things where multiple pieces are in contact with each other, then the simple method won’t work. You need to adjust each piece. Look at this test. The hole was made smaller by 0.004". Each piece that fits inside the hole was made bigger by 0.004.
This method was required to make the 2-part hummingbird on this journal cover.
Other notes
- No matter how carefully you do this sometimes parts, especially little parts, will have a little variation that makes them easier or harder to plug in. Cut more copies than you need when making tiny parts. And you may want to flip shapes upside down, or try plugging in from either side.
- Sometimes part of a project fits well and part is too loose, or too tight. One copy can feel different than another, even cut off the same sheet. A change of 0.001 in the kerf makes a difference you can feel, so the slightest change in the material height or composition matters. So it goes. When it doubt cut a bit looser because you can glue a loose part but a tight part is completely useless.
- E6000 glue is good for acrylic, wood glue for plywood.
- Peeling masking off tiny parts is NO FUN. Experiment with cutting without masking, you may find it works OK and saves you a lot of time.
- A large acrylic project may look a little warped after assembly. The tighter the fits, the more this will happen. Make the fit as loose as you can to meet your needs. If you are doing a big piece, you may even want to heat it to get it to lie flat. A few dots of glue in the project is better than having a project that won’t lay flat because the pieces are super tight.
- In Illustrator you use Object>Path>Offset Path to adjust size. It will make a copy of the shape. Zoom in and delete the original shape. This operation is also possible in Inkscape but I forget the name of the command. There is no exact Offset Path tool in Affinity Designer. (Well you can add stroke thickness and then “expand,” I think, but you would need to play with it.)
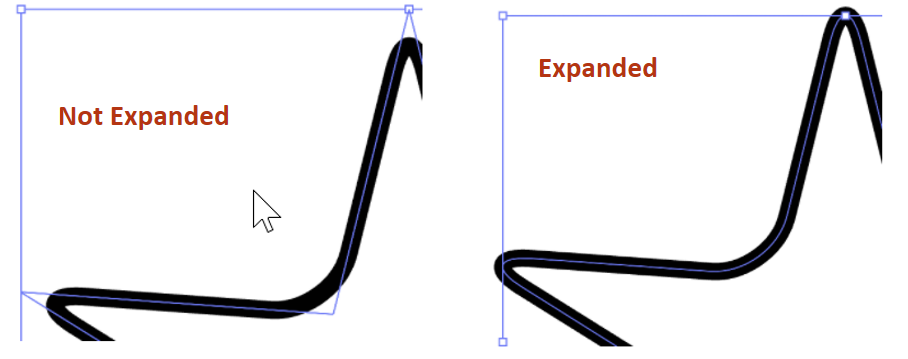
- In Illustrator some commands don’t actually change the underlying object, they just change its appearance. You may need to do Object>Expand Appearance. Here’s what rounded corners look like before and after.
Other discussion here:
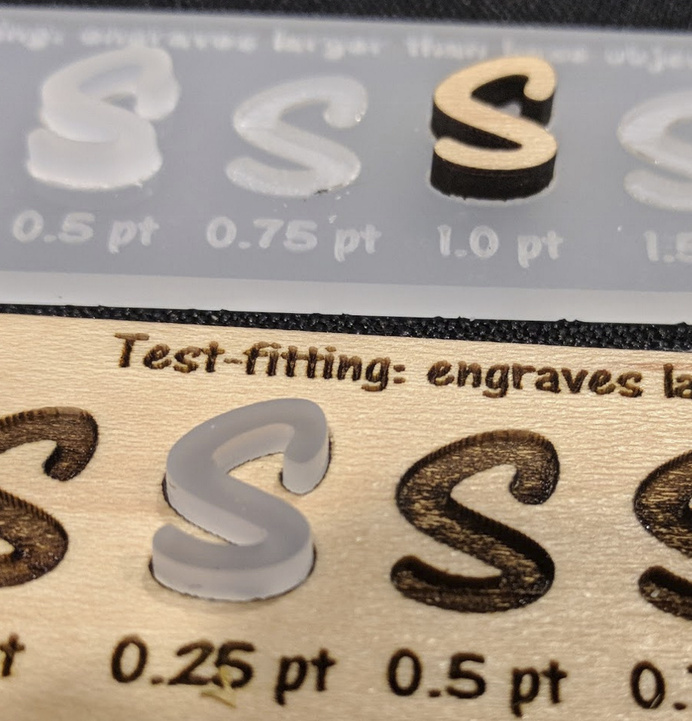
One other thing to think about: press-fit flush looks nice but you can also use engraving to make a “socket” for another part, if you want the piece to have depth. (This was an early test, I used points instead of mils in the notes.)