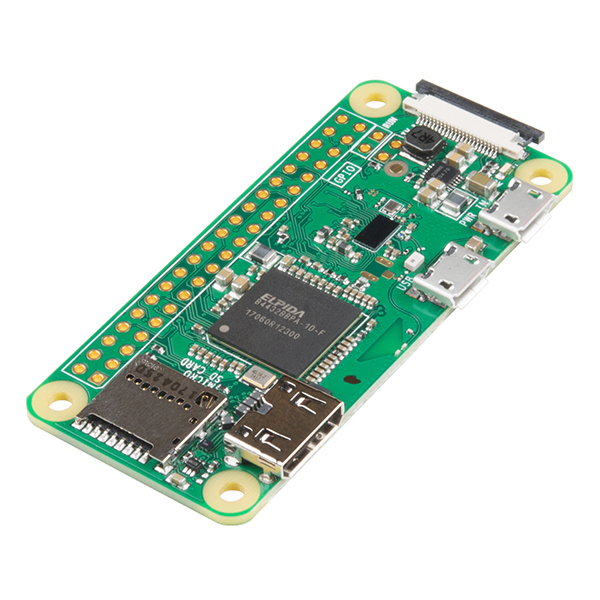
I’m planning on integrating a Raspberry Pi Zero W (a tiny, relatively easy to program micro-computer) to remotely monitor my GF. For those that aren’t aware the RasPi Zero W has a micro SD card slot, a mini HDMI port, two micro USB ports (one for power, one for USB), and 512MB of RAM. It has a single-core 1 GHz processor chip, and built in wifi & bluetooth. It’s a lot crammed into something barely bigger than the size of a stick of chewing gum.
It would be possible to 3d print a cap for the coolant reservoir with a passthrough to allow a watertight grommet and liquid rated temp sensor. Of course you could also measure internal ambient temp, humidity, and if you were feeling froggy and could reach it, also monitor temps of the PSU, but that would require due caution for circuit isolation. I’ve been thinking of a way to create an inductive load sensing circuit to work with a RasPi program to turn on my exhaust/filter blower and have an automatically timed post shut off cool down/continued venting.
The Raspberry Pi (RasPi) Zero is the tiny version (there are other similar boards that are even smaller), but the RasPi Zero W measures 66.0mm x 30.5mm x 5.0mm / 2.6" x 1.2" x 0.2". So it’s tiny enough to fit inside the GF on the left above the coolant reservoir.
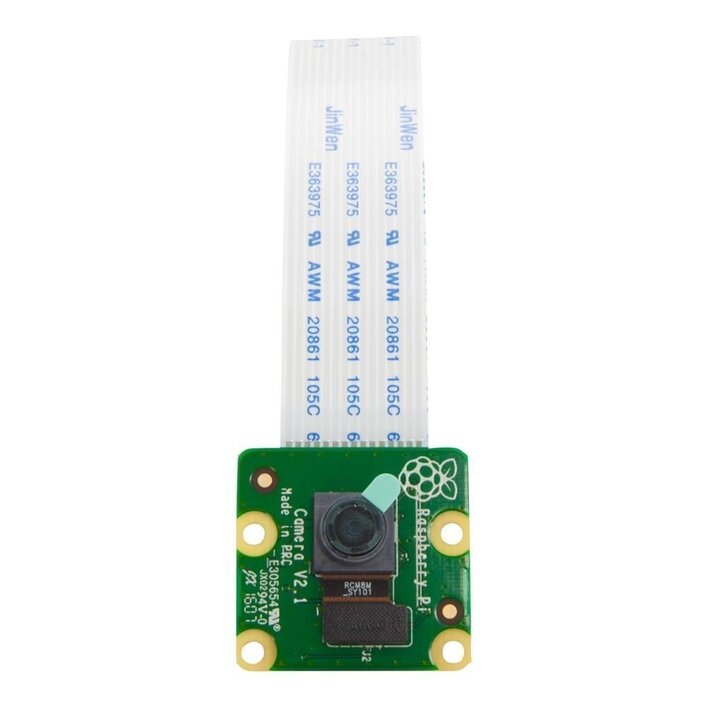
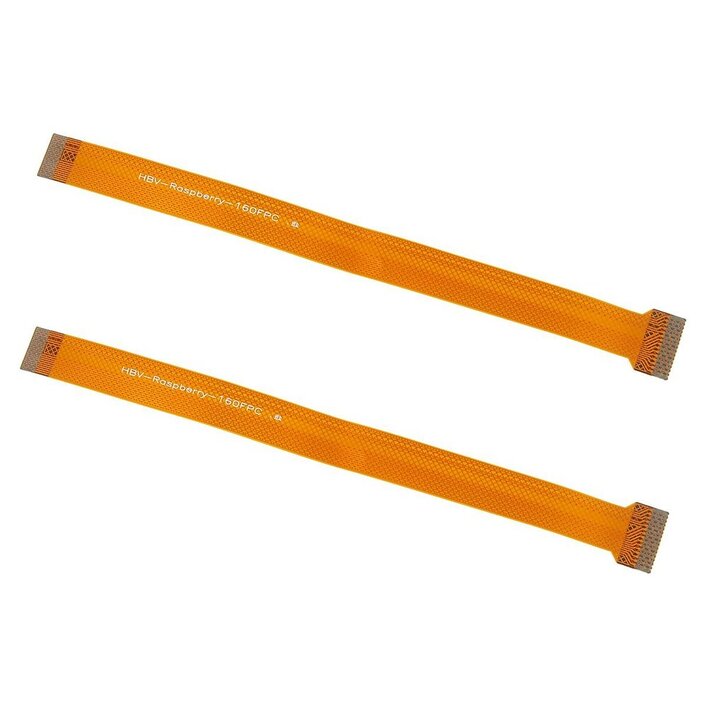
Mine is to arrive in the coming week, and I did order some extension ribbon cables which are slim enough to mount the RasPi on the outside and snake the cable between the lid and or the front door (perhaps up from beneath. I’ll figure out the ideal way to mount it after it’s assembled and working. I did order the 8MP 1080 camera for it as well. I’ll most likely be making a duplicate one to install Octoprint on for my FlashForge Creator Pro 3D printer too.
Great idea! Extra points for creating a tutorial on how you do this. I would love to add one of these to my GF! I have been playing around with Arduino, but I have not ventured into Pi…
That being said, if you just want to stream a video of it for someone else on the same network to watch - or open up a port for people to watch outside your network… that sounds like a great project!
I have not been able to get this working with a Raspi3. The zero might have too little processing power.
Frustratingly, it does not seem there is a low latency (or live) way to hook the camera up, the pi up via hdmi to a monitor and watch…
The closest I’ve seen is MotionEyeOS but the way I understand that is that you set up the pi and it sends the video over your network… you can bring it up on your phone or computer. I have set up motion eye before and it’s great…
But if you want it to display over a monitor you need another pi hooked up to play it back (I have not tried this). Not even sure a pi has the processing power to play something back in real time after it goes through your network. I am not a network engineer btw.
I am looking for software that allows the pi to be hooked up via hdmi to a monitor and show a live feed to the monitor… I can’t stand over my GF for 2 hour prints and watch it the whole time… it would be nice to have a monitor above the GF with a real time view that I can glance up every now and then.
I like the idea, but personally I would wait for the warranty to expire before any mods, just in case a problem did manifest.
The warranty is our insurance policy, and it has value I am not willing to ignore at this point.
There are no mods this does not touch the GF or interact with it in any way, hardware or software… it’s literally like setting up an old school camcorder next to you GF and hooking it up to a TV using the red, white, yellow cables.
I just want mine to sit above the GF and get a bird’s eye view of the process… it seems @rusty.tracey wants to put it inside… that’s a different from what I want to do…
putting it inside will make it dusty and dirty and might have ventilation or electrical issues… I also don’t think it’s got enough field of view to capture much!
My GF is in the unfinished basement where it’s not all that comfortable. I have one of those relatively inexpensive security camera DVRs that connects to my network. It’s mostly for recording bears and other wildlife around the house. I pulled one of the four cameras inside and hung it above the GF.
Makes it easy to sit next to the warm woodstove upstairs reading the forum while the unit does it’s thing.
No connections other than plugging it in. You can point it at whatever you want to see, take the monitor and go anywhere in the house or outside to feed the cats or break up a fight.
Been working great so far. (Most of the time I’m in here anyway.)
Not something I bought for the intent of using with the GF. Already had it. A NightOwl HD 1080P. Eight Channels but comes with 4 wired cameras connected to the DVR, accessible via my network or the web. Got it at Costco for something like $250 quite some time ago. I’m sure there are better options.
FWIW in my experience the Pi tends to have (at least) a few seconds of lag when used as a network camera. That may or may not be an issue. (and it may depend on how good your wifi is)
Thus far I’ve gotten the Raspi Zero up and running. I’ve successfully tested the cameras video and image capture which do work outside of FruitNanny. I’m still getting it squared away so that the FruitNanny server actually feeds video and not just a page with a “loading” image.
I’ve discovered a number of issues from the Software Installation. Older versions of programs, libraries, and dependencies. It’s taken a tricky bit of work, but with a fair amount of searching I’ve been able to remove the old ones, wget the new ones, compile and install them. I’m definitely not an old hand at linux commands that’s for sure. I know enough to be dangerous, but have been lucky enough to not yet nuke the NOOBS install.
The two main issues that’ve taken me the longest to get sorted were getting the correct version of NPM & node-js installed.
I’ve ordered a DHT22 (digital humidity / temperature) sensor which should be quite easy to integrate.
For now I’ve got the Fruitnanny server running. I’m currently in the process of getting some user environment path variables sorted, mainly annoying issues with incorrect paths, eg: PATH=$PATH:/usr/bin and /usr/local/bin etc. I know there’s got to be much faster and easier ways to do it, but for now I’m trudging along as I figure out what commands are needed and how to properly set the switching.
There were a few directories I had to CHMOD the permissions on, primarily the PM2 one. I took the oft frowned upon method of just doing CHMOD 777 and giving everything permission to that directory.
Oh, and if anyone is considering going down this path, it is MUCH easier to enable SSH to the Raspi, and SSH tunneling to it. It’ll save the headache trying to browse/copy code from the sluggish Raspi and allow you to browse on your PC and then switch to the SSH terminal and do your work there. The only downside is that you don’t have access to the “GUI” desktop on the Raspi and it’s all text based (because it’s a terminal window).
I’ve also had success with running a number of commands with SUDO instead of regularly after being prompted that I didn’t have permission to access certain files.
Figured out why it failed… I had a power interruption while I was wget-ing the ffmpeg source, and had to do it again, but when I did it, I accidentally put it inside the ffmpeg folder: eg
/usr/src/ffmpeg/ffmpeg
I moved everything up a directory like I needed, but neglected to remove the extra ffmpeg directory. Whoops. Hence the:
“strip: Warning: ‘ffmpeg’ is not an ordinary file
make: *** [ffmpeg] Error 1”
So I ran this:
sudo rm -rf ffmpeg/; make
And I’m in the midst of trying to recompile it again. In the mean time I’m in the process of firing up Ubuntu and getting Buildroot on it. Wish I could run that in Windoze.
I rebooted the Raspi, re-ran the config, the compile, and the install. Both the compile & install took substantially less this time (like 5 minutes), and were successful. I’m installing the rest of the software with the pack. Currently on step 19 of 22. So close.