For all you Minecrafters, a project that is still in the development stage.
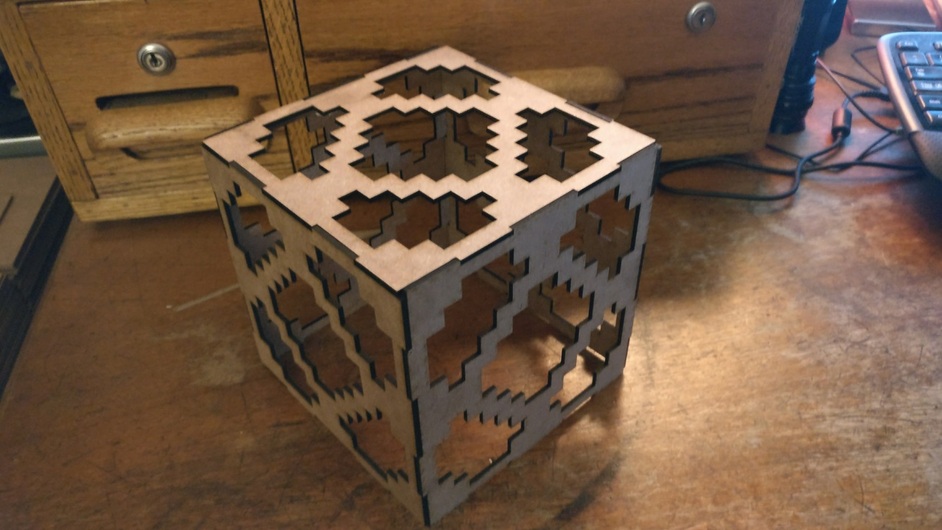
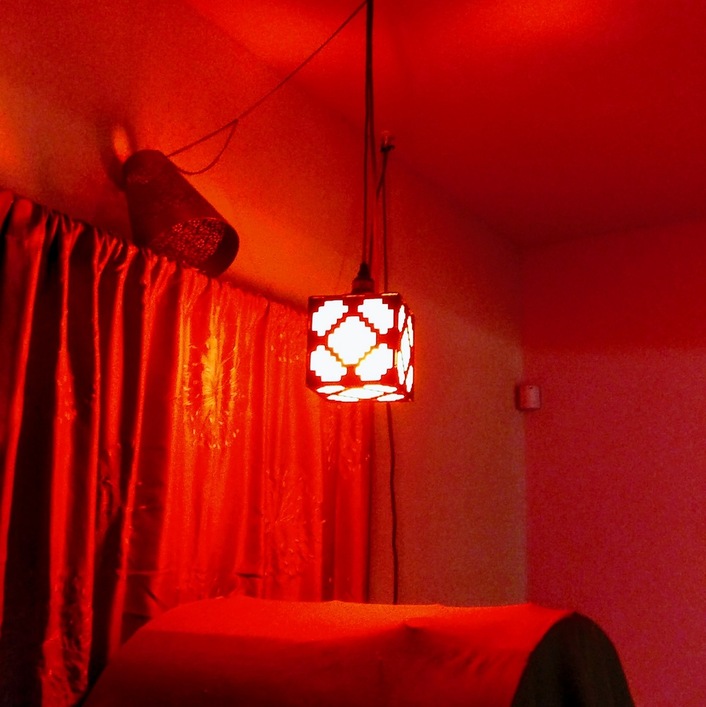
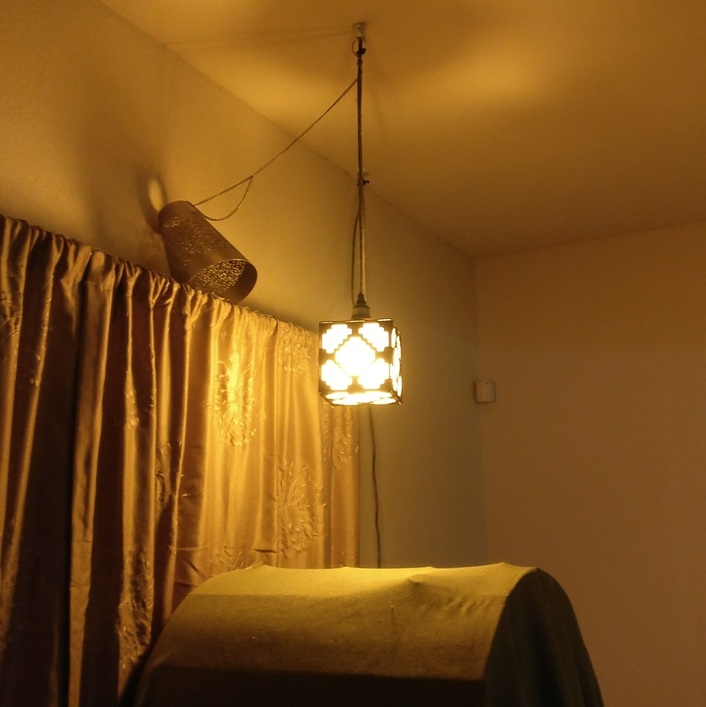
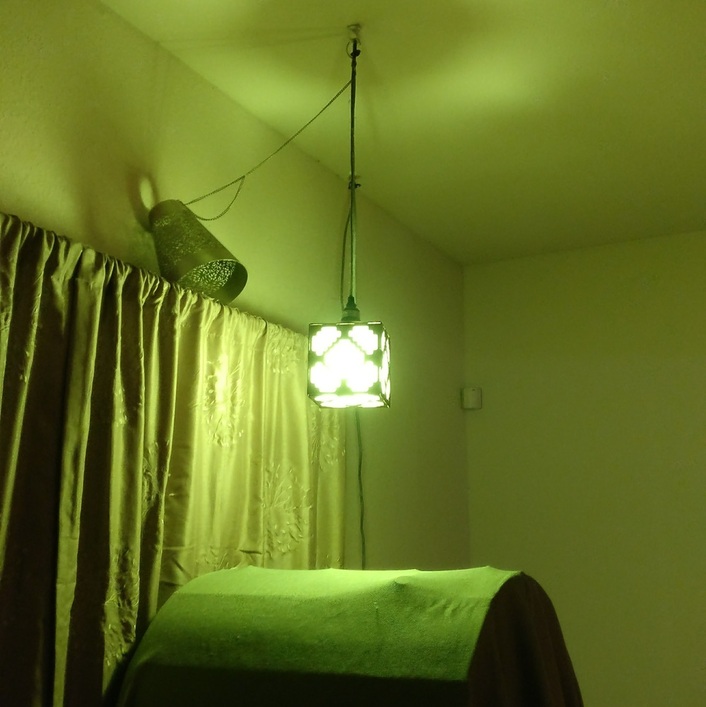
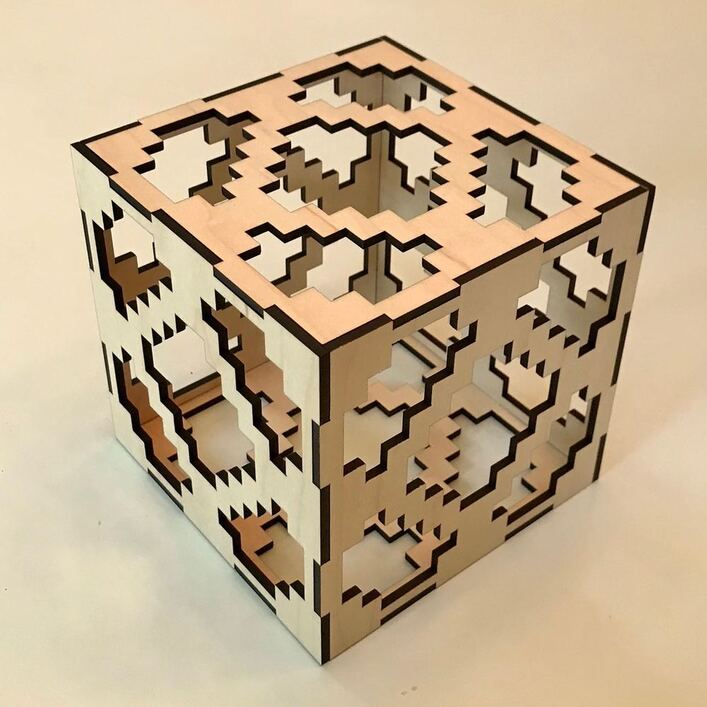
I have mocked up my first pieces of a lamp shade that is based on a Redstone Lamp from Minecraft. As of now I have the sides and top done. It’s currently a 6" cube. The plan is to scale it to about 16" or so. They will be able to be used for table lamps, even pendant lamps. With frosted acrylic cut to fit into the open spaces, and my Philip Hue bulbs, I expect this to be an impressive looking shade.
Nice work. You can probably make a slightly smaller cube out of the acrylic to fit inside it which may be easier than trying to glue multiple small pieces into the holes. Not sure if it would come out as nicely as your current plan though. Looking forward to seeing the finished project!
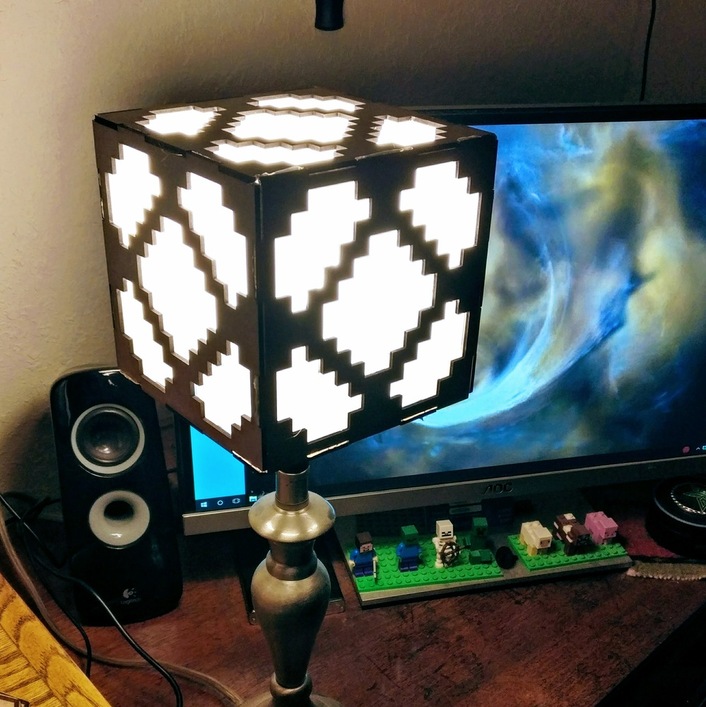
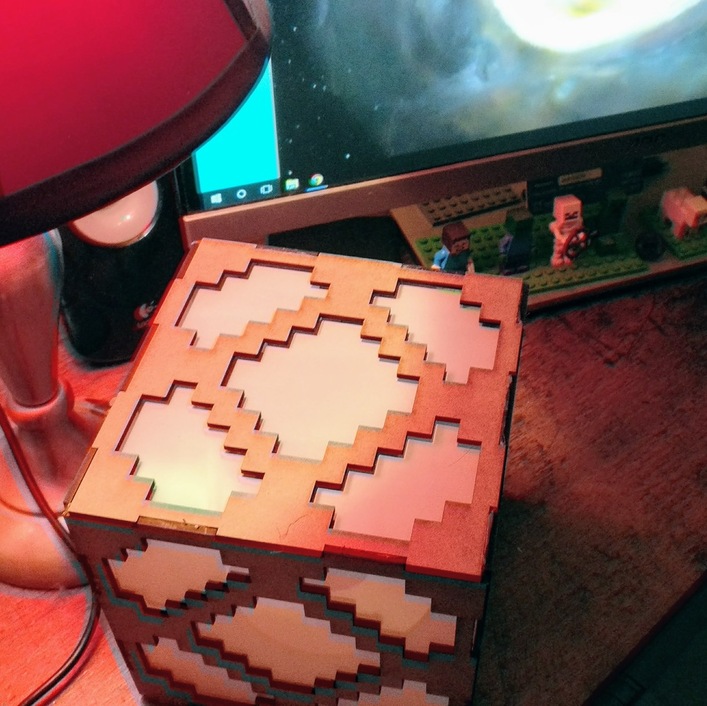
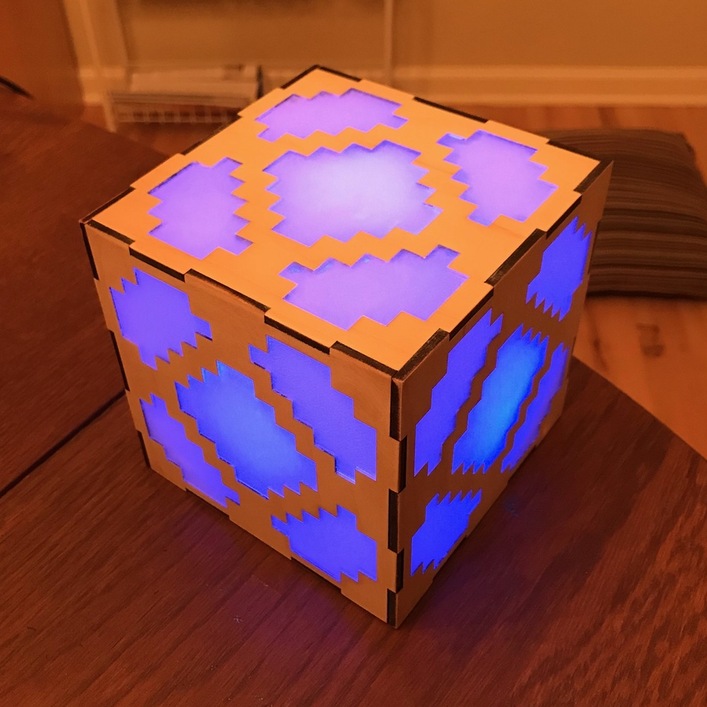
First prototype is complete. Still needs some tweaking (Painting the wood, better glue, fasteners, etc.). But the frosted acrylic looks amazing. Need to put it on one of my Philips Hue color bulbs.
Here’s my Fusion 360 drawing. Change Parameters for material height and desired face width. Face width is the outside dimension.
You can adjust the cutout pattern by turning on visibility for Sketches and editing the first extrude in the timeline. Click the grid with CMD (or whatever the equivalent Windows key would be) held down. I recommend the Save DXF for Laser Cutting add on.
I put acrylic inserts in the cutouts, frosting them by just engraving on them. Put in a tap light to light it up. Only the three panels you see have the insets in them because the light only just barely fits and lights up half the volume.
Is there a better method than CA glue to attach acrylic to wood? Is there a better way to frost clear acrylic? I got some glue on the frosted surface, and it turned made that section clearer.
It does indeed. I use it all the time for set pieces. You can get it locally at Home Depot and Lowes as well.
You can use it on translucent but not clear acrylic as well. So if you wanted a yellow acrylic insert with frosted surfaces you can do that with the spray whereas finding frosted versions of translucent colors may be hard.
I usually apply the glue (CA or its variants) to the wood first and then drop the acrylic on it. Otherwise it’s way too easy to get runs & even airborne wisps of CA on the acrylic and discolor it where I don’t want glue.