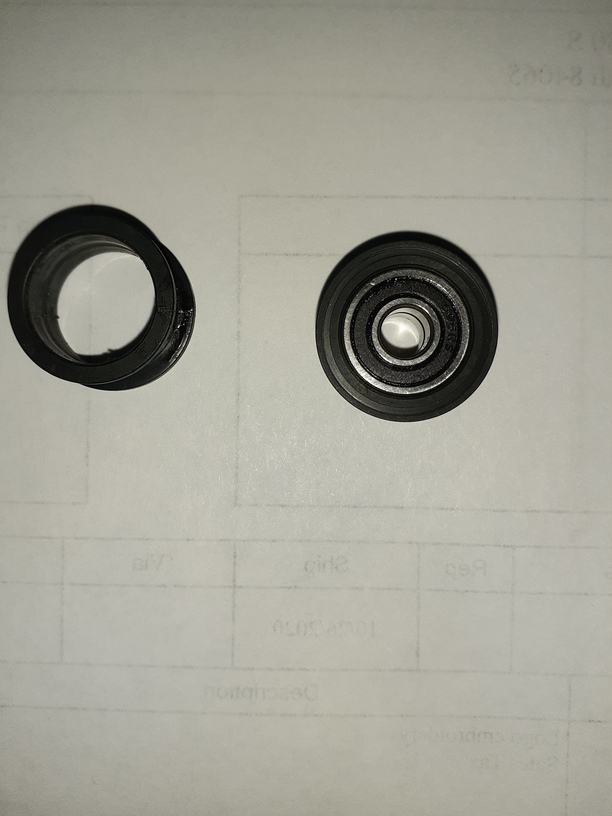
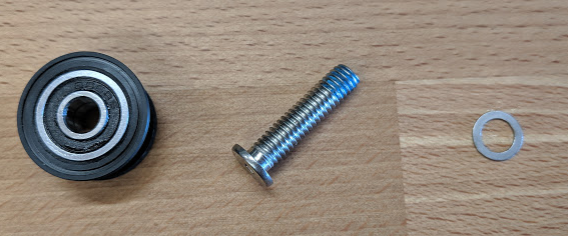
Hello. I need instructions to replace the guide on the head carriage. That might not be what its called. the picture on the left is the piece that broke and the piece on the right is the new part. how do I get the bearings off of the carriage or out of the guide.
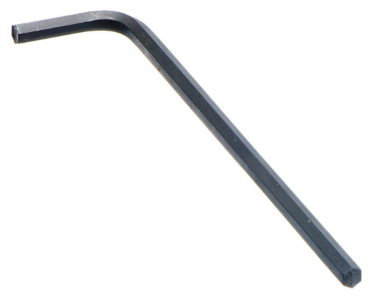
@eflyguy is right, you will need a 3mm hex key to remove the old pulley and install the new one.
I find it easiest to just lay a flat mirror on the tray (or you can take the tray out to give yourself some more working room) then you can see what’s happening underneath the laser arm.
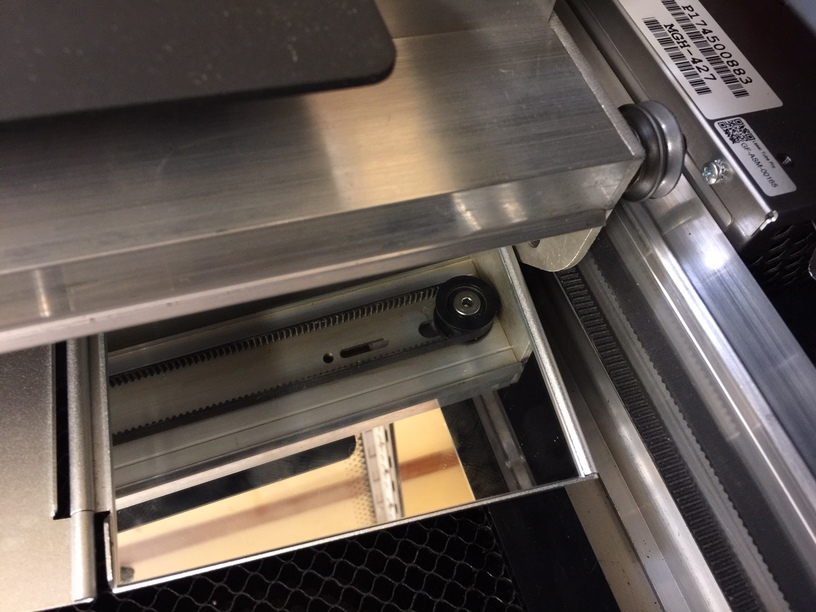
There are instructions below for removing the carriage plate and belt, and you will follow them to take it off. Then use the hex key to unscrew the pulley. It slides in a little slot…you can see it underneath if you use a mirror.
Put the new pulley in, approximately where the other one was in the slot, and then re-attach the carriage plate.
I’m sorry to hear you didn’t receive installation instructions with your pulley replacement. I’m glad that @Jules and @eflyguy were able to come to the rescue!
Just so that you have them, I’ve included the official instructions below. Please let me know if you need anything else.
Pulley Installation Instructions
You’ll need a 3mm L-shaped Hex Key.
Optional, but helpful to place on the bottom and “look” upwards to help find the hex-screw-hole: A small mirror or a smartphone with a front-facing-camera (aka selfie-mode)
The new pulley
Removing the old pulley
Turn off and unplug your Glowforge.
Carefully remove the crumb tray.
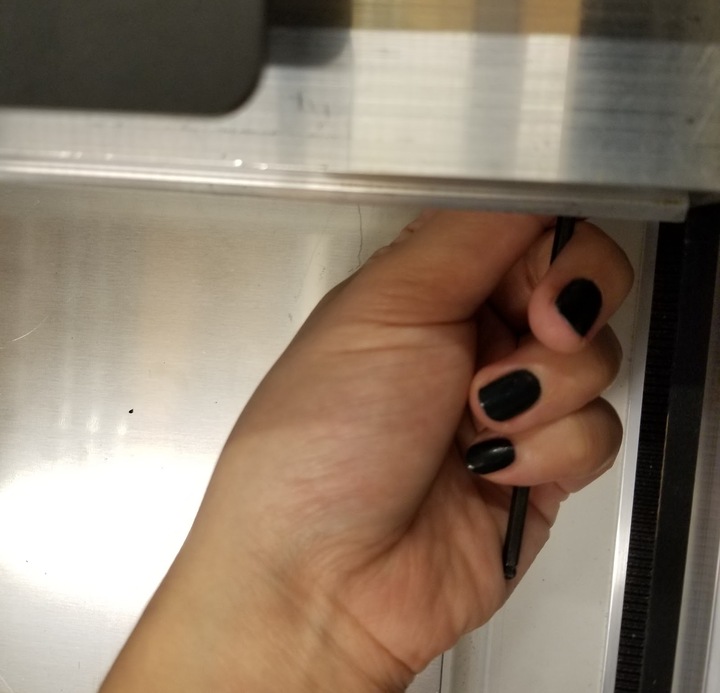
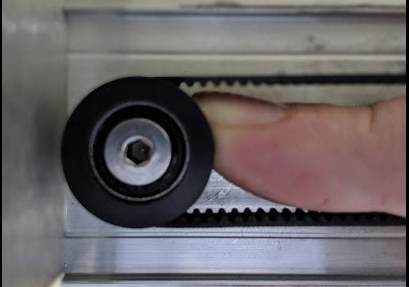
Insert the short side of the 3mm hex L-key into the metal screw with the long handle pointing toward the front of the unit.
The screws are held in place with adhesive, so it will take a bit of pressure to overcome it at the beginning. Just apply steady pressure.
Keep loosening until the screw comes out entirely
Installing the Replacement Pulley
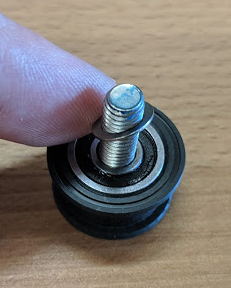
Add the screw and washer to the new pulley. The washer must be placed between the pulley and the laser arm. The grooved ridge of the pulley will be on the same side as the washer.
Now that you have the pulley assembled, you’ll need to insert the new pulley screw, into the same screw hole
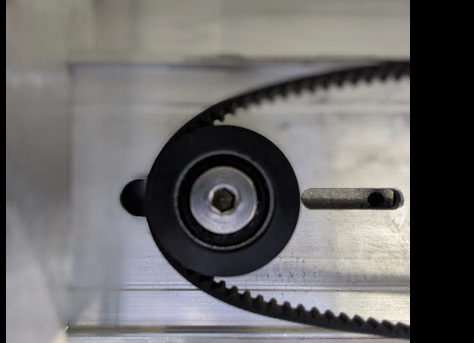
The screw hole is on a metal plate that slides inside the laser arm. The mirror / smart-phone can be very helpful here.
Once the screw is mostly tightened, you can slip the belt back on, and the tension will be very loose.
Adjusting the tension
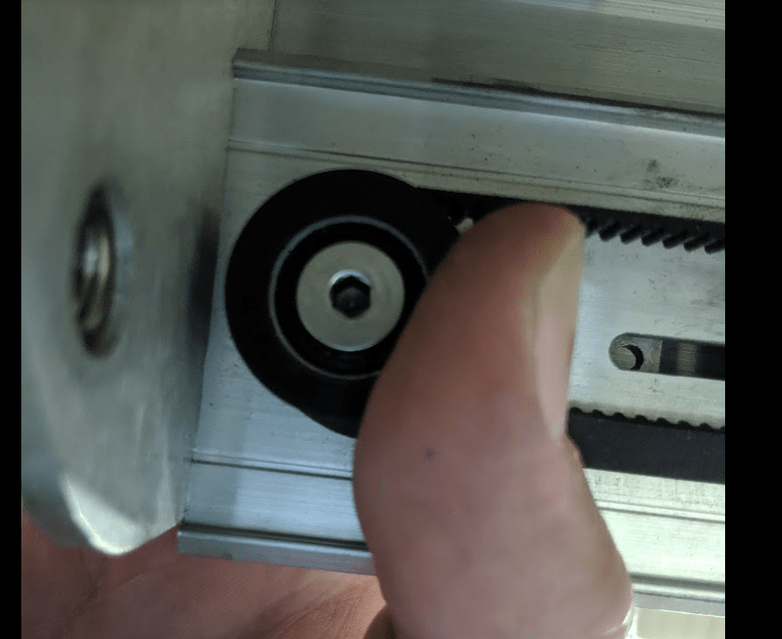
Push on the pulley, with the belt on, fairly hard, then tighten the screw.
We have found it most effective to push the laser arm all the way to the back of the unit, while using your thumb to apply pressure when tightening the screw
Hey @tandersen3886, I took a quick look at the logs for your Glowforge and see that you’ve been able to print since opening this thread. That’s great!
Since your Glowforge is back to printing, I’m going to go ahead and close this thread. If you still need help with this or any other issue please either start a new thread or email support@glowforge.com. We’re happy to help!