Has anyone replaced the right side idler pulley that the carriage belt runs on? The plastic piece on mine broke so im trying to replace it. The nut inside the arm is loose so it moves whenever i try to thread it. I’ve spent over 2 hours trying and cant get it to thread. Any help would be greatly appreciated.
The nut is loose so that it can slide side to side to adjust belt tension. The screw needs to be perfectly vertical to get the thread started.
It was suggested you can try to use a piece of wire bent so that it goes into the slot to try and hold the nut.
Here are the instructions to replace the pulley:
What you’ll need
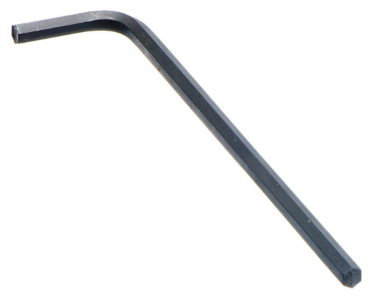
- You’ll need a 3mm L-shaped Hex Key.
-
Optional, but helpful to place on the bottom and “look” upwards to help find the hex-screw-hole: A small mirror or a smartphone with a front-facing-camera (aka selfie-mode)
-
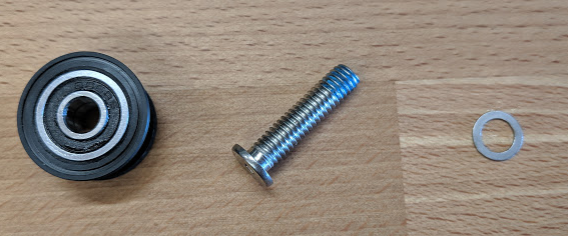
The new pulley
Removing the old pulley
-
Turn off and unplug your Glowforge.
-
Carefully remove the crumb tray.
-
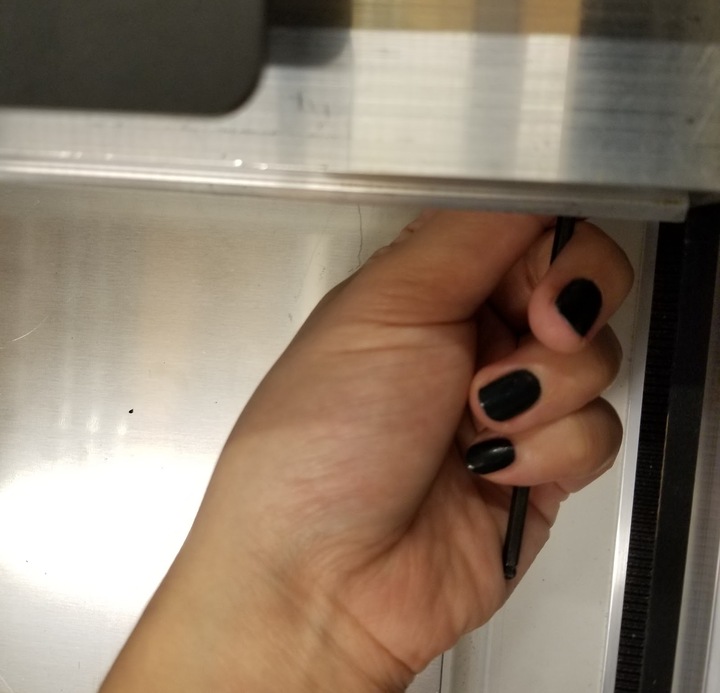
Insert the short side of the 3mm hex L-key into the metal screw with the long handle pointing toward the front of the unit.
-
The screws are held in place with adhesive, so it will take a bit of pressure to overcome it at the beginning. Just apply steady pressure.
-
Keep loosening until the screw comes out entirely
Installing the Replacement Pulley
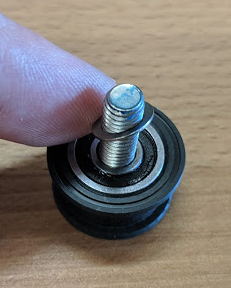
- Add the screw and washer to the new pulley. The washer must be placed between the pulley and the laser arm. The grooved ridge of the pulley will be on the same side as the washer.
-
Now that you have the pulley assembled, you’ll need to insert the new pulley screw, into the same screw hole
-
The screw hole is on a metal plate that slides inside the laser arm. The mirror / smart-phone can be very helpful here.
-
Once the screw is mostly tightened, you can slip the belt back on, and the tension will be very loose.
Adjusting the tension
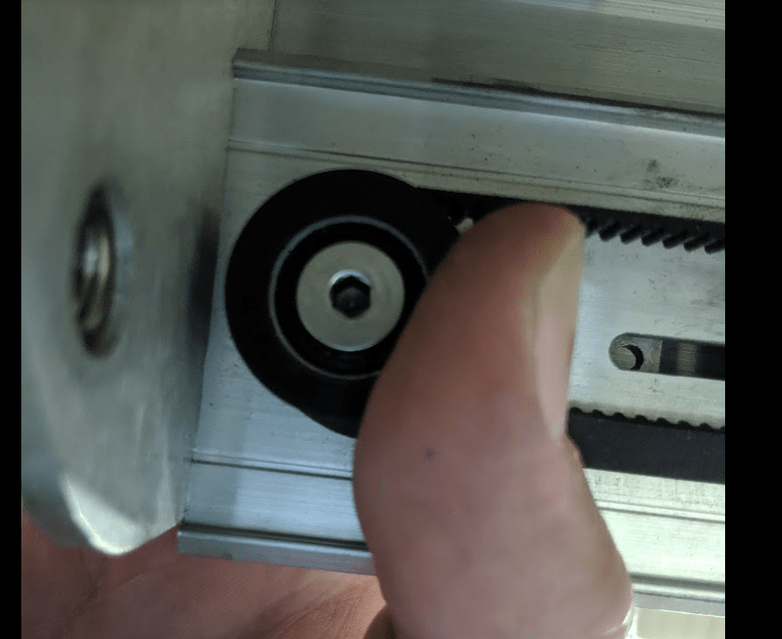
- Push on the pulley, with the belt on, fairly hard, then tighten the screw.
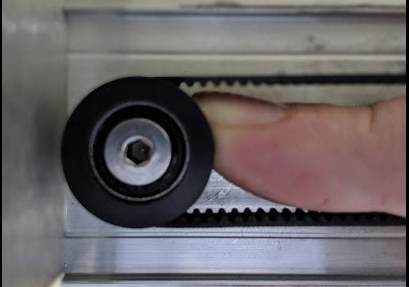
- We have found it most effective to push the laser arm all the way to the back of the unit, while using your thumb to apply pressure when tightening the screw
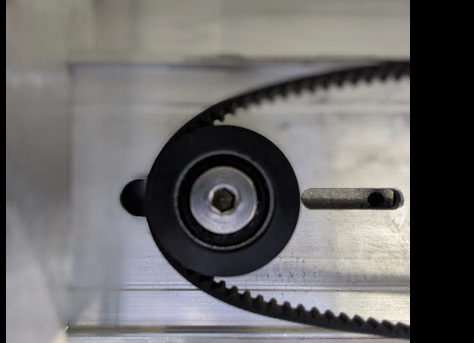
- Once you’ve tightened, check the belt tension. When pressing lightly on one side of the belt, the other side should not move. Like this:
- Loosening, adjusting, re-testing is pretty quick. It may take a couple of tries to get the tension right.
3 Likes
Hi @ericking99,
We haven’t heard back from you in a while, so I wanted to check in. Were you able to get the pulley installed? If you’re still having trouble please let us know and we’ll be happy to help.
It’s been a little while since I’ve seen any replies on this thread so I’m going to close it. If you still need help with this please either start a new thread or email support@glowforge.com.