Rhombicosidodecahedron redux

What’s up, I’m Roland.

So I’ve been a fan of @pubultrastar’s polyhedra for a while, and I’ve wanted to try to do one in his “style”, but I have no 3D printer. To that end I’ve been circling an idea about how to recreate the same aesthetic with nothing but the Glowforge.

This is the result.

Quick notes:

  • 362 parts
  • 12” diameter
  • 1/8” Baltic birch plywood
  • I decided to glue things up as I went, I could have done friction fit but I felt glue would help strengthen it.

It all starts with the vertex piece. It’s what aligns everything. As you can see it’s made of 5 parts, and you need 60 of them, so that’s 300 pieces right there. It takes a full sheet of plywood to make these parts.

As you assemble the pieces the structure becomes quite strong very quickly.

From the outside you can see how it’s going to look. I went for a white model essentially.

Construction continues. It’s a bit time consuming, the fit is very tight and the tolerances are pretty unforgiving. You gotta finesse it together.

The final piece is just too difficult to slot in normally. I cheated, filled the holes with pegs and cut the corresponding tabs off. A little wood glue later and you have a completely convincing final face, impossible to tell which it was.

Some scale for you. 12” diameter is about like a basketball.

I’m pretty happy with how it came out. This was one of those things that kept bugging me, I had a vision for how it would work and just needed to do it to get it out of my system. Ultimately I think a 3d printer would probably make this easier, screws are probably simpler to wrangle than all those friction fit pegs and glue.

I was also originally going to sand the pegs flush but in the end I think I like them dark. Aesthetics are subjective but it feels like the right call.

32 Likes

I like the black pegs too. Great job on it!

2 Likes

It’s turned out so awesome. Love how you figure it out how to do the connectors.

4 Likes

Wow!

2 Likes

Me too, but you beat me to a solution. This is awesome!

3 Likes

This one has been on my list for awhile, nice to see it is possible. Turned out great :slight_smile:

2 Likes

The purist in me loves a full GF solution, bravo! (I’ll give you the glue.)

5 Likes

Must be genetic. :wink:

1 Like

There are non-glue options too but I wanted it to look as close to @pubultrastar’s execution as I could.

I did one with locking pegs ages ago that could work in this situation. Thusly:

4 Likes

I agree, though, the smooth take is very appealing.

2 Likes

Roland is quietly handsome, and looks quite strong. Kudos for working through a replacement for the 3D parts.

2 Likes

Now, some adventurous person will figure out how to assemble it using a snaps instead of pegs.

That person will not be me.

2 Likes

What do you mean snaps?

Maybe it’s just what I call them, but I’m referring to the little flexible “thingies” that are used for “Snap Together” items. A good example is the “Snap and Store Box” that we can print from the app.

I also used them to make a Bluetooth speaker box here.

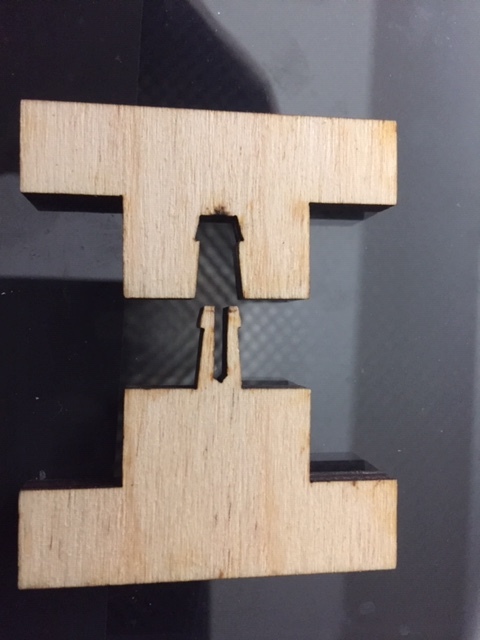
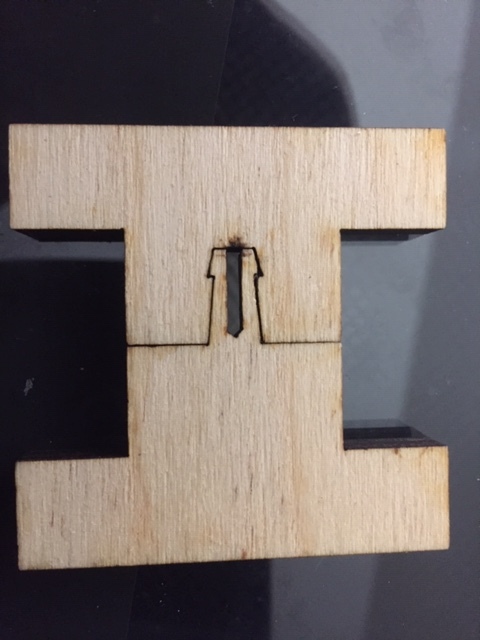
This is what I’m talking about. It was my first successful prototype when I learning how they work. It’s a crude example, but… there it is.


6 Likes

You’ll like this thread:

1 Like