What’s up, I’m Roland.
So I’ve been a fan of @pubultrastar’s polyhedra for a while, and I’ve wanted to try to do one in his “style”, but I have no 3D printer. To that end I’ve been circling an idea about how to recreate the same aesthetic with nothing but the Glowforge.
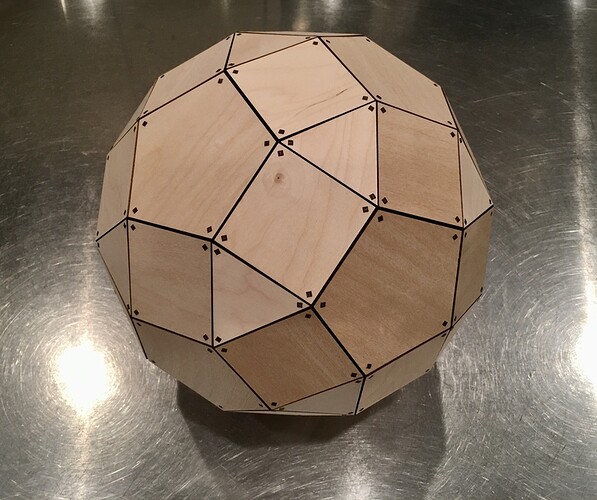
This is the result.
Quick notes:
- 362 parts
- 12” diameter
- 1/8” Baltic birch plywood
- I decided to glue things up as I went, I could have done friction fit but I felt glue would help strengthen it.
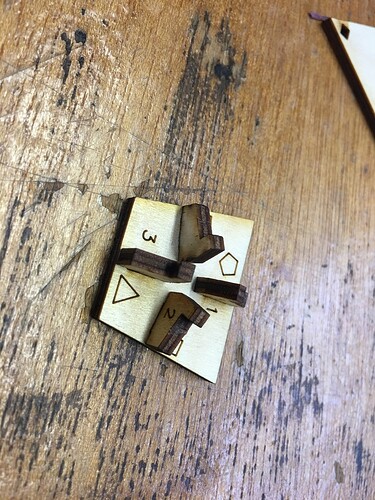
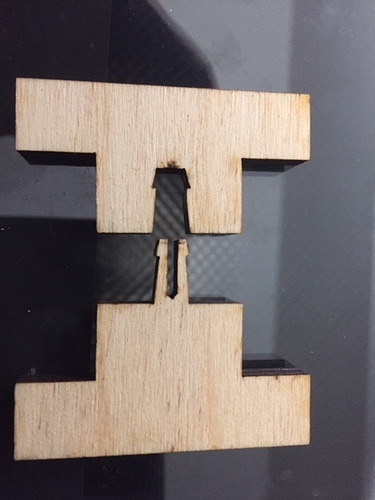
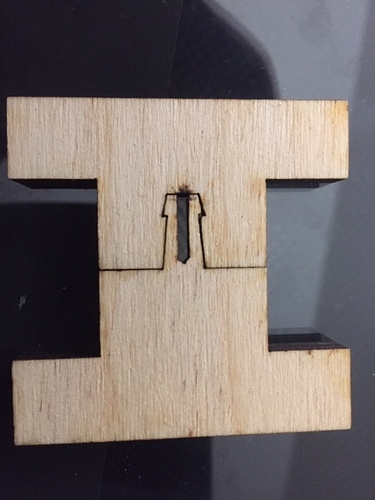
It all starts with the vertex piece. It’s what aligns everything. As you can see it’s made of 5 parts, and you need 60 of them, so that’s 300 pieces right there. It takes a full sheet of plywood to make these parts.
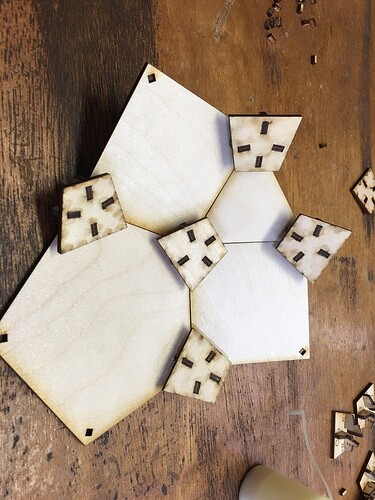
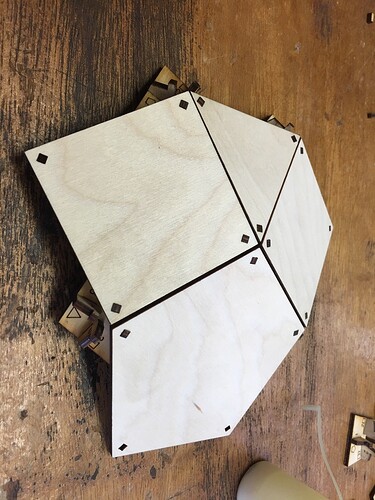
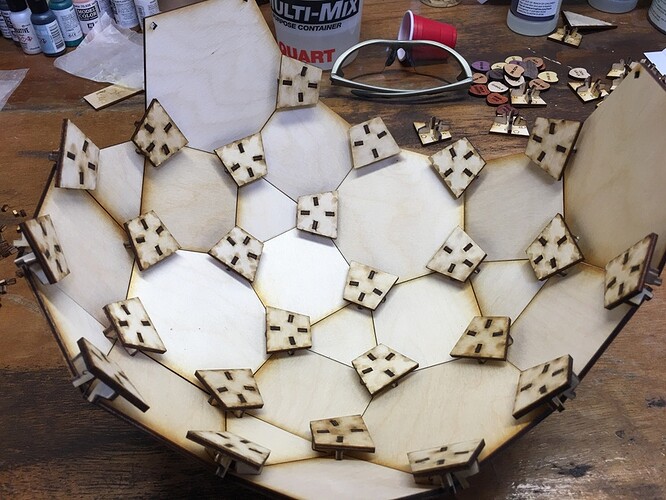
As you assemble the pieces the structure becomes quite strong very quickly.
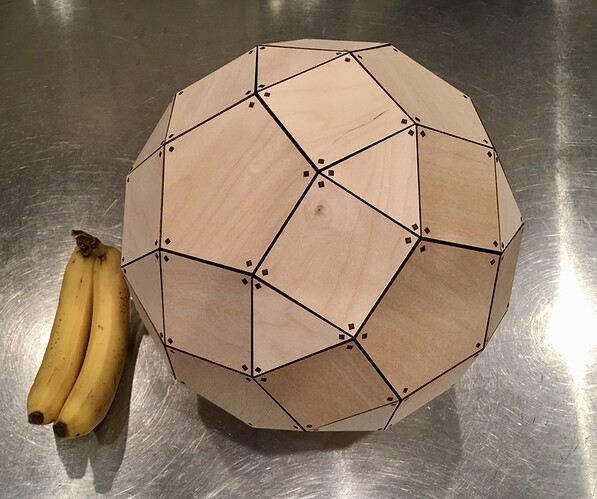
From the outside you can see how it’s going to look. I went for a white model essentially.
Construction continues. It’s a bit time consuming, the fit is very tight and the tolerances are pretty unforgiving. You gotta finesse it together.
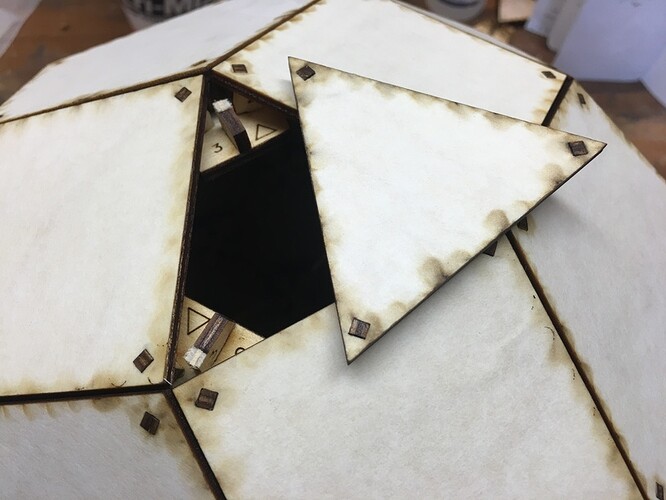
The final piece is just too difficult to slot in normally. I cheated, filled the holes with pegs and cut the corresponding tabs off. A little wood glue later and you have a completely convincing final face, impossible to tell which it was.
Some scale for you. 12” diameter is about like a basketball.
I’m pretty happy with how it came out. This was one of those things that kept bugging me, I had a vision for how it would work and just needed to do it to get it out of my system. Ultimately I think a 3d printer would probably make this easier, screws are probably simpler to wrangle than all those friction fit pegs and glue.
I was also originally going to sand the pegs flush but in the end I think I like them dark. Aesthetics are subjective but it feels like the right call.
