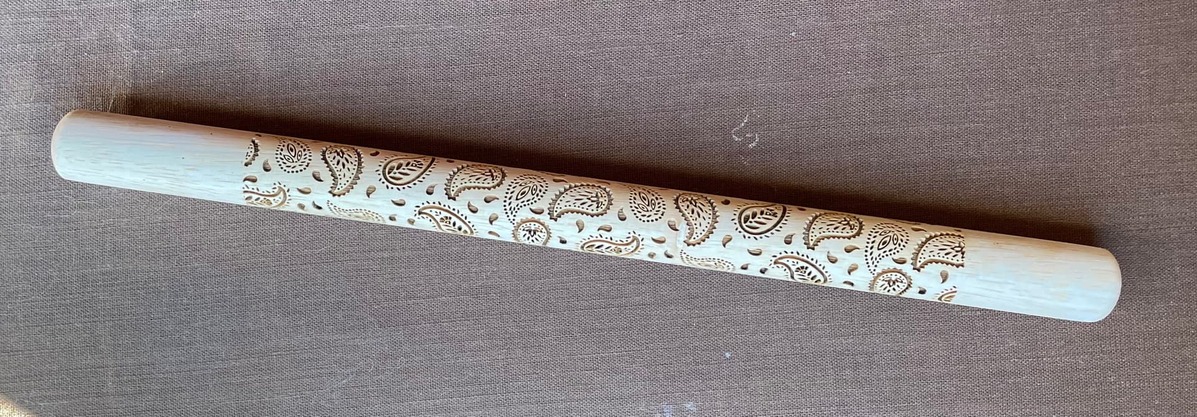
It’s a 12 inch wide engrave on an 18” long, 1.25” wide beech rolling pin from Webstaurant. Took nearly 2 hours using the Basswood 3D engrave PG setting.
I can still use the rolling pin as long as the cookie size is less than 4”.
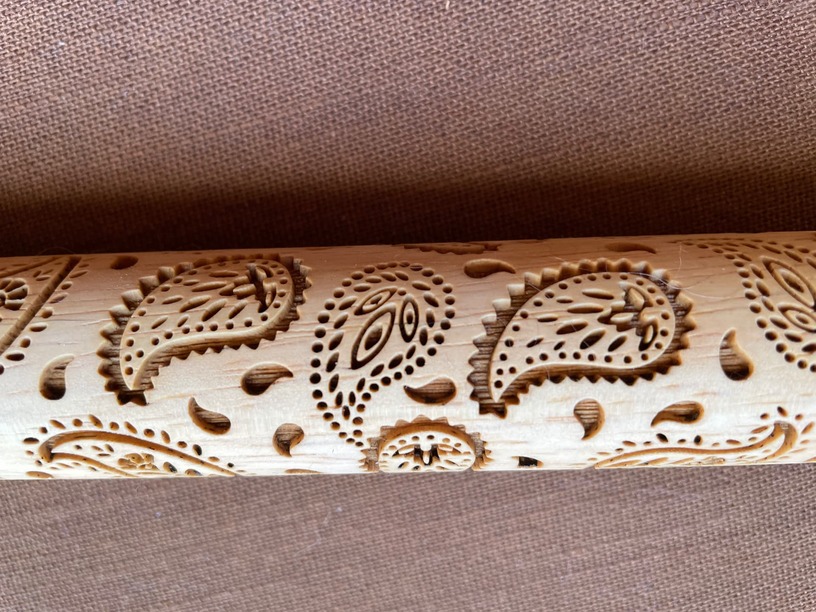
I’m thinking that although the design height was exactly the circumference of the rolling pin, I made an error in material height by not getting the Set Focus red dot precisely on the highest point of the pin. I knew it was off a tiny bit but it was difficult to get and I thought it would be close enough.
What say you, hive mind—was this the reason? I want to make 3 more of these for gifts and I could probably just stretch the design vertically in the GFUI to compensate while my machine is still on, without doing any more focussing.
I’ve had a rolling pin in a drawer since pre-pandemic and I’ve never actually gone ahead and tried - you have inspired me!
I’m also thinking that as a tester I can draw a single line the height of my material - and as long as that connects than my art should…if I do it lightly enough I can probably sand it off too
Yes, I probably should have spent some time testing–I was reckless but mostly successful.
If you do more than one, take my advice and replace the side-up masking tape and maybe check the underside of the jig for residue/debris, before starting another run. My second one failed because the rolling pin stopped turning. I think because the tape had gotten gunked up a bit and the wood stuck to it.
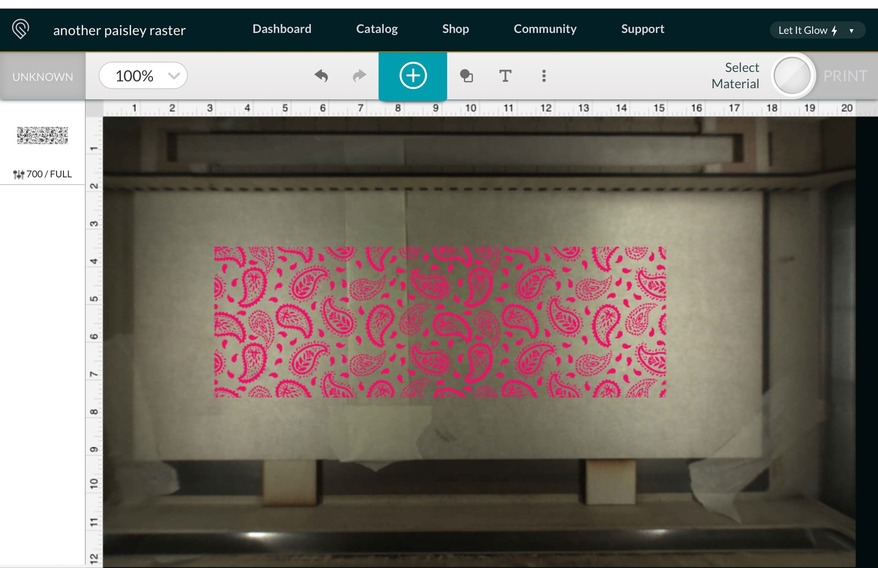
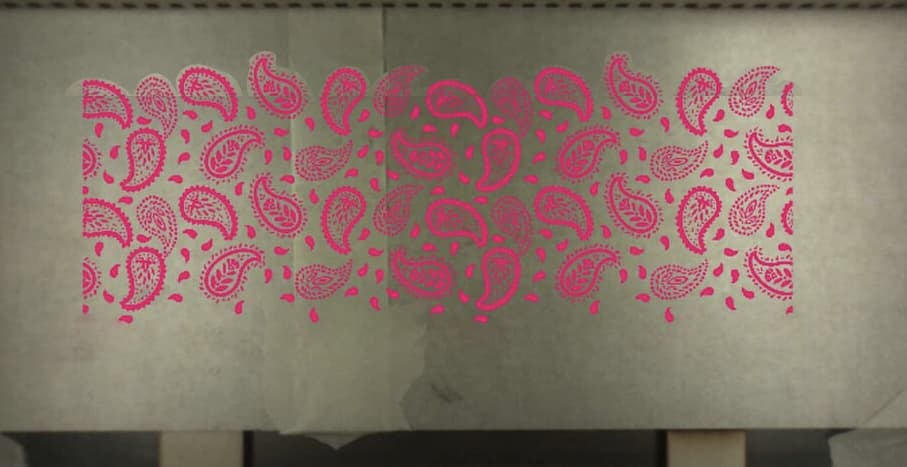
As for lining up the pattern, I think it will be nearly impossible to get perfect.
However, you can get the illusion of perfect by setting up your pattern so all of the shapes are complete and you don’t get an obvious straight line of missing/overlapped engraved, like this:
@cynd11 That is beautiful and fantastic! I love to see what people do with the jig! Thank you so much for the cash too! I have also experienced the issue with the tape gumming up and catching the underside of the jig. What is happening , is the tape stretches and becomes loose. For short runs, I find it helpful to use multiple layers of tape, but that eventually stretches too. What I have found works best, is gluing the tape to card stock (or other thin rigid material), and then taping down the cardstock so that it doesn’t slide or lift up. I’m happy to help with any questions you may have. I look forward to seeing what amazing thing you do next!
Of course, you were! In my mind, owning your own laser is reckless! Whoe doesn’t love reckless at times! Wonderful job! Mistakes? Blather! Its a great job! And now I need to read that jig post more closely!
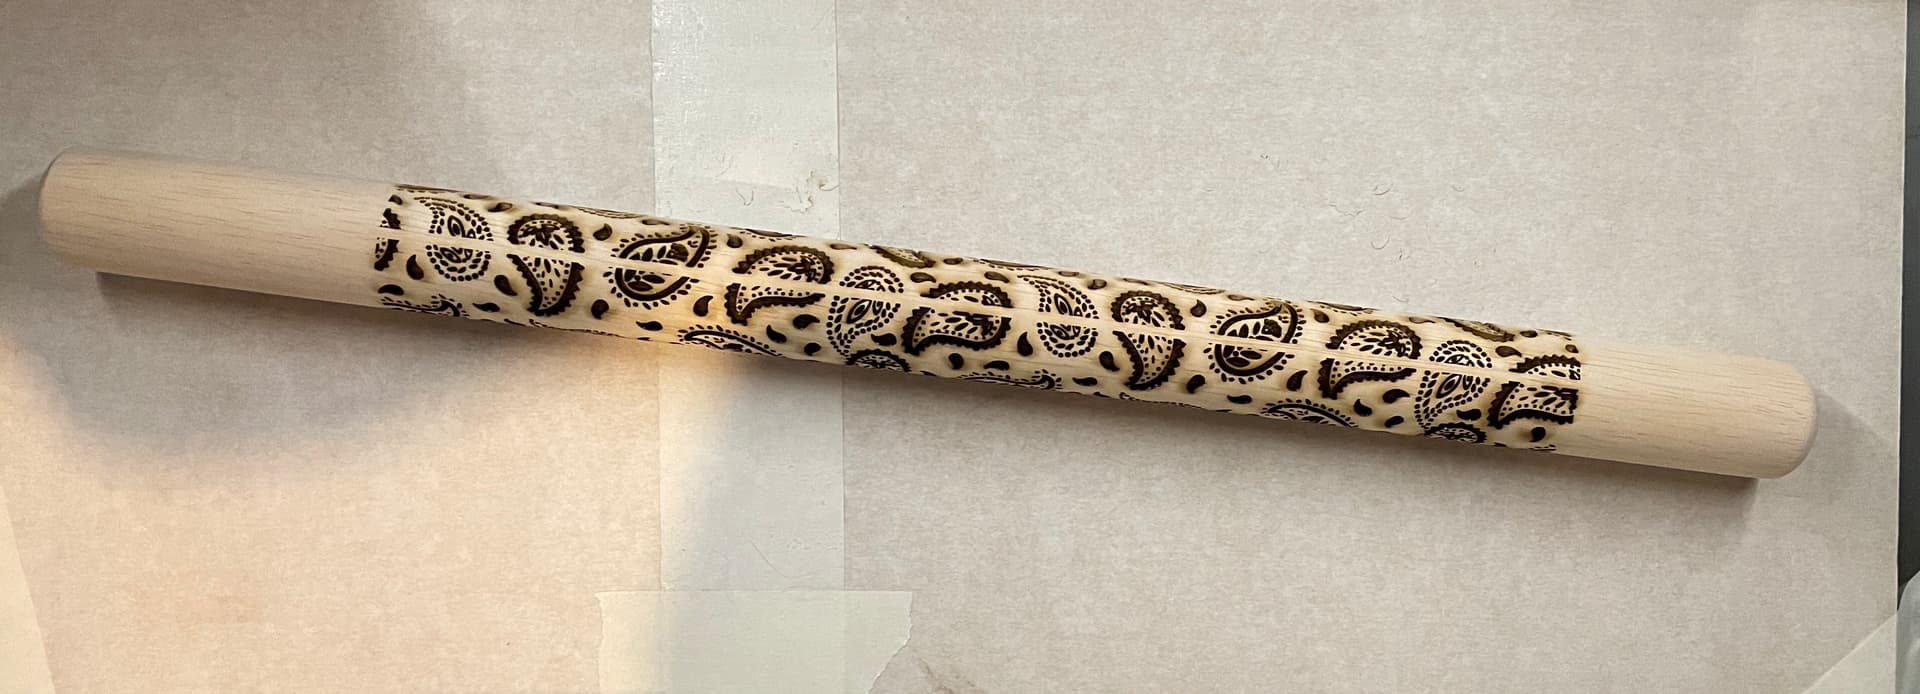
Update: I incorporated the suggestions of @ekla (change pattern to avoid breaks) and @taylor.a.jenkins (add more tape), and the rolling pin I just finished came out perfectly!
Update 2: I did two more that came out perfectly (good thing, too, as I’m all out of rolling pins—I bought a total of 5). Huzzah!