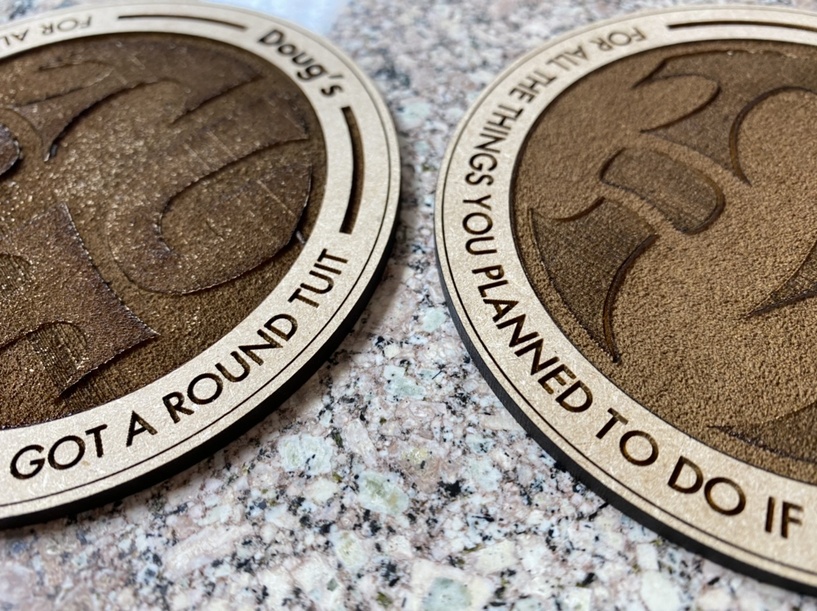
These two are on medium draftboard. I experimented a bit with the engrave settings for the two middle sections:
On the first one (Karen’s), it’s standard “SD Graphic” for the letters, and 3 passses of 700/60 (at default LPI of 225) for the background fill.† As it turns out, both of these cut to about the same depth — I was hoping to have the background significantly deeper than the letters. The slow 3-pass engrave leaves a nice texture, though, and there’s a neat effect along the score line where the two engraves meet.
On the second (Doug’s), I tried to speed up the letters to make them shallower — 700/100 @ 225 LPI, one pass. And 1000/FULL @ 340 LPI, one pass for the background. This did end up with the background deeper than the letters, but both have a lot coarser texture (and the scorched bits rub away more easily).
I’ll probably be making some more for other family, so I’ll have some opportunity to mess with the settings some more.
Probably I’ll do plywood for the next try, too — originally I was thinking draftboard would be more coaster-friendly since without the veneer it looks at least a little absorbent. But since I’m engraving so much of it, the veneer doesn’t really matter, so having some wood grain visible for that outer ring might be nice?
† Based on @marmak3261’s post about engraving depth, thanks! (Although it’s definitely not halfway through for PG draftboard.)
(And to close the loop on my earlier question, I never found a warp tool that did quite what I want. So instead of grabbing some 60s psychedelic font and warping it to fit the circle, I drew the funky letters freehand with Apple Pencil and cleaned them up in Vectornator. Probably shouldn’t quit my day job to start lettering music festival posters, but it’ll do.)
GF ply is Draftboard (MDF) in the middle so you’ll have absorbency with either one. The bad news is you’ll have absorbency. The MDF core will soak up condensation or spills and swell and over time you’ll need to replace them. They’re a few time use item vs a more permanent coaster from slate/tile or even solid wood.
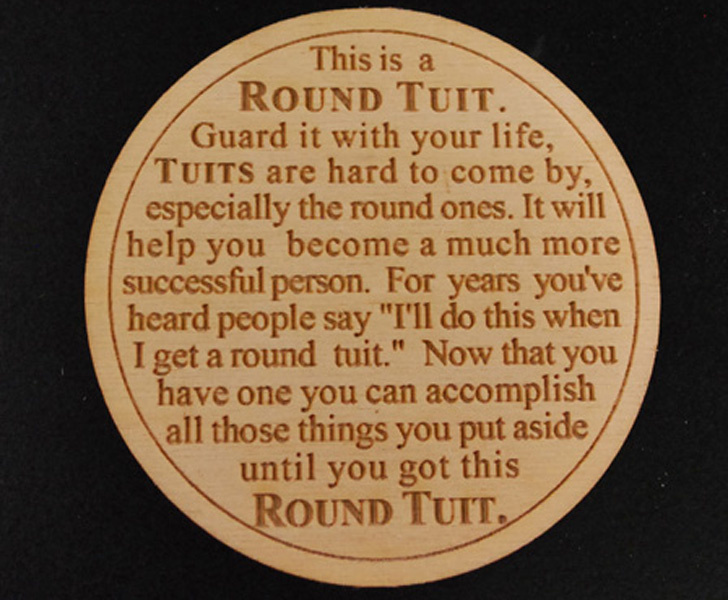
My Spiritual Director in High School had one. It was a three inch heave gauge steel round that had “toit” stamped in small letters. Gave it to me to figure out. I didn’t. Bugged the heck out of me. Funny thing. Many years later we were in the same support group together. I made him a new one with the Glowforge.
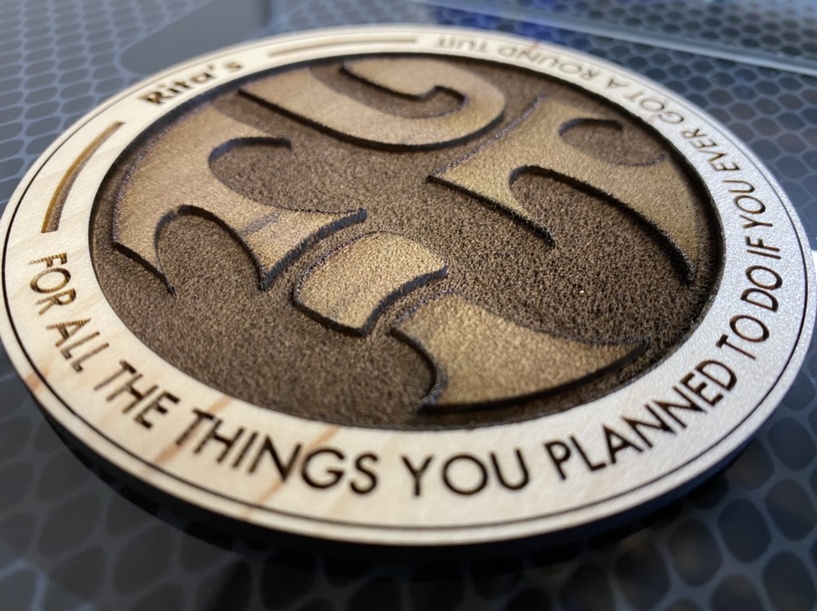
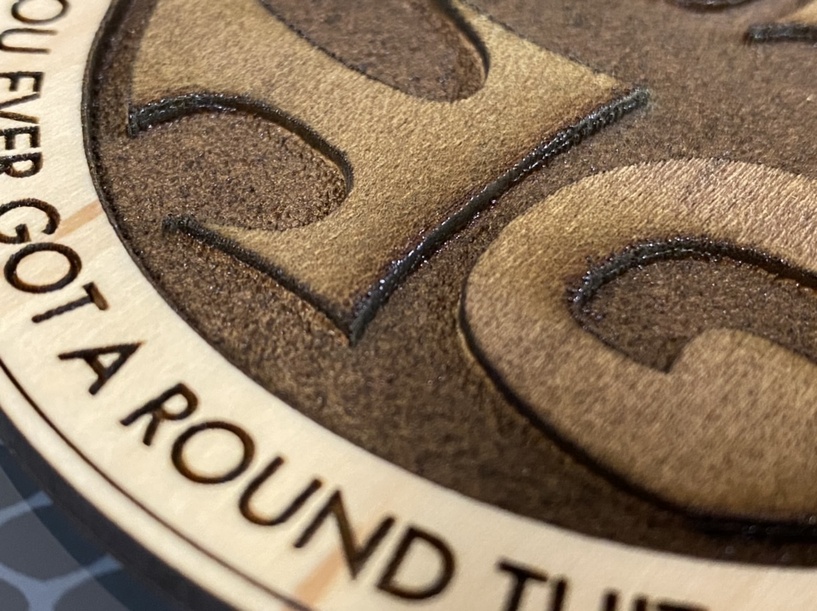
For the “TUIT” letters: 700/60 @ 225 lpi, 1 pass.
For the space around them: 700/60 @ 450 lpi, 3 passes.
Definitely some nice difference in depth, and nice texture with no “scan line” effect. The lighter engrave for the letters leaves enough of the veneer on the plywood to keep some wood grain, even. It clocked in at about 1:45:00, which is a little inconvenient. And there’s some smoke marks on the less-engraved parts; either I can call that an aesthetic choice and say I’m happy with it, or think about reversing the order of deeper and shallower engraves next time.
You can also take a rag that is damp [not wet] with denatured (or isopropyl) alcohol (or ammonia, or even water) and wipe it down, it’ll lift the residue.
Just do it in small sections with clean rags, you want to lift it up, not smear it around.
Final step: give it a light sanding, it’ll get the surface clean and remove any wood fibers that might have puffed up during your cleaning process.
EDIT: wait I think this might be PG. Ignore the sanding part, but the rest is still good practice.