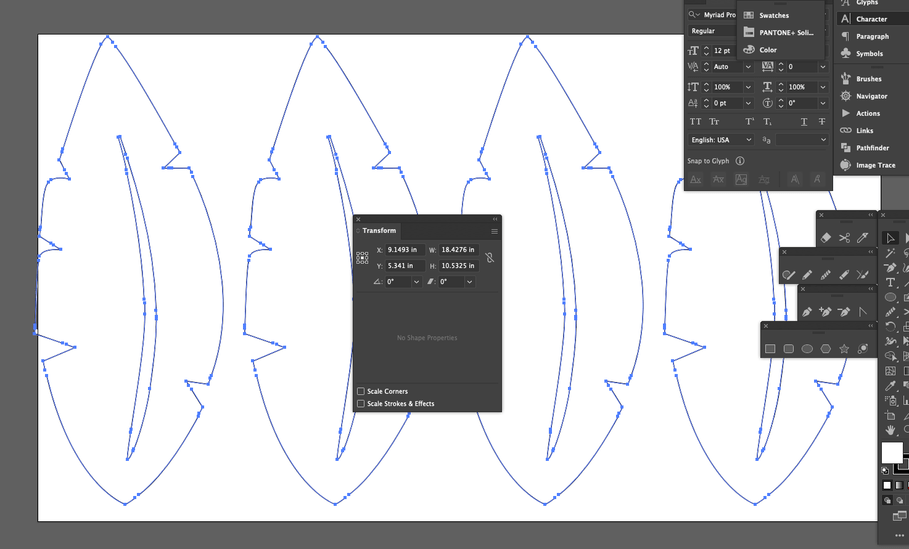
I have a 12 x 20 inch piece of fabric in my laser bed, however, it is not scanning and showing 100% of the cut piece, its missing at least 1 1/2 inches at the top. I cut some ornaments from proof grade and was unable to get it to scan the entire sheet. Is there a way to reset the scan so it pics up more of the material? I need my cut pieces to be the size I enter them at and they were created on an 11 x 19 inch dartboard…so there is plenty of area around the items.
The actual maximum design size is more like 10.9 x 19.5. So even though the boards are 12x20, the camera only shows the cutable space. The extra inch or so on the top and on the left are outside the maximum print size of the machine any way.
2 Likes
Yeah unfortunately my actual cut files are 10.5 x 18.5. I should not have had to make them smaller to fit. The fabric is cut 12 x 20. The Illustrator file is 11 x 19. So it IS within the correct parameters. So I am a bit frustrated. These leaves will be for a stand alone applique, but other parts of some of my projects are size dependent. Getting real tired of wasting fabric and time as nothing is EVER the same for one use to another it seems ![]() Thinking that a new Epilogue is my best bet…this is just getting ridiculous at this point.
Thinking that a new Epilogue is my best bet…this is just getting ridiculous at this point.
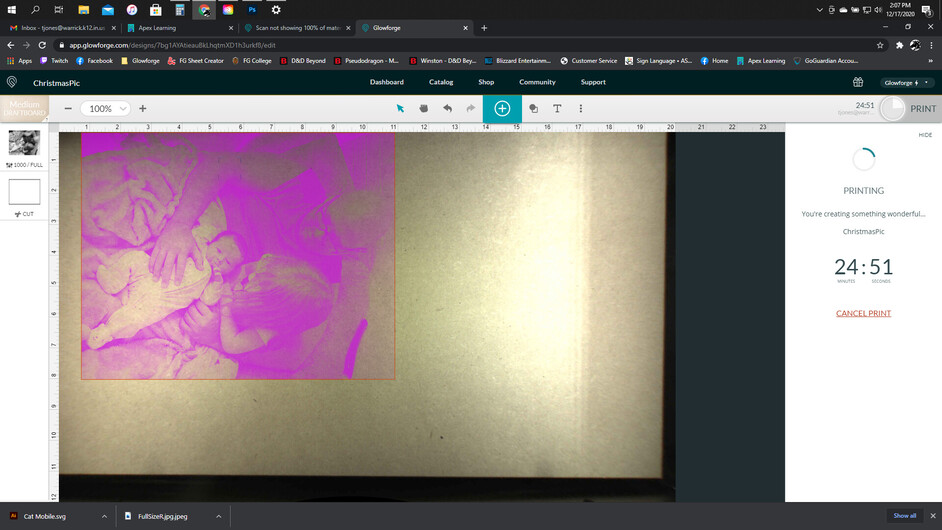
Can you post a photo if the file uploaded into the interface? Some engraving speeds make a bigger margin - and if it wasn’t set to “cut” yet, it may still have that showing.
1 Like
I’m not really sure what advice to offer you, then. I am looking at my dashboard as I type this. I have a board that is 12x20 in it. I can see the rulers on the side and top of the GFUI. The height ruler goes from 0to 11. The top ruler goes from 0 to 20. I position my wood all the way to the front lip, or rather the inside solid piece around the honeycomb, and all the way to the right. This easily gets me the 10.9x19.5 pieces. Anything off the top of the screen is irrelevant to me, because it can’t print there anyway.
You also have to remember that any engraves will further reduce that image size, because the head has to accelerate and decelerate on each pass. When that occurs, the GFUI shows it by adding a band around the screen, depending on how much extra space is needed. But if you are just doing cuts, and they all fit within a 10.9x19.5 inch rectangle, then you should have no problem cutting them.
2 Likes
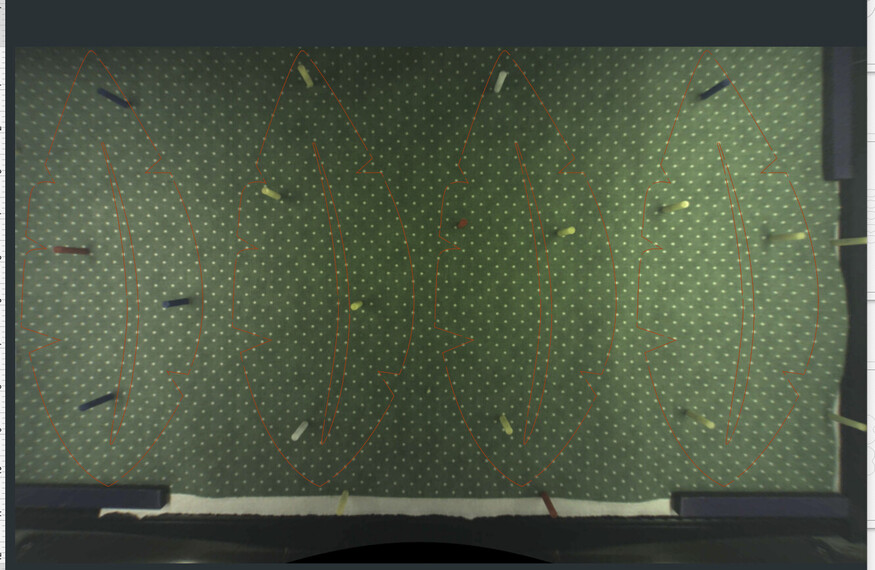
As you can see the fabric is the right size and my illustrator file IS within the parameters…I was hooping there was something I could do to reset what its seeing or something like that. It seems like each time I use it its different, but never what it should be and I have to move things. I set them up in Illustrator to save me form that hassle in the first place ![]()
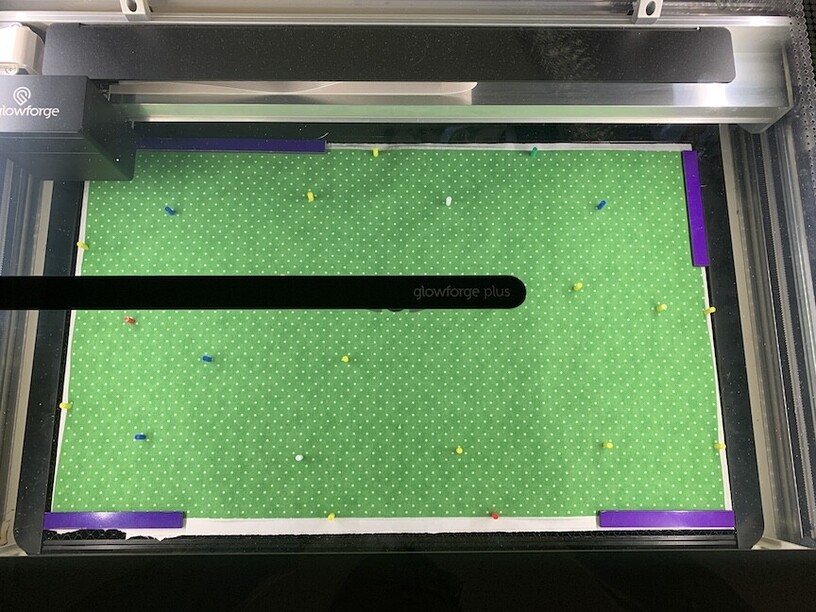
I didn’t seem to have as big an issue when I cut the ornaments last weekend, its the fabric that always seems to give me grief, and its not this dark either its a medium kelly green polkadot…I will try moving the fabric down to the front and right of the bed and see if it makes any difference. I have always tried to center it.
Try this. Once you have the design loaded in and ready to print, click CTRL-A to select the whole design. Then select the RULER tool at the bottom of the GFUI. See what it has listed as Height and Width of your artwork. If that is 10.9x19.5, then you should be able to position it to cut. If not, even though it was less in illustrator, then it got resized. One problem many people have with illustrator is, when the select SAVE AS, or EXPORT, there is an advanced setting that is set to RESPONSIVE by default. This will resize your image when you open it in the GF. You need to make sure that RESPONSIVE is deselected before saving or exporting.
2 Likes
But in reference to your original post, the inch at the top has nothing to do with that. You can’t ever see that extra inch because you don’t need to. If you are worried that you are wasting an inch of material on every print, then just make your material 11x20 instead of 12x20. Because that extra inch isn’t even there, as far as GF is concerned.
1 Like
Eureka! Moving the fabric down to the bottom and right made a big difference! I can now import the design the correct size and it works…Thanks much for your help I appreciate it 
Actually have these created so that my customers snip little bits around the perimeter of the laser cut so its easier to package so that extra inch isn’t a concern actually, its all figured into the cost But I have wasted fabric in the past with things that didn’t work out to well…lol
2 Likes
Hey there Jeffrey, Got it figured out, needed to move the fabric down to the very bottom of the bed and to the right, now I can fit my work in it Thank you
2 Likes
I’m glad you resolved it! I’m going to close this thread. If you run into any other trouble, please start a new topic, or email us at support@glowforge.com. We’re here to help!