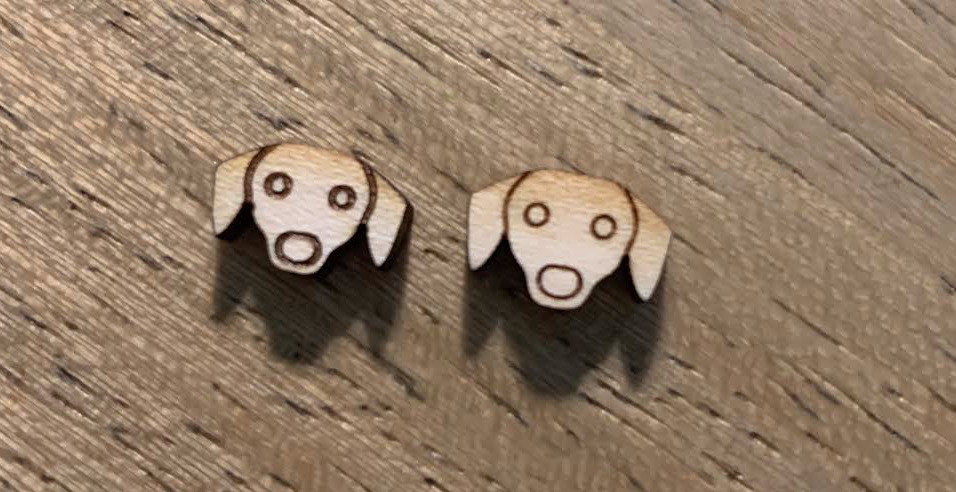
Hello! I am having a strange problem. I make wooden earrings, and I have found scoring and cut settings that work great. However, once in a while the score lines are very thick (even though I am using the exact same settings that I usually use). If I restart my Glowforge and print again it usually fixes the issue. I’d like to know what is causing this so I can prevent it from happening as I am wasting materials. I have attached a photo of 2 earrings, they are both using the exact same score setting of 156/1 but as you can see, the scoring on the left earring is much thicker.
The one on the left looks defocused. Are you checking the Focus Height each time? (It’s possible to have the auto-focus measurement land in a hole if the material is really cut up, and then you are going to get that kind of result.)
(Matter of fact…I know that’s what caused it. There’s no way those materials are .0394 inches thick. That would be paper thin.)
You might find this useful - scored using PG High Quality score settings on PG maple plywood, but varying focus to show the effect. Scale is mm. I found it interesting that focusing above the surface did not widen the score at all, compared to focusing below. In fact, it appears to be a lot cleaner. The material had the provided masking.
If you are using automatic settings and then select manual settings to view speed and power you won’t get the actual setting. The power setting will revert to 1. It’s kind of a safety thing to make users set a safe power for all material when using manual settings. A 1 power isn’t going to score anything. It’s too little.
You settings to score the two earrings were almost guaranteed to be something else.
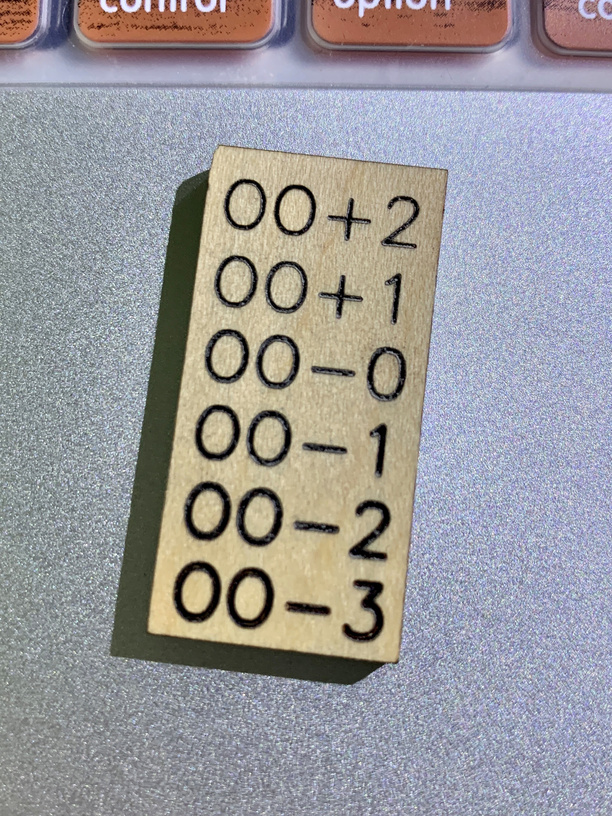
1 power at low speed gives a beautiful sharp score on PG Maple and Basswood (doesn’t look as great on non-PG material like Birch ply)…
I used 125/1 for ultra fine details on Maple (the material I probably use the most.)
edit - only for small detail areas, I think I found this before the “slow corners” fix. I don’t think I’ve ever had to do a larger area, so try to find faster speed setting that gives the same result.
I know. I’ve been playing a lot with focus height settings, for all operations. I’ve shared some results in random posts here and there, but it’s very interesting to see what you can do when you stray from default settings.
You might think my result above is an issue with focusing on my machine, but it cuts PG material on default settings like it was when new (over two years ago).
I’m sorry you ran into trouble with your print results when using manual settings. It looks like you’ve already received some great advice from other community members. Thanks folks!
Were you able to get more consistent results?
Another option for setting your material height is Set Focus. The Set Focus target allows you to select an area to take a precision measurement of the material’s height using the red dot in the printer head. Use Set Focus and place the focus area on the material, so it’s not near an edge. Then watch to make sure the red dot hits the material.
When manually setting your focus height, this guide on our support page details how adjusting the focus height manually will affect your print.
I’m glad you were able to resolve the issue! Thanks to everyone, I’ll be closing this thread. If you have any other issues, feel free to open another thread. You can also contact us directly at support@glowforge.com.