[EDIT: When I originally posted, I thought the fabric I was working with was silk… I was wrong. Another member of this forum, @eciv, was kind enough to point out how genuine silk does not behave the way described below. I ran a few fabric tests for silk and confirmed I have some form of synthetic artificial silk. I have yet to determine exactly what the material is - the people in the supply chain that provided me with the fabric also thought it was silk. So for the purposes of this post, I’ve tried to comb through all the ‘silk’ references and change them to ‘synthetic’. My apologies for taking so long to correct this.]
[EDIT: So, how do you know if you have fabric that will behave like the material I show in this post? Given my error in originally thinking the fabric I was using was silk, disqualifies me as an authority on the subject ![]() There are tests to at least provide some clues - look for them at the bottom of this posting. Some of the tests involve burning the fabric - but the point of this post is to melt the fabric rather than burn. My general approach is to start with the lowest beam energy possible: highest movement speed and lowest beam power. Then I ease up the power levels and stop when the cut edge shows signs of decomposition - I’m running a laser cutter, not a chemistry lab. That’s just what I do - you’re responsible for what you do with your GF - use your judgement]
There are tests to at least provide some clues - look for them at the bottom of this posting. Some of the tests involve burning the fabric - but the point of this post is to melt the fabric rather than burn. My general approach is to start with the lowest beam energy possible: highest movement speed and lowest beam power. Then I ease up the power levels and stop when the cut edge shows signs of decomposition - I’m running a laser cutter, not a chemistry lab. That’s just what I do - you’re responsible for what you do with your GF - use your judgement]
…
So I’ve been playing with synthetic fabrics, and finding some cool properties. I’m posting some preliminary results and will add more notes over time. If others have worked with synthetics, I’m hoping they can add to the postings here. My focus is on the optimal GF settings to work with synthetics. So here goes:
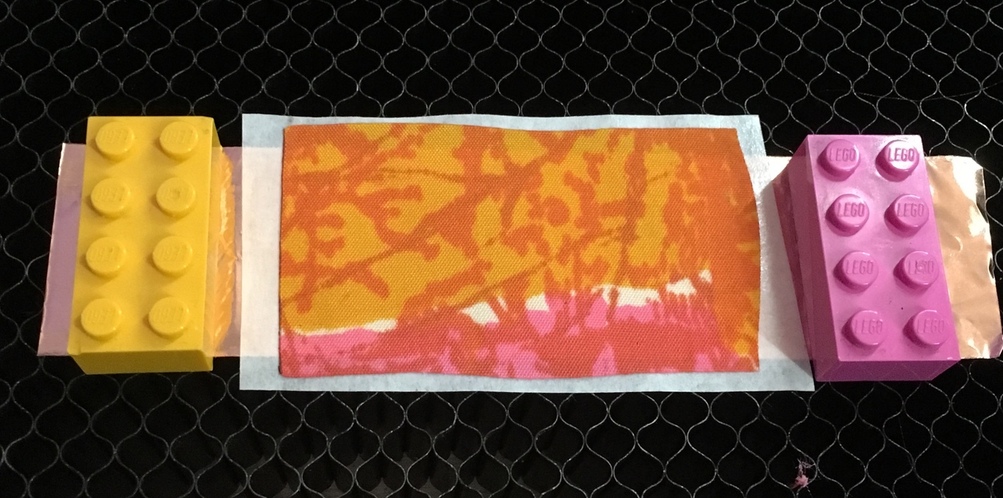
I started with a tight weave synthetic that’s paper thin: 0.004":
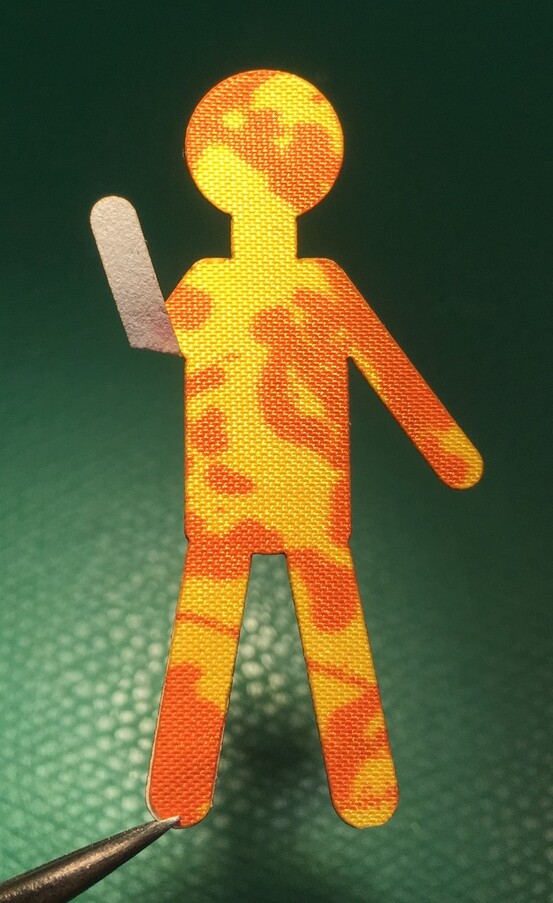
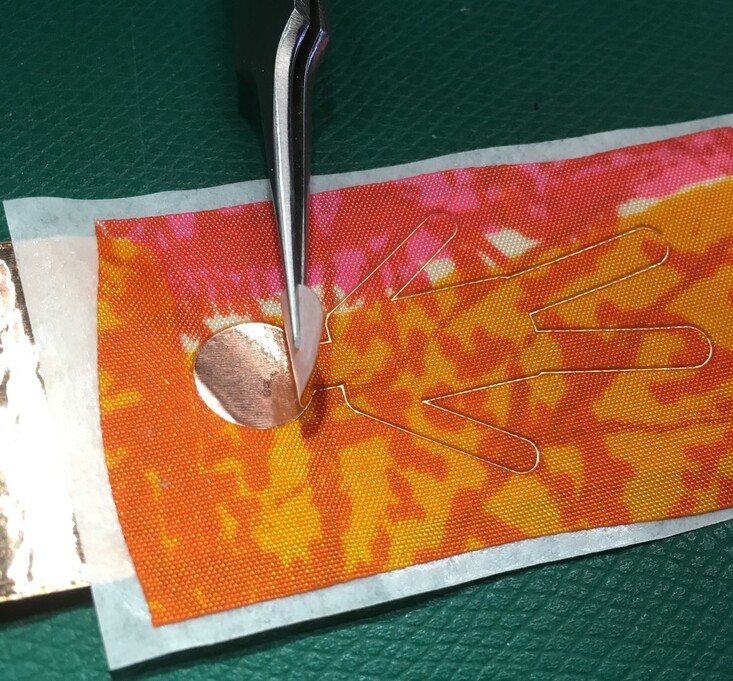
It cuts really nicely - it melts! It takes very little power to cut and leaves a very clean edge. This was cut with the power set at 1 and the speed set at 200, single pass:

It took a lot of magnets to keep this from flying away as it was cut loose from the base fabric!
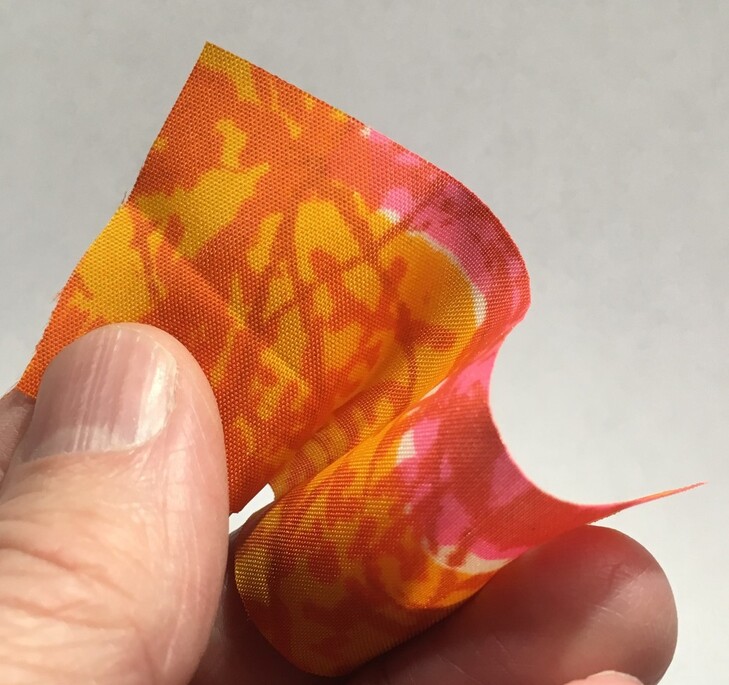
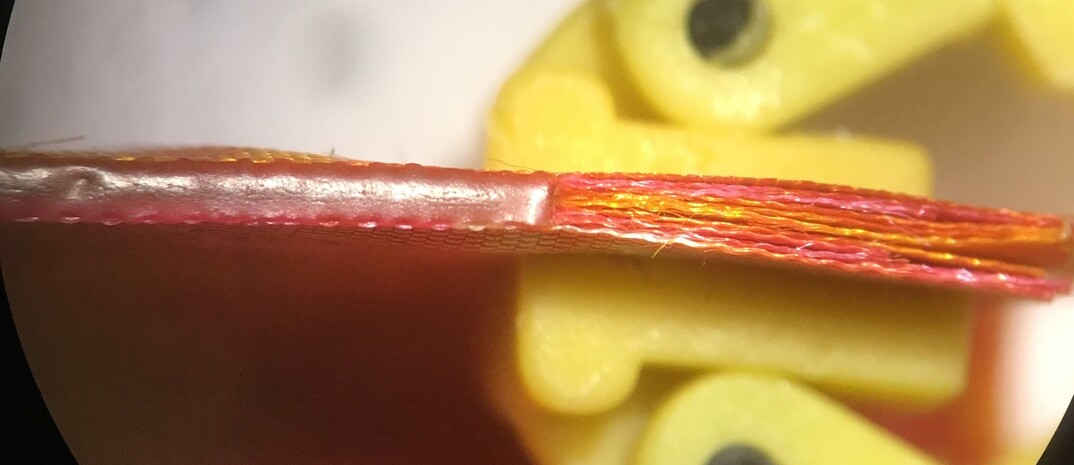
Here’s a close-up of the cut edge:
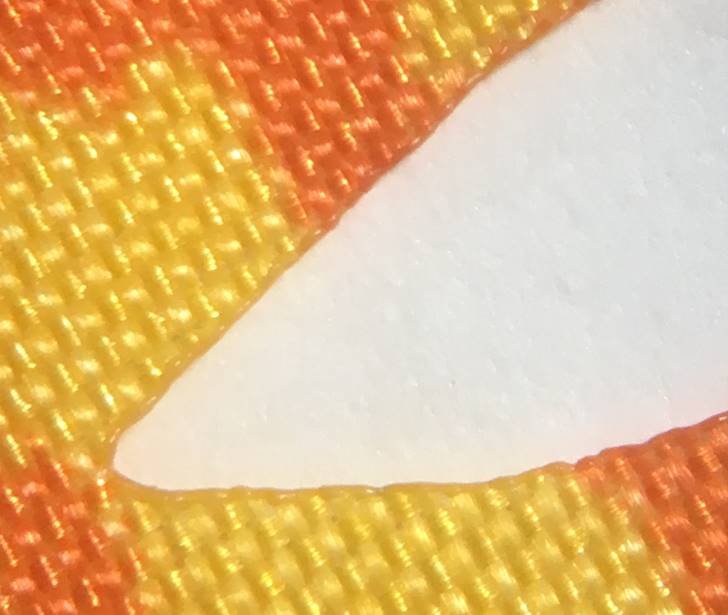
If you look closely, you can see the bead of melted synthetic that nicely seals the edge as it cuts.
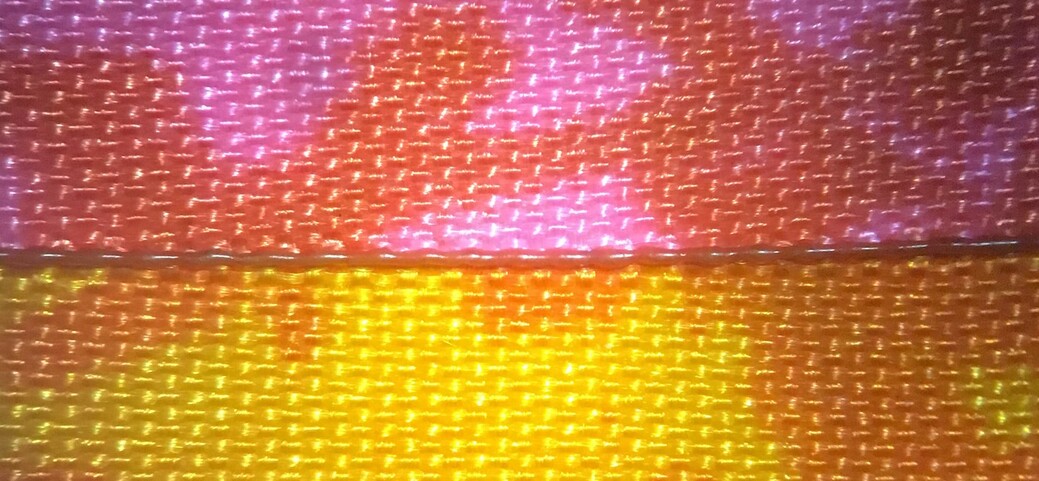
That bead of melted synthetic got me thinking… what would happen if I stacked two layers of synthetic?
The settings were nearly the same, with the power set to 1 and the speed dropped to 100. This image shows the bead that was formed between the two layers:
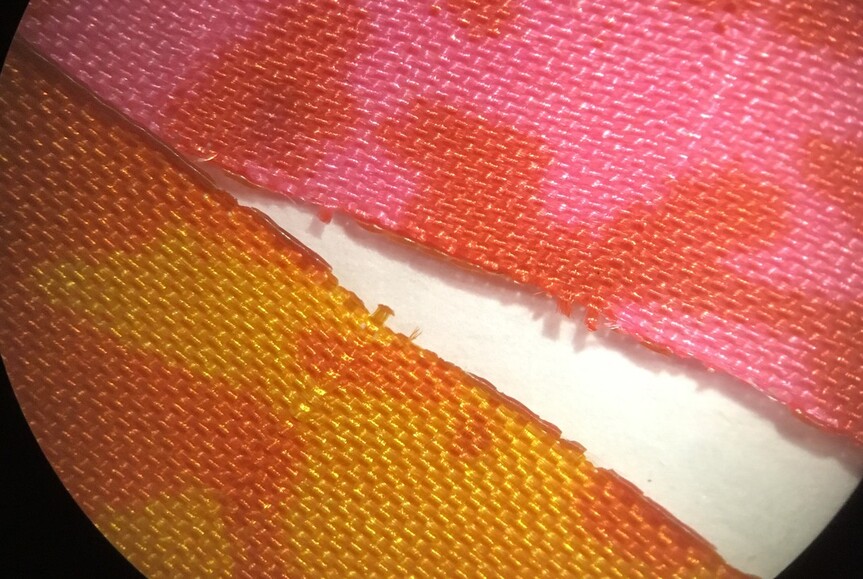
The seam is reasonably rugged, although it is still the weak link when pulling the seam apart:
So not only can you cut synthetics cleanly - you can cut and stitch at the same time! I’m hoping readers of this post can start imagining what could be done with this cut+stitch capability.
In case you were wondering, I stopped at 10 layers:
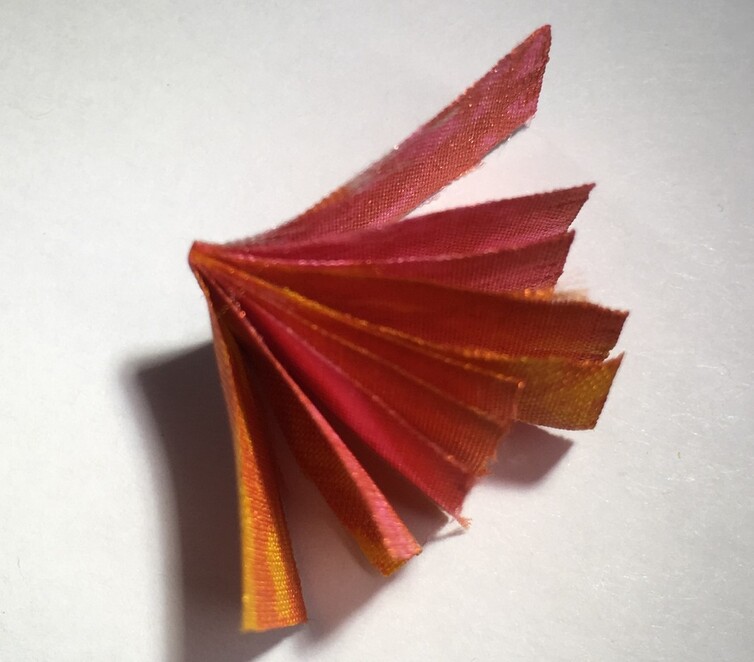
Because each layer melts, the size of the bead will scale up with each layer of synthetic added. I kept the power at 1 and the speed at 100. This shows the edge view of the 10-layer stack:
So there you go. If you’ve worked with synthetic fabrics, please share your experiences here. If you haven’t played with synthetics, I’d encourage you to try. I’d also like to hear any suggestions for other experiments to try, and ideas for what could be constructed with this cut+stitch method.