Hi everyone, I’m looking to see if this feature is possible on glowforge. If I have two separate engraving patterns where parts of one overlap with the other is there a way to make it so GF recognizes that if I have a deep engrave and a part of a shallow engrave crossing it that it shouldn’t then engrave deeper than the shallowest section?
As an example, imagine a rectangle engraved to a depth of 1/4 inch, across that rectangle you place a stripe that is engraved to 1/8 of an inch. The final outcome should be a rectangle 1/4 deep everywhere except where the stripe crosses where it should be 1/8.
At the moment it seems that you have to manually edit the image so that everywhere depths cross the deeper image is missing the sections that would intersect with the shallow one. That’s not feasible when you’re trying to layer complex images but it is really hindering getting a ‘layered’ look.
I’m hoping I’m missing some ‘simple’ image editing or gfui editing magic
Yeah I was just using those two as an example. In a program such as ‘Easel’ for CNC machines if you layer a shallow carve on top of a deep carve the program recognizes that you should never cut deeper than the shallowest object at that point and it will calculate the Z height accordingly (imagine an aztec stepped pyramid sat inside a carved out hole, if it carved the hole completely either first or last it would just be an empty hole).
What you would need to do is make the whole thing a raster and set the deep part black and the shallow part a gray halfway between white and black. You have 250 shades of gray to choose from so you can pull that off in more variety than you can reasonably detect with your eye. That is what variable power is for!
Depending on the material, getting 1/4 deep should not be a problem. I go to max LPI and Power and make up the difference in speed.
Okay, so basically ungrouping as much as possible, changing it to a grayscale through something like Trace Bitmap in inkscape, layering it how I want and then regrouping it, uploading it and then choosing vary power.
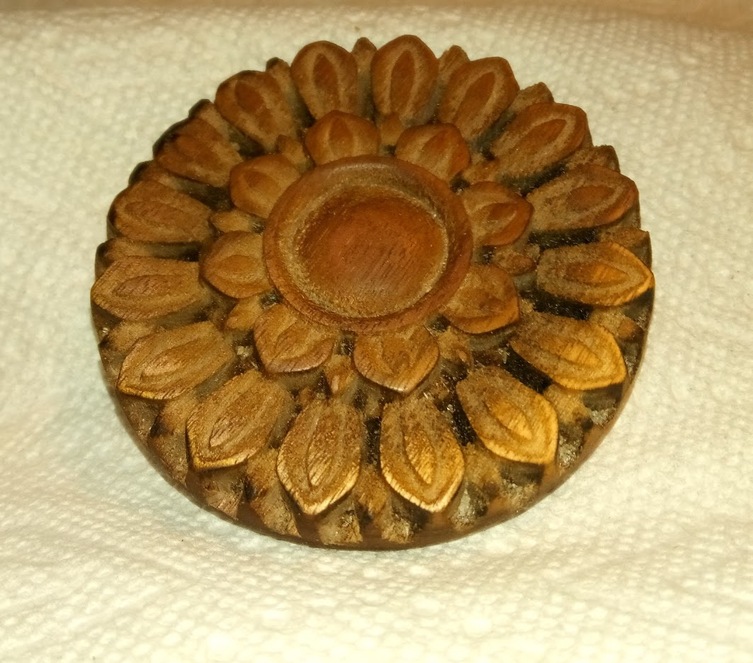
I use Gimp for raster editing and Gimp will export “paths” as an svg that I open in Inkscape to put the vectors to match the raster. As with that lotus flower, there needs to be a line to cut it out. (the wood is 7/16 " walnut)
You could break it apart in a group and use zero thickness edges and then organize the bits into what depth you want, and then put that into Make Bitmap Copy but in Gimp you can do much more delicate shading.