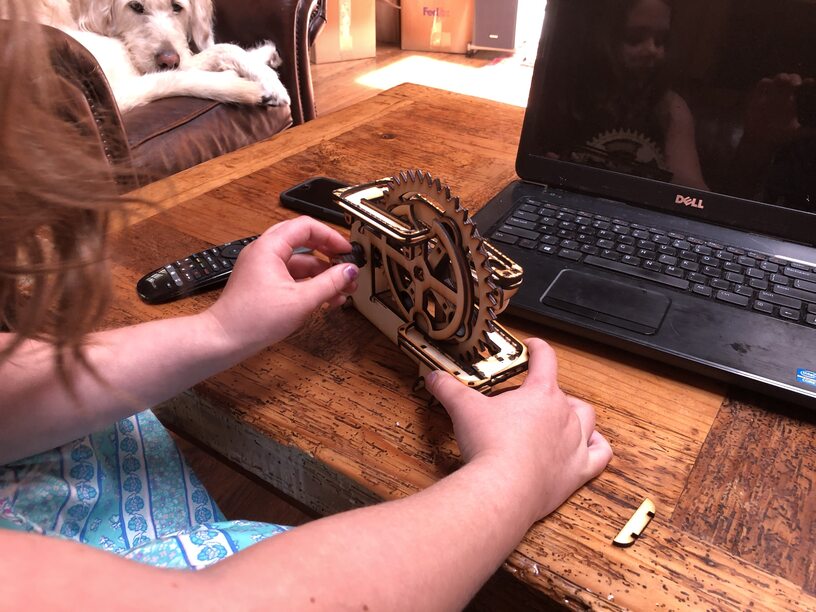
I also put a dab of super glue on the top rail mounts on the crank side, all of the inner track supports, and the single rail mounts. I don’t think any of these spots are particularly weak. I did it because small hands will be playing with this, and they tend to not be careful!
1 Like
I have experienced that same issue with the top front rail. In some instances it just seems to swing out. It happens infrequent enough that I have not tried to fix it yet.
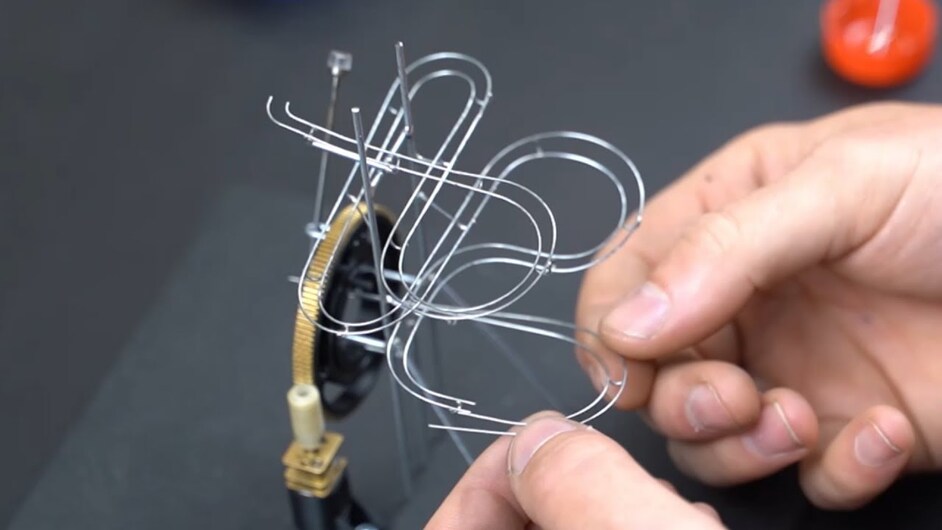
I just saw a video on a tiny metal motorized marble run.
5 Likes
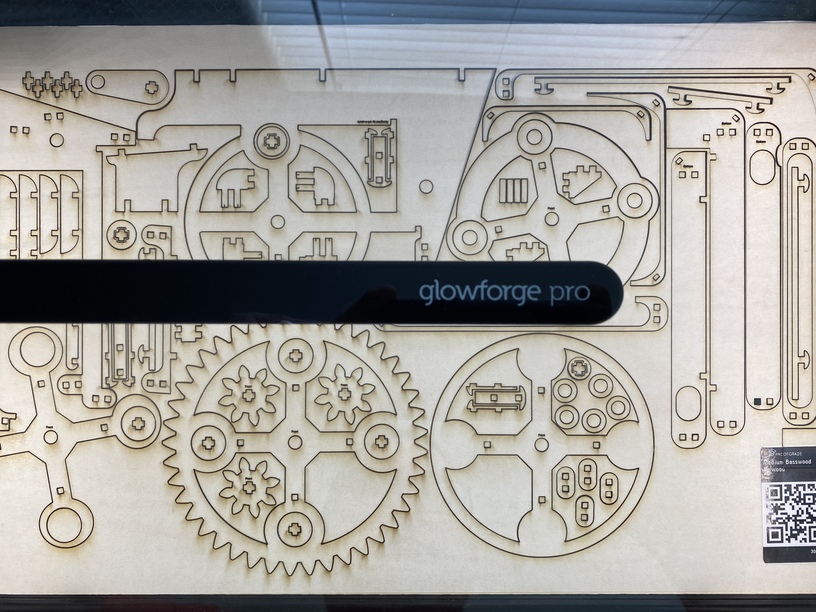
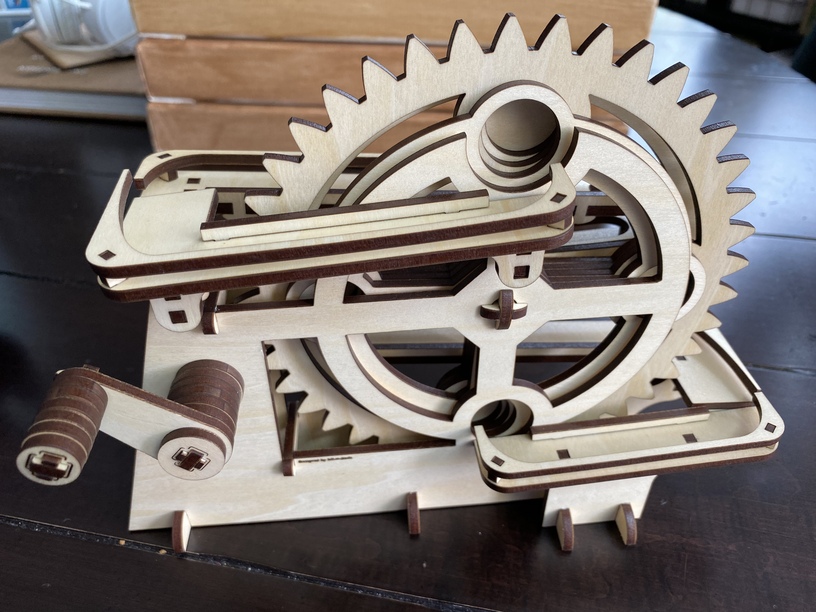
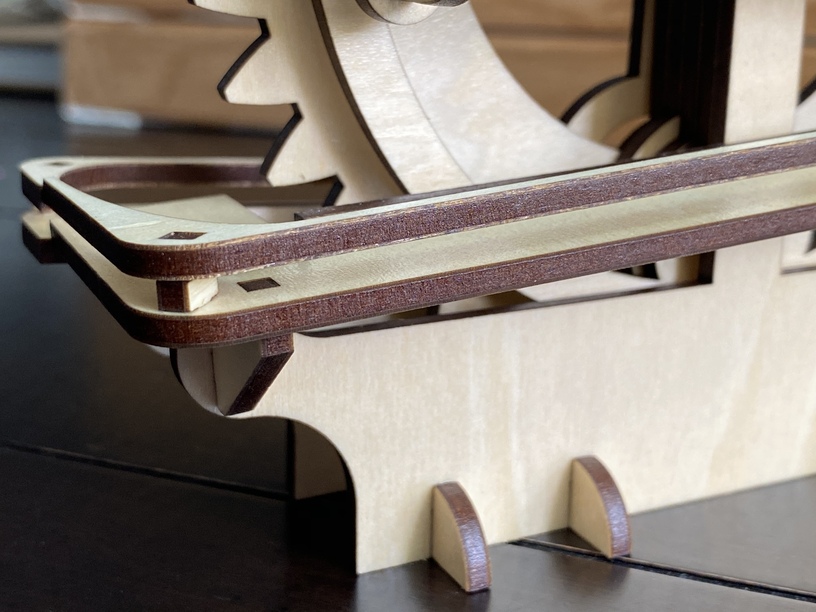
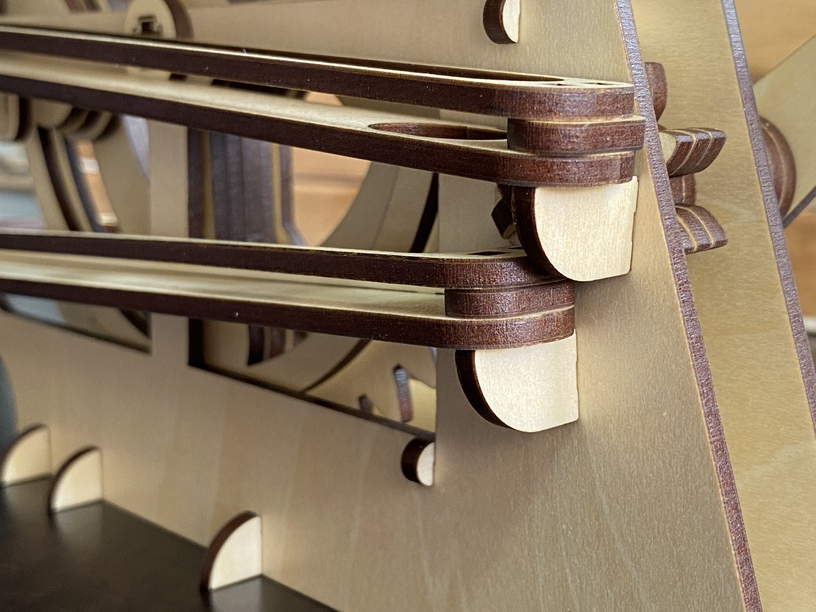
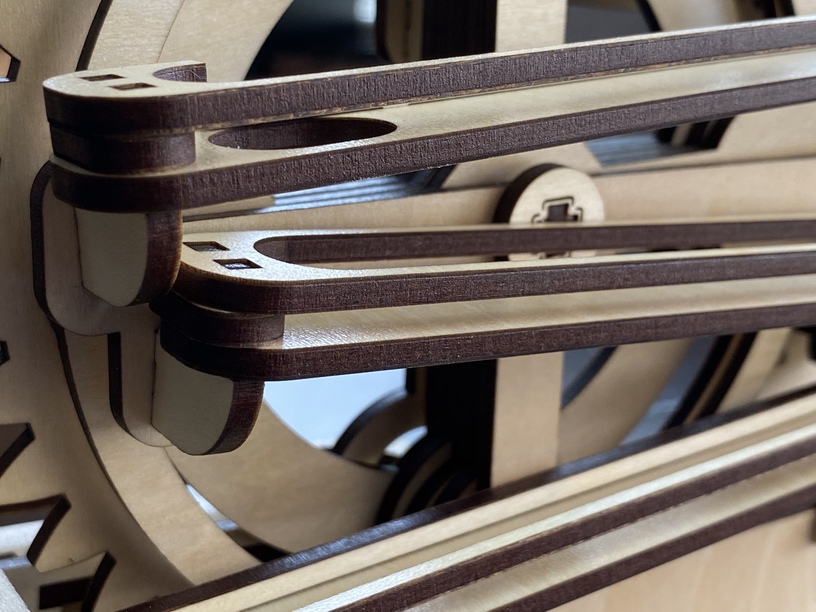
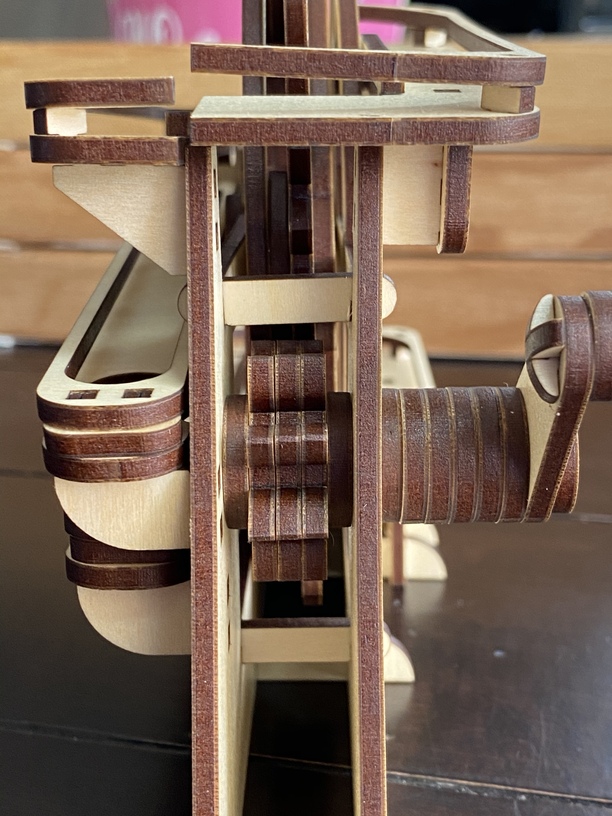
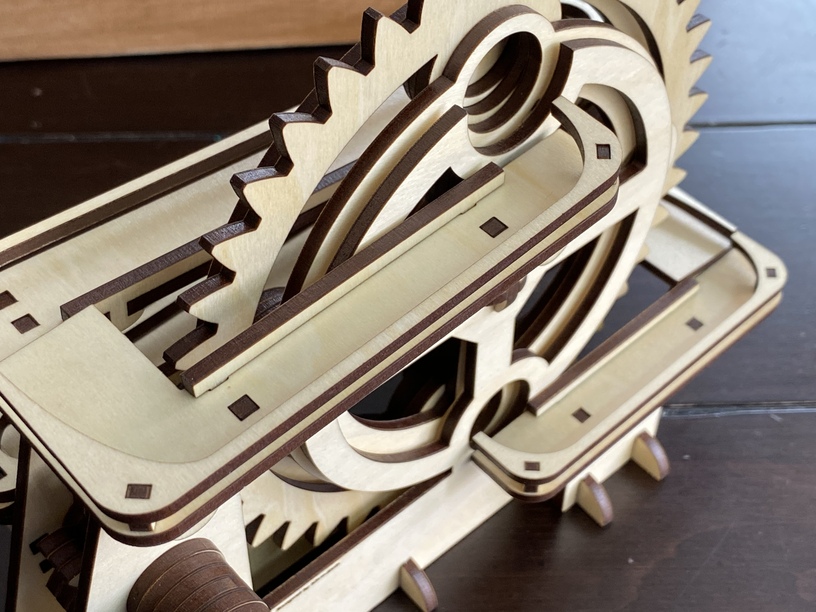
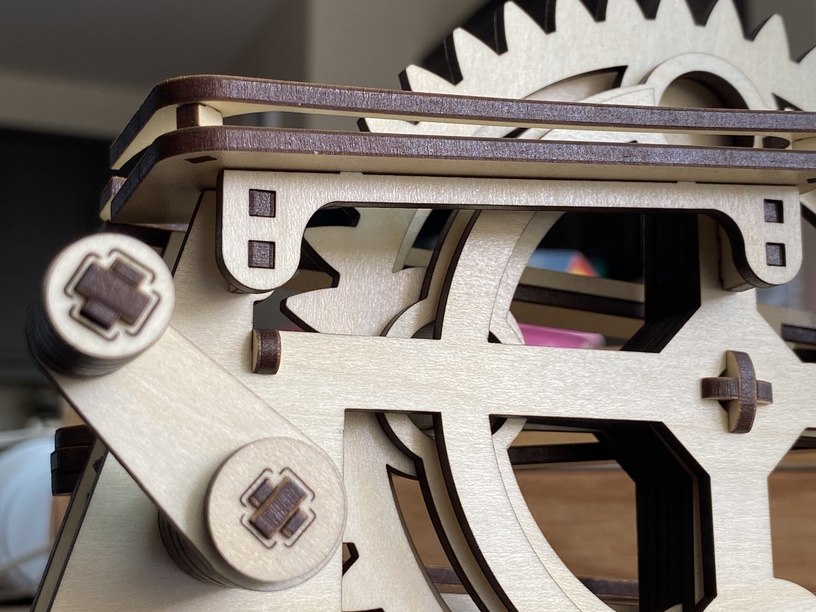
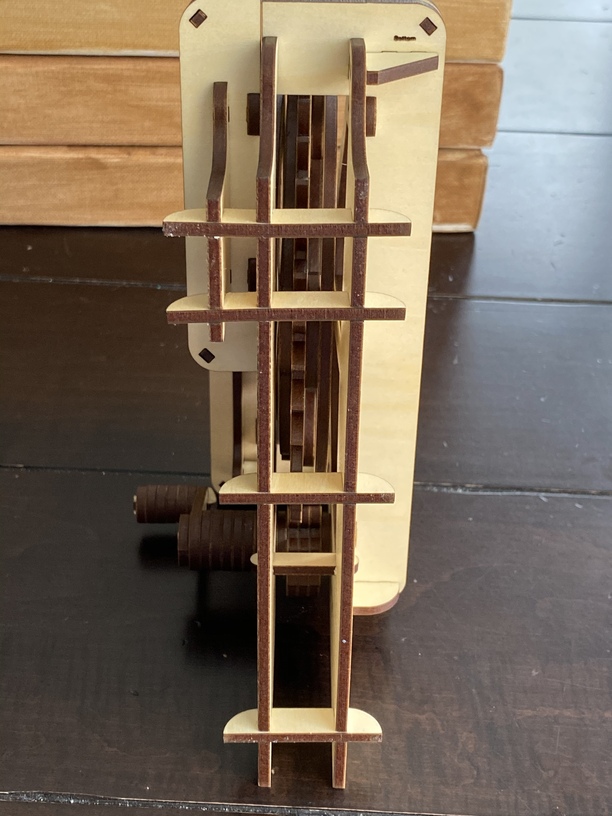
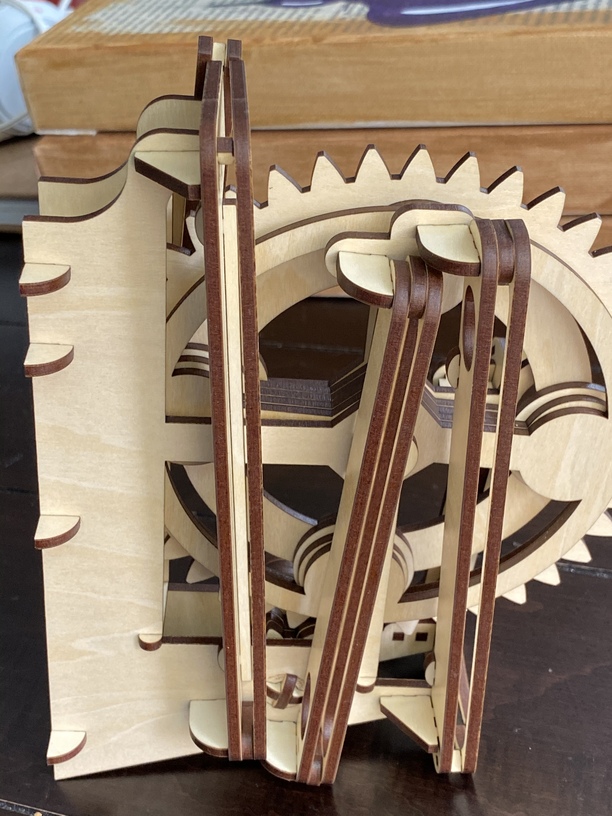
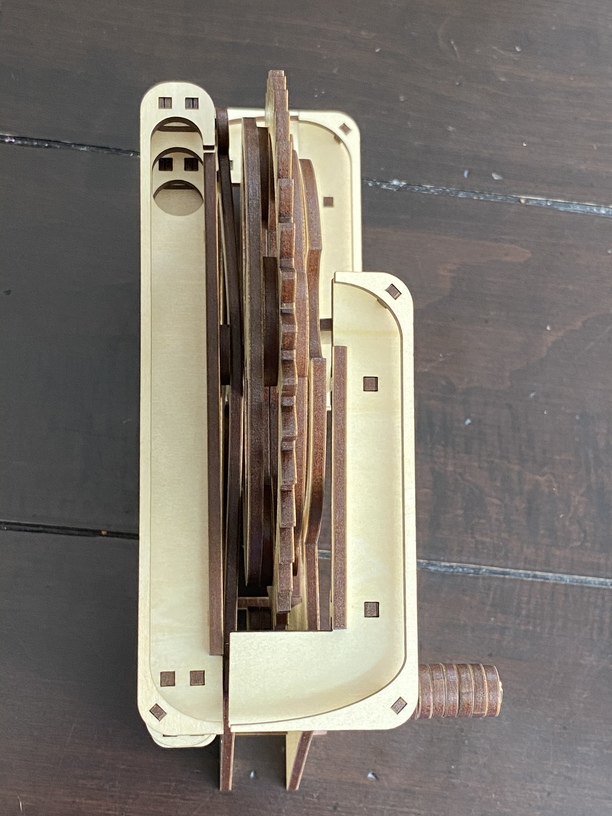
Just finished a build using PG Medium Basswood Plywood and it looks great! Tried to get a bunch of pics from new angles that might help others with assembly.
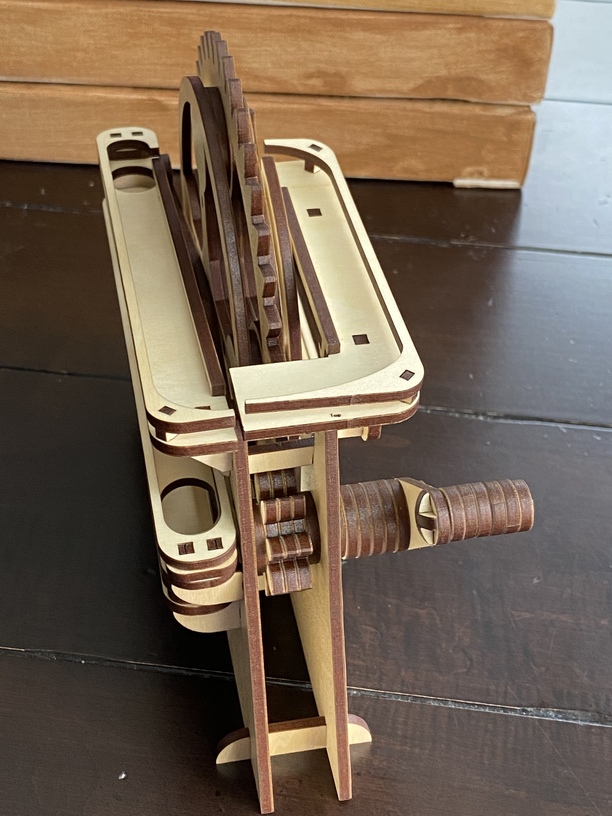
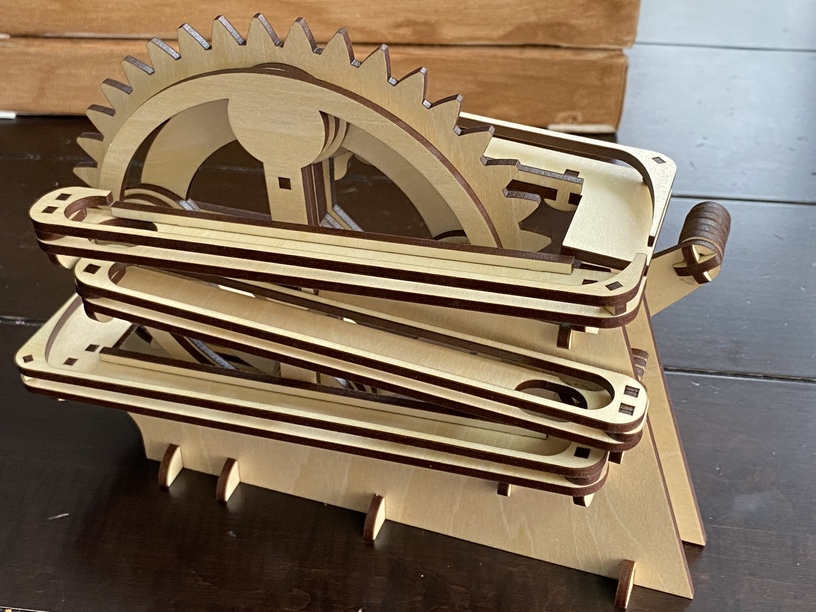
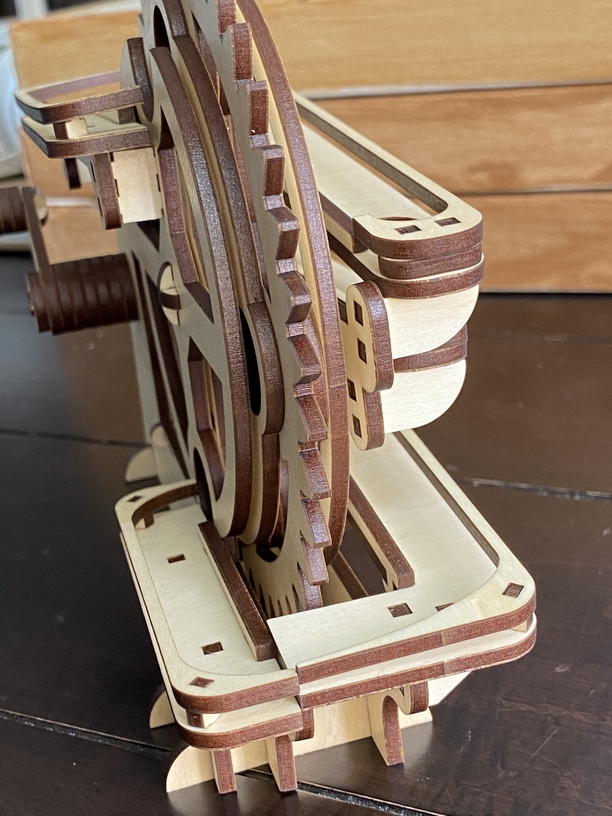
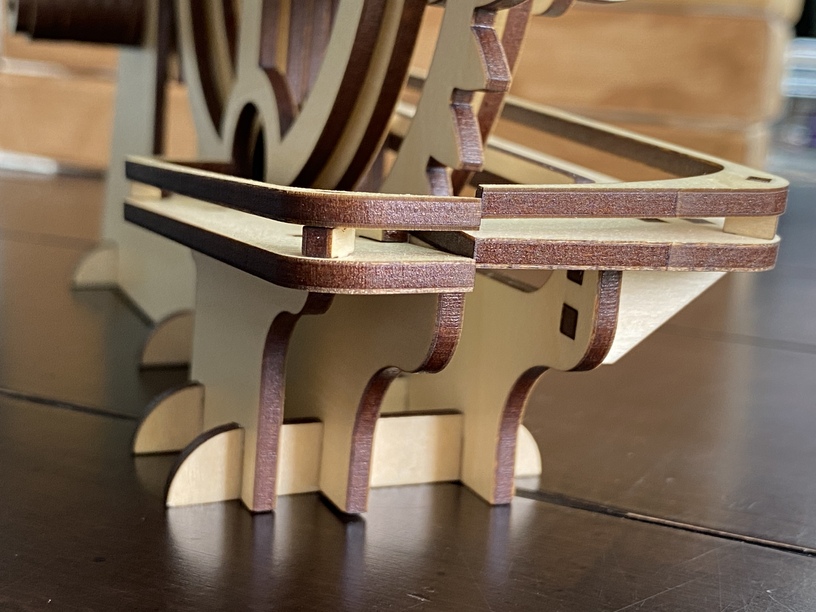
14 Likes
Very nice! Thanks for the pictures of your finished product!
Did you have any issues, or have any suggestions?
1 Like
First, a huge thanks to you for sharing such an excellent design and all the hours you’ve clearly put into refining it.
As for suggestions, I would only say that the supports/braces for the ramps aren’t quite as firmly locked in place as I would like. Those seem to be the most likely spot for things to come loose with repeated cranking. It would be interesting to have more of a locking/serrated joint for those pieces so they are really rock solid.
As you get closer to a ‘final’ design I think it would be very cool to put together a full instruction document as well. I’d be happy to lend a hand with that.
2 Likes
Reviewing your pictures. I think you might have misunderstood the second step:
I see in your picture that you have the axle-lock on the back of the back structure. That should be flush with the ramps and rails. Otherwise, I would guess your whole frame is slightly twisted?
The wheel is four boards thick, and the structure should be five boards between. This gives a 0.5" ball room to enter the wheel. I doubt the balls would fit with how you have it together?
Edit: Yes, reviewing your picture from the top, your back structure is curved in. This could be causing issue with the ramp connectors too. None of the pieces are meant to be bent.
2 Likes
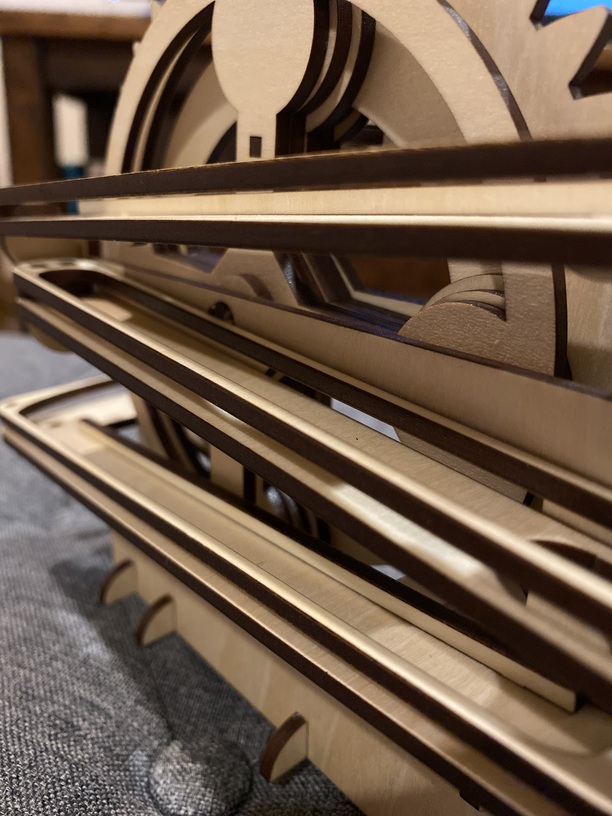
Your structure shouldn’t be warped anymore, but the axle-lock actually goes on the other side of the wheel. Otherwise, the marbles up to 0.5" won’t fit into the wheel holes. If you want to use small marbles this will work, but if you plan on using half-inch diameter ones they will not.
I am working on the next iteration of this design. I will be sure to include a detail set of instructions with pictures for the next release.
2 Likes
I had problems with the marbles fitting in the wheel holes too. I do have the axle-lock on the correct side. My issues maybe a combination of my “swollen” draftboard and using a motor that is going too fast. Sometimes the marbles jam and lockup the motor.
1 Like
Ouch. I will try to keep that in mind as I am playing with my motor enhancement.
I didn’t think your motor was too fast. Why do you think that?
1 Like
Eventually a marble gets caught before it is cleared and binds up the wheel. I was thinking if it was slower it would have time for the marble to get in fully. Instead of a reduction gear I might add a potentiometer to adjust the speed, then I could have a tranquil setting and a frantic setting. Also my ramp before the opening might not be raised enough, sometimes it takes them momentum of another marble to push the first one through.
2 Likes
Some testing has shown me this is due to the kerf and how it is slightly angled. It looks like if I were to flip the front structure and cut it from the back, that would make those ramp-connection points much sturdier. But then you could not engrave on the front…
1 Like
The next rabbit hole…
2 Likes
Thank you for sharing this design. I made this for my special needs granddaughter and she absolutely loved it. Great for development of her fine motor skills, great to see her with an ear to ear smile! Thank you!
3 Likes
I am so glad your granddaughter will enjoy it! I am still working on making more, and even trying to create one with a motor and switch. I just wish I had more time to play with my Glowforge! It is just a hobby for me, but I am always glad to share designs with the community.
2 Likes
Wow, your test cut? Impressive. lol
1 Like
This is amazing! I am going to try to do this as a project with my son this summer. He would love this! Thank you so much for sharing! Great work!
1 Like
WOW! How did I miss this update! Still very impressed, can’t wait to see what comes next. Such a great project to do during this time.
7 Likes