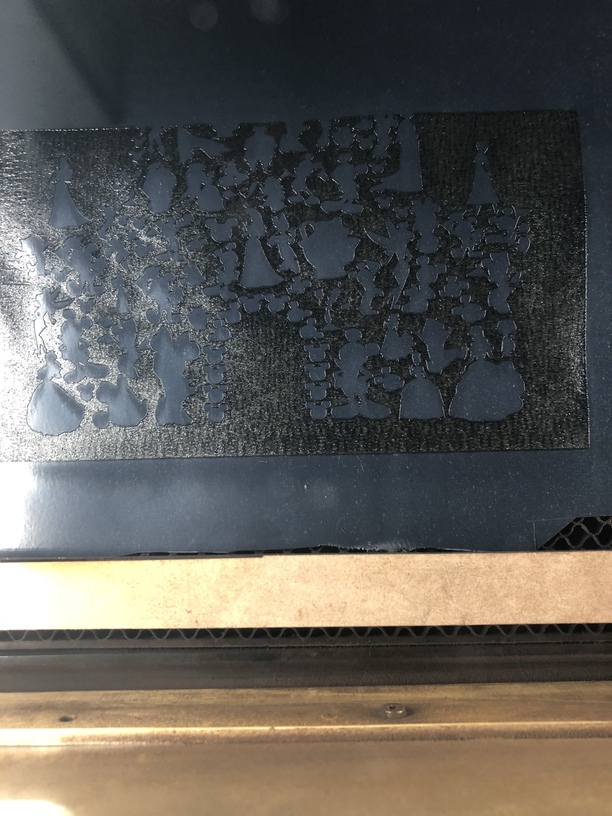
It seems like this is a great candidate for a hybrid approach: laser away the weeding on the fine text but then just kisscut the larger text.
This would save a ton of time, weeding the large letters would just take a few moments.
It seems like this is a great candidate for a hybrid approach: laser away the weeding on the fine text but then just kisscut the larger text.
This would save a ton of time, weeding the large letters would just take a few moments.
I would love to see a picture of the outcome! Did you engrave the material, or just do a kiss cut and manually weed it?
I would say the laser and and vinyl cutter are about equivalent for most designs. The laser has the edge with detailed pieces that can not be weeded by hand. I would probably just use the vinyl cutter for simple designs, as it is a bit faster to get setup.
I completely agree @evansd2. I intended this to be a test of the engrave to see if it was possible, so I did the entire design. In practice the best (or fastest) approach would have been the hybrid, engrave the small text, and manual weed the larger text. However, because I was just setting the laser and walking away, it was nice it was 100% ready to go when I came back. It’s nice to have the flexibility.
Hmm, I never did intricate vinyl because of weeding him. Something new to try! I prefer sticker vinyl so need to find laser safe. I dont fo alot of shirts. I never got the hang of the ironing part
Looks Amazing!
That’s what I did on my LaserFlex test.
Wow, I didn’t know easyweed htv could be used in the laser - that’s amazing, and great results. Off to go read through some materials sheets.
Probably too late, but Siser specifically says it can be used on a laser, so no sheet-reading required. 
not too late, that’s amazing, I can’t really get my mind around the no-weeding possibilities… (can you tell I am easily amazed)
Hello! I’m probably a little late to this but I got the engraving settings at
Speed: 1000
Power: 29
LPI: 450
#of passes: 1
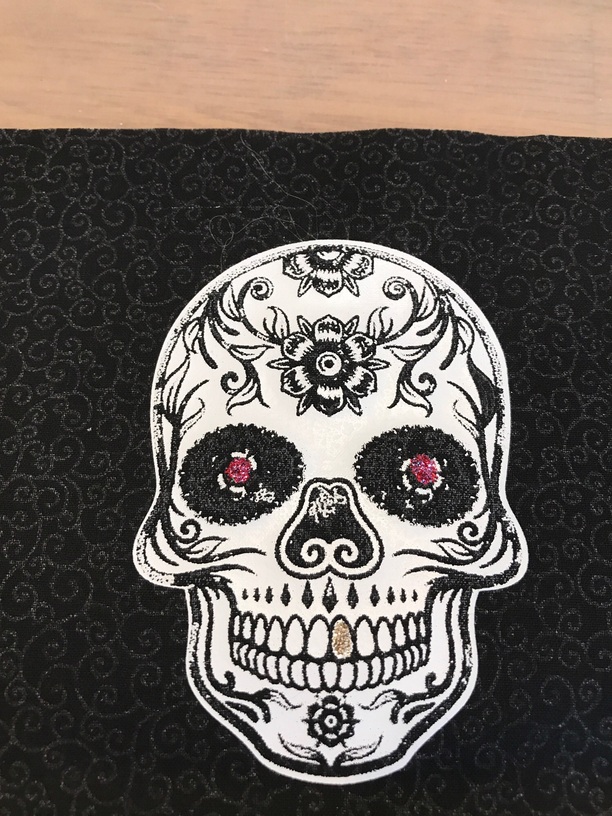
It goes a bit faster than doing the 3 pases. I’m “cutting” something now that would be almost impossible to get it done with my cameo. I actually tried to cut this design but some of the details got lost, so engraving its the only way.
I’ll have to try those settings, thanks!
I’m a Silhouette user with a GF on the way next week. This blows my mind 
The hours of my life lost to weeding mandala designs is too much to think about.
Thank you for sharing your settings, I’m excited to try this out!
Thanks @cjbissonnette, @simplycielostore and @evermorian for your settings help. I used CJ’s settings plus SimplyCieloStore’s engrave settings (s1000 / p29 / lpi450 / x1; perfect for small elements).
I found it really convenient to color my elements the color of the HTV I would use. So for blue HTV, blue outlines became scores and filled blue elements were engraves.
that looks fantastic, nice work.
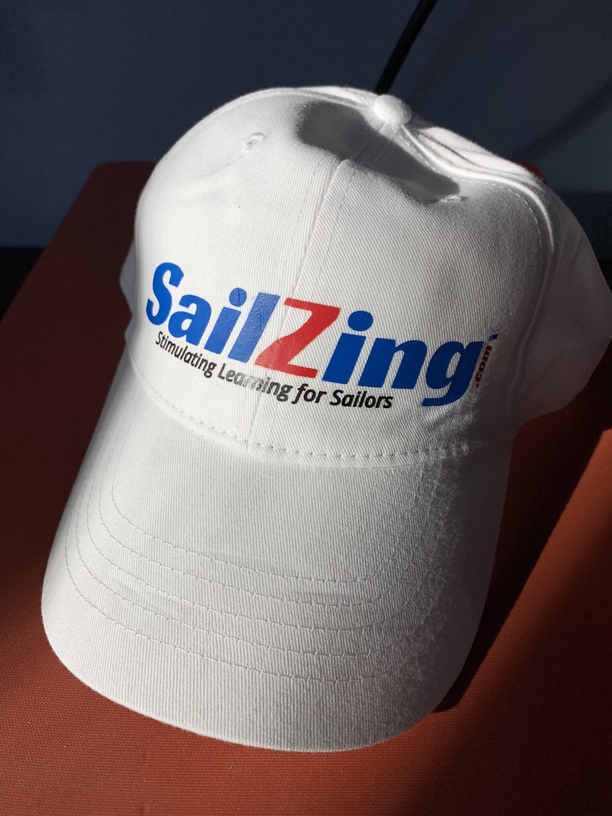
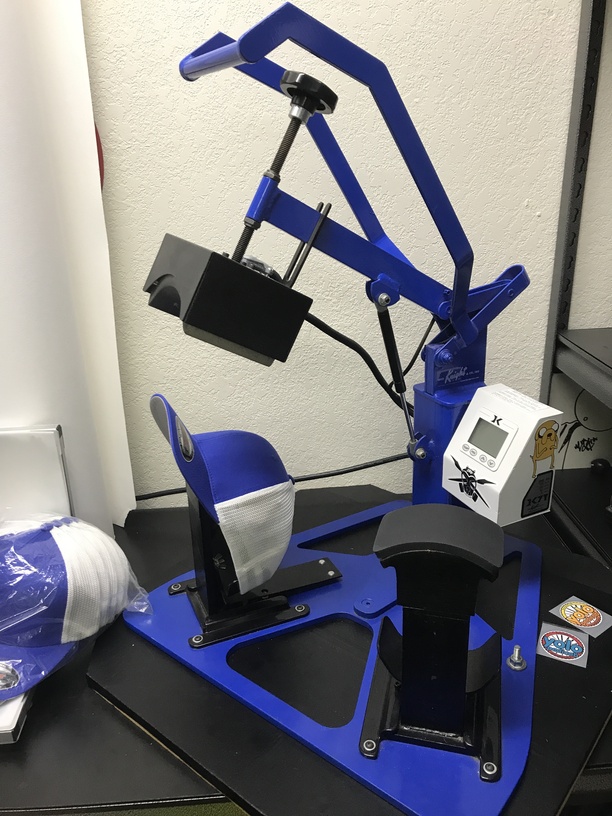
How did you do the two colors and the heat transfer to the hat? It turned out really well.
heat transfer to the hat was most likely done with a heat-press. There are multi-function heat-press units that have hat attachments, or there are stand alone ones. I use an older 2-station Geo Knight that I got off craigslist.
 WOW I don’t know how I missed this … you are my hero! I had no idea any kind of HTV could be laser safe … Thank you!!!
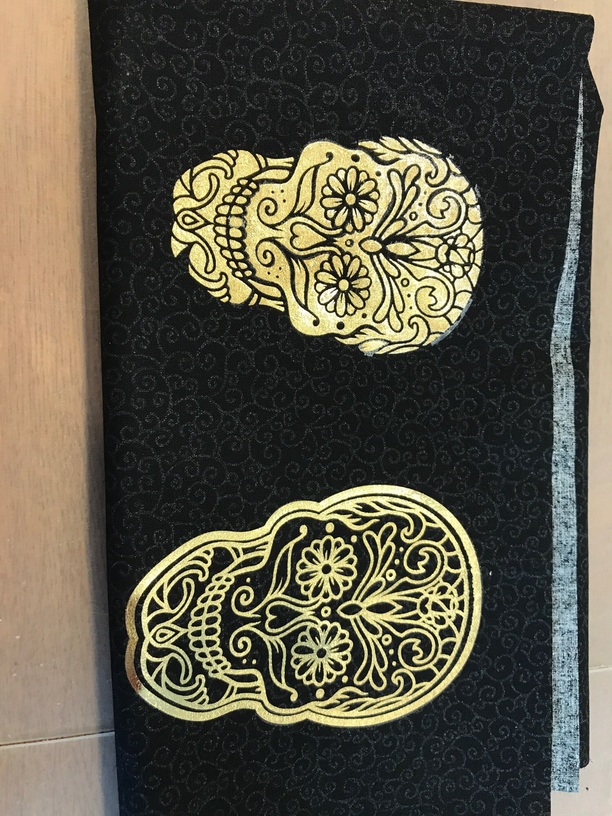
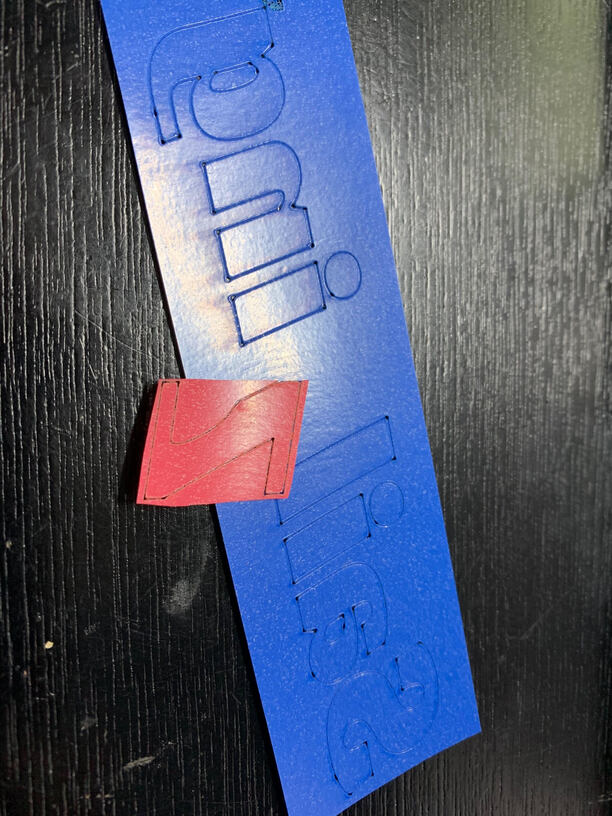
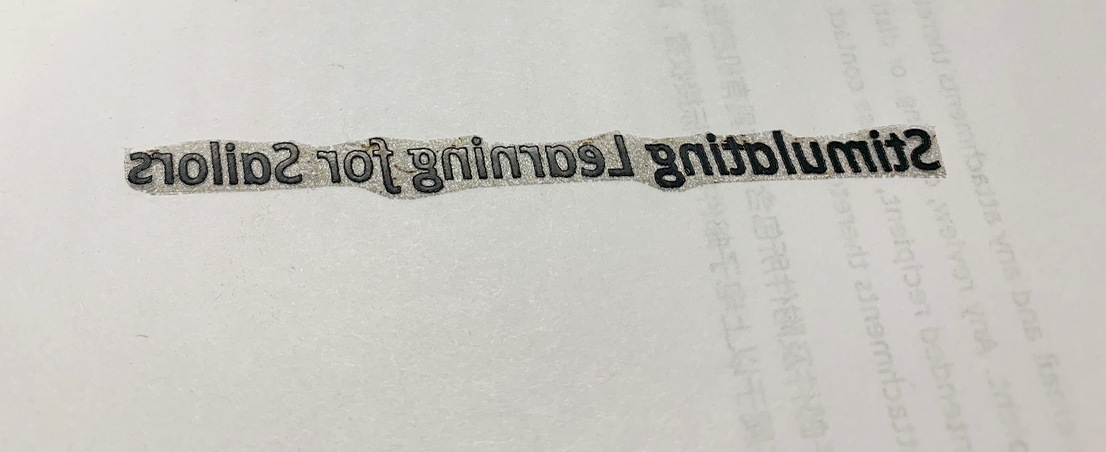
Thanks @dgurskis and @mnemosyne ! I use the Siser Easyweed HTV. I use the settings that you see in this post to “kiss cut” the transfer material (NOT the backing material) in reverse (mirror image). I do this for each color. Then I peel the colored sections that I don’t need off and discard them. That leaves me with the pieces that will go on the hat with the backer still attached.
To get the red “Z” in the middle, I place the Z and its backer in place on the sticky backer for the blue part and align it that way. Then I can put the whole assembly on the hat and use the heat press (correct @jbv) to fuse it. Let me know if I need to explain better.
I tried the engrave to remove smaller areas, but the residue ghosted onto the pieces, so I will avoid that. It would be fine on dark colors.
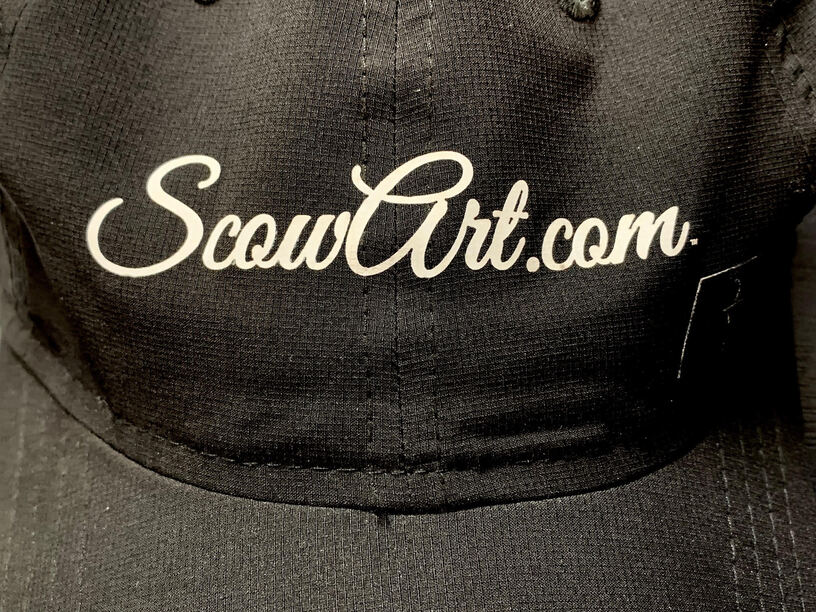
Here’s a hat that I did for the nature and drone photography side of my business.