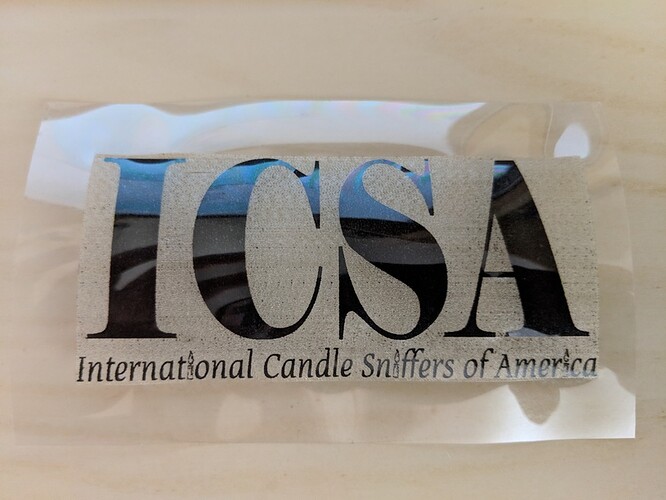
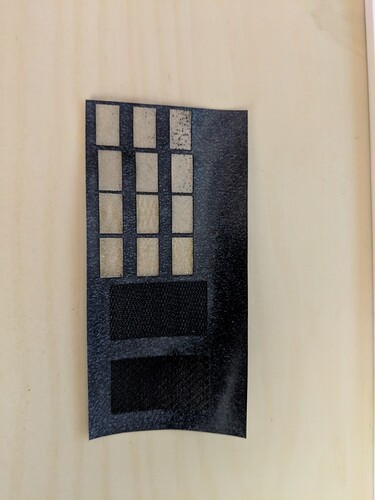
I spent a lot of time today dialing in settings for the Easyweed product from Siser. We have a cricut, but the limitation is the ability to weed the excess material from intricate designs. I was intrigued to learn that you could engrave away the design on a laser, not having to weed at all. It is also a lot easier said than done. There is a fine fine line between engraving away the excess HTV and keeping the backing in tact. However, with a lot of trial and error, I did get great results:
(Don’t ask about the design, it’s an inside joke for my brother in law)
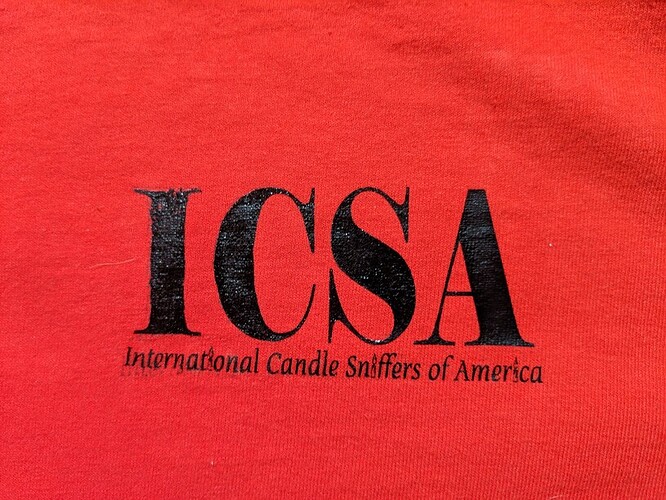
What looks like remaining black flecks in the final design are actually small imperfections in the backing material which should have no effect on the iron on results. I have not put this on the shirt yet, but will add a photo when I do. I developed three profiles for three different resolutions:
Engrave:
High Quality
Speed: 1000
Power: 15
Lines Per Inch: 270
Passes: 3
Regular:
Speed: 1000
Power: 19
Lines Per Inch: 225
Passes: 3
Quick:
Speed: 1000
Power: 22
Lines Per Inch: 195
Passes: 3
Score:
Regular
Speed: 300
Power: 5
Quick:
Speed: 500
Power: 15
Cut:
Regular
Speed: 300
Power: 15
Quick
Speed: 500
Power: 35
The secret sauce for me was using 3 passes. The product likes to melt at higher power, doing it in multiple passes allowed for the material to be removed without melting. I have to stress how fine a line this is. Changing a power setting by 1 makes a big difference. I imagine other uses would have to adjust the above numbers by 1-3 power settings to account for machine differences. Maybe somebody can come up with settings which don’t require multiple passes and can print faster. For me, I will only use this on smaller designs which are “un weedable” so I don’t mind it taking awhile.
Note: To do the print I taped the product to a piece of MDF which allowed for a solid flat surface.
Hope this helps.


