I made a new Thing.
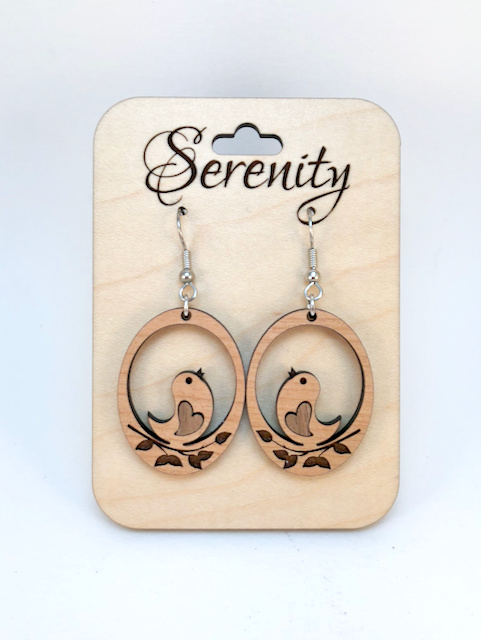
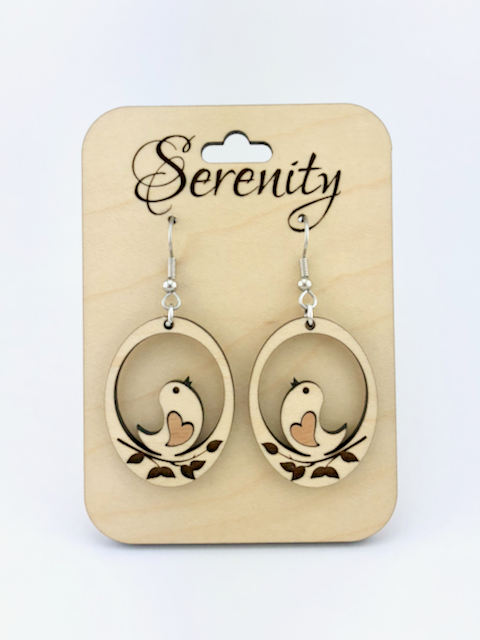
It all started when I kept making cool earrings out of scraps. At first I just gave them to nieces, friends, my daughter, etc. My daughter was really happy with hers, and started bugging me for pricing and photos so she could show her friends and sell them for me. So I sent her some quick snapshots, and her husband saw them and said I needed a light box, and offered to help me pick one out. (They have a photography business, and he’s the resident perfectionist in that realm.  )
)
So while I was waiting for a chance to collaborate with him, I browsed through Amazon and thought (of course), “well, shoot, I could MAKE one of THOSE!” So I did. I had a pile of wood / MDF pieces I’d found for free on Craigslist that used to be parts of a kid’s bed, and there were three nice flat 0.19" thick fake woodgrain-covered MDF panels that were just begging to be lasered, so that’s what I used, along with some thin diffuser stuff I got from Inventables.
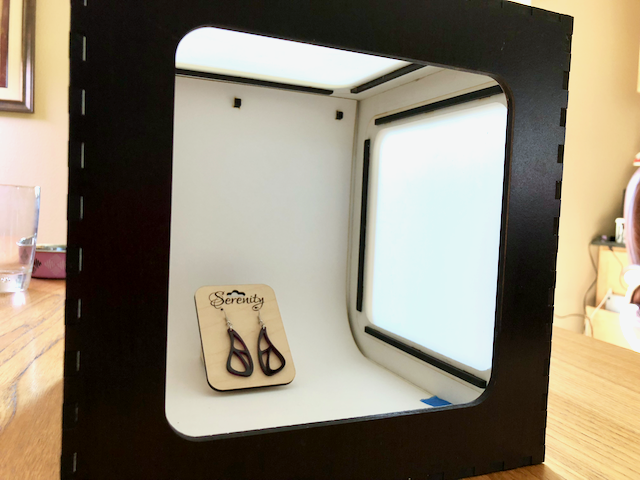
Once it was assembled, I gathered up a bunch of craft lights and desk lamps to bombard it with light, and started sending photos to my daughter. I thought they looked pretty great. She tactfully suggested that I bring my box over and let my son-in-law help me with the lighting setup.
Oh, well. I can’t be good at EVERYTHING, I guess. So today I went over for a visit, and this happened:
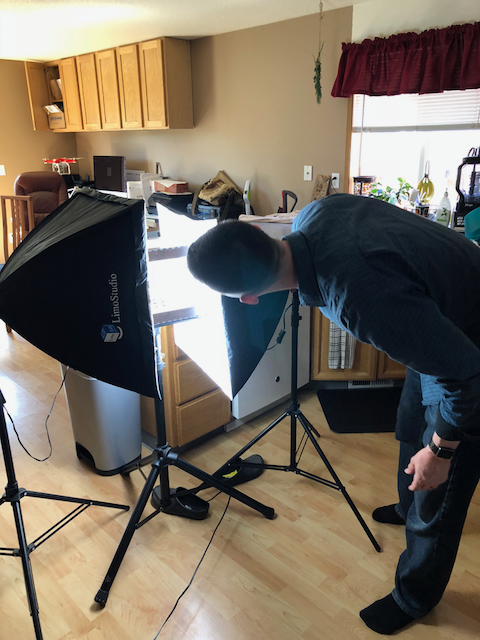
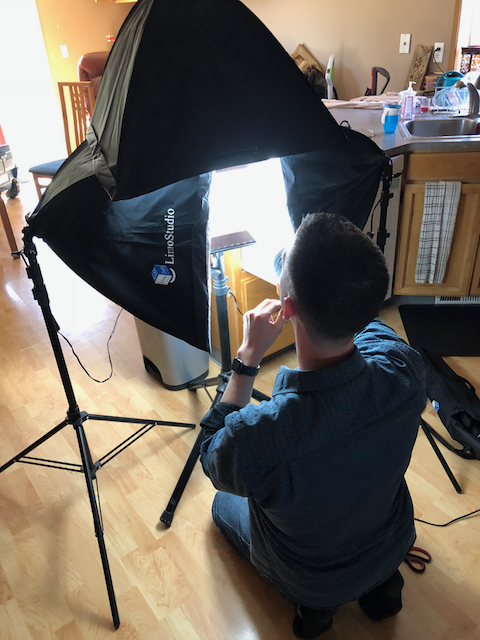

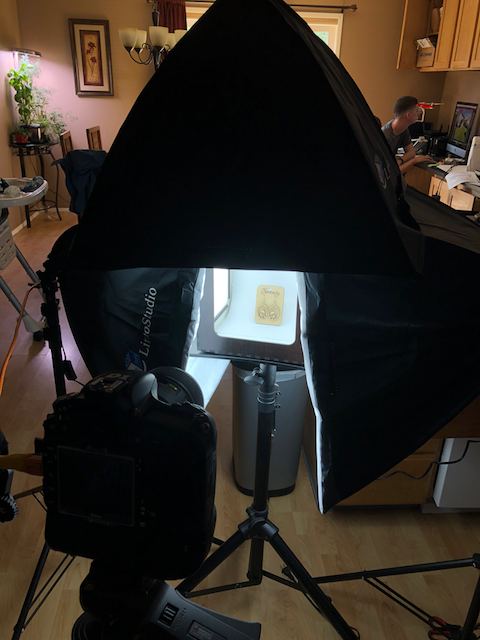
So, yeah. He sent me home with my truck stuffed full of things he says he doesn’t really need now that they’re doing more on-site photography rather than studio work. So now I have a 9" light box surrounded by probably 120 cubic feet worth of lighting equipment. (Each of those umbrella thingies contains a light bulb almost bigger than the light box itself!)
He wanted me to use his spare camera too, and professional photo-editing software, but that’s the point where it started sounding a little too much like Work. It’s not like I’m trying to compete with Zale’s or anything; I think iPhone photos edited in iPhoto will be just fine, especially with all that light. 
He confessed to me that he had kind of scoffed when my daughter told him I’d built a light box, but once he saw it, he was actually pretty impressed with it. The only thing he changed was to put in bright white paper to cover up the white backing I’d made from watercolor paper – it’s nice and stiff, and long, but apparently not white enough.
Anyway, I guess if my design is good enough to (mostly) pass muster with him, it’s good enough to share with y’all.  So here you go:

There are 5 layers in the file; 4 of them are hidden so the image won’t be too confusing, and they’re named for what’s in them:
- BackBottom: The back and bottom of the box. Also includes the 3 little hooks that fit into the slots at the upper back, for hanging the backdrop from.
- TopFront: The top has 3 holes on each side of the opening, for attaching diffuser panels. The front is the one without those.
- Sides: Contains the left and right side panels, as well as 12 strips for fastening in the diffuser panels on the top and sides.
- Diffuser: Cut 3 of these. I used this material from Inventables.
- Backdrop: Cut from something thin and flexible and of appropriate color.
Notes and observations:
- This is sized for 0.19" stock.
- I painted the inside of each piece white before assembling, to help bounce light around.
- The tabs are tight. You’ll need to hammer them together. The only place you’ll need glue is for the strips that hold in the diffuser panels, and maybe the hooks on the back.
- I put my diffuser panels on the inside, but they’d work just as well on the outside, if you want that tiny bit of extra space.
- If you want to photograph flowers and stuff out in the world, you could cut out (or just leave off) the bottom so you can just set the box down over whatever you want to capture.
- Right now I’ve just got the lower edge of the backdrop taped in place where I want it. A classier system of holding it in place might be nice, but tape works too.
Enjoy!