Leather Day

I played with leather today. People at work have been asking for bracelets with words on them.

They didn’t really say WHAT words, so I just came up with some.

Then, of course, I had to figure out how to finish them. (Before you read any farther you should know that I know absolutely nothing about working with leather, so I’m pretty much making it up as I go along.)

There’s a recipe using rusted steel wool and vinegar that supposedly makes a really nice black on leather, but since it actually involves planning ahead, and I’m kind of lousy at that, I didn’t make any black ones. Instead I dug out some shoe polish (the kind in the little cans, which I had bought for this purpose – so I guess I did kind of plan ahead, a little bit!):

IMG_1322

Three of those are just plain leather with shoe polish. The very top is tan, third down is brown, and the bottom is Cordovan. I wanted to try to get a darker brown, so on the second one down I tried using a light coat of brown acrylic paint. It came out kind of a dull, lifeless brown, though, and I didn’t really like it, so I rubbed off what I could with a damp rag, and then polished over it with the brown shoe polish. I kinda thought I’d screwed that one up, but strangely, all 3 of the 3 people I showed the 4 colors to for their opinions picked that one as their favorite. Go figure.

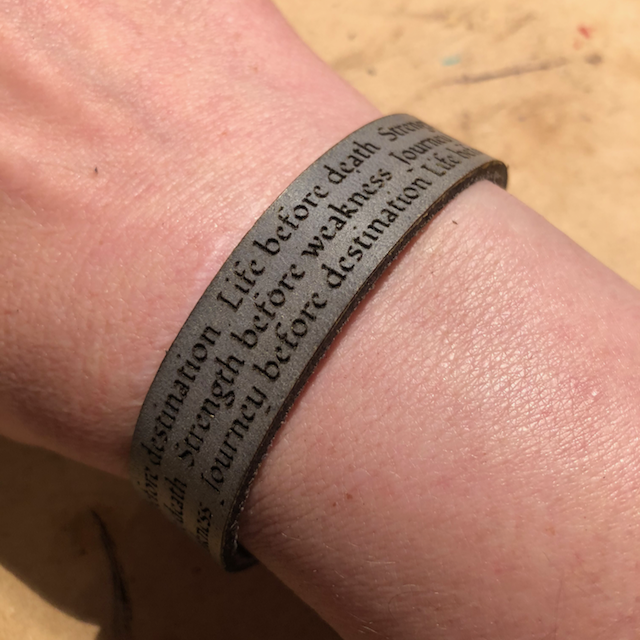
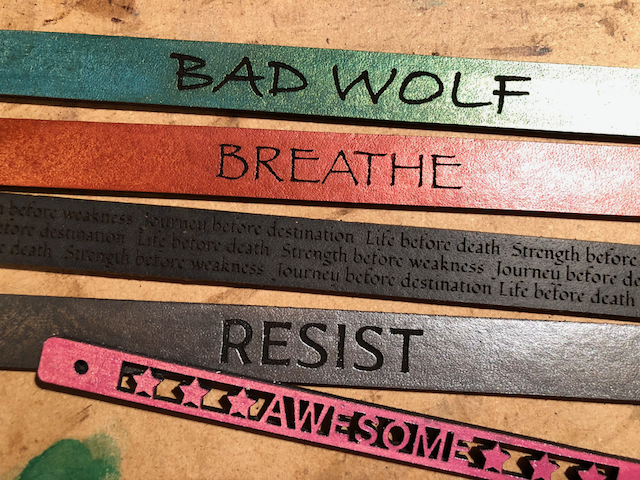
So I tried the same thing again, but with the brown paint and tan shoe polish, and I think that one actually turned out to be MY favorite. It’s the one that says “breathe” in this photo:

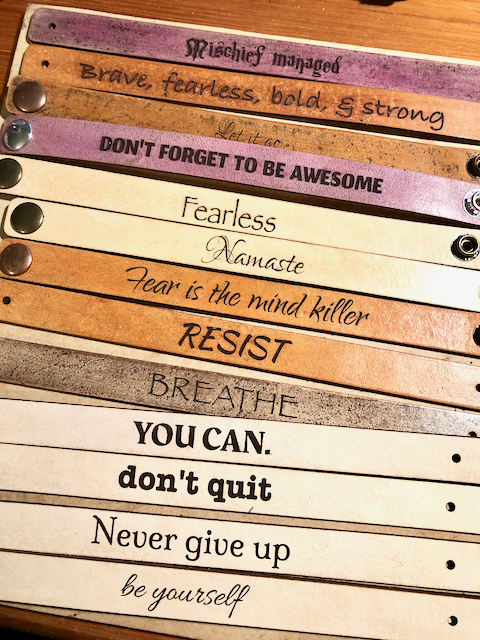
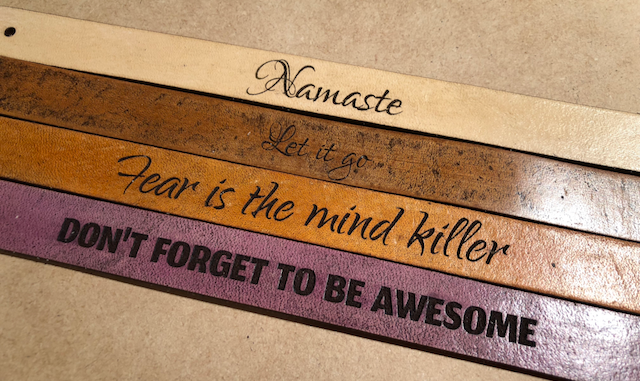
Then I got tired of the shoe polish colors and went back to my acrylics.

IMG_1328IMG_1330IMG_1332IMG_1331

_Hmmm…it’s kinda like refrigerator poetry! _

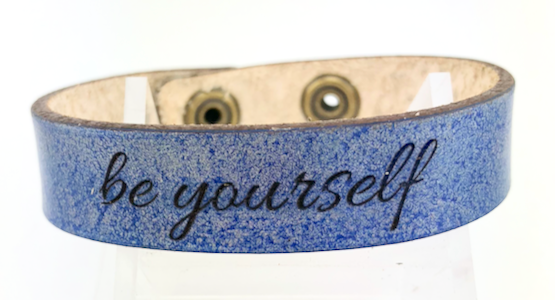
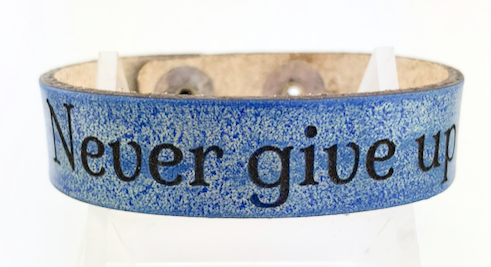
The yellow and aqua are acrylic paint topped with a coat of the light tan polish. The blues were more of the “paint on, wipe off” topped with shoe polish. On the “be yourself” one I used the Cordovan, and on the other one I used tan. The difference is pretty subtle.

Stuff I learned:

  1. Dapping dies can actually do a decent job of applying snaps to leather, if you use the right sizes, but it turns out it’s a LOT easier with the actual tool you’re supposed to do it with.
  2. Sanding the back of the leather with a scrap of sandpaper will take off the flashback marks AND make it feel soft for wearing against the skin.
  3. Rubbing the edge of a dapping die (or anything smooth and cylindrical, actually) at an angle along the cut edge of leather gets rid of the sharp corner and makes it look more finished.
  4. Running a piece of beeswax along the cut edges and then scraping with the back of a craft knife makes them smooth and shiny and takes care of any char that hasn’t already rubbed off on your fingers and work surface.
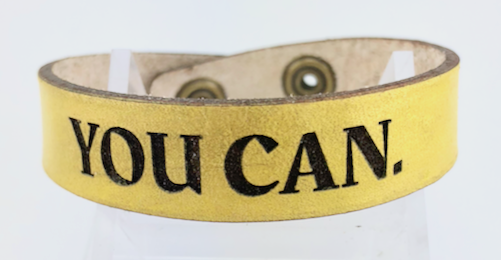
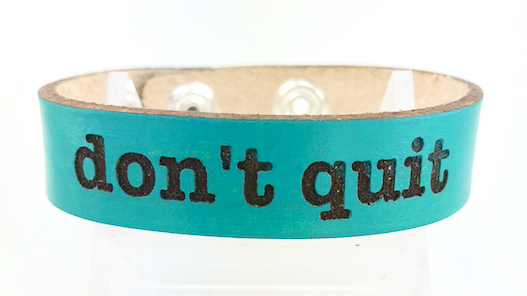
  5. A nine-inch light box isn’t big enough for photographing 8.5" bracelets when you want them laid out flat so all the words show.
  6. Sometimes even when you screw stuff up, people still like it. :slight_smile:
107 Likes

It just occurred to me that although I’ve gotten a lot of use out of my dapping dies in the several years that I’ve owned them, I’ve never actually used them for dapping. :thinking:

5 Likes

Really nice work,

2 Likes

I always look forward to your postings because they
show such a fresh perspective, even if you are doing something that has been done before. And there’s always a humorous twist!

In your experiments you might also try leather dyes or alcohol inks. I’m thinking they might not have the dulling effect that acrylic seems to have.

4 Likes

Bookmarked! That looks fun.

2 Likes

I have to agree with these people from the original 4, but once I saw the “breathe” that one became my favorite! :smiley: I think it has something to do with the hint of old, well worn leather I get from both of them.

In any case, well done, they all look amazing! :wink:

4 Likes

Oh! Thank you, I forgot to mention the alcohol inks. The first 2 bracelets I made were from the thin proofgrade leather sample I got in my starter pack, and I did paint them with alcohol inks. I wasn’t sure if that was a good idea or not, so I gave them to a couple of friends to “wear test” for me, and so far they’re still looking fine. It’s nice to hear from you that it might actually not have been a stupid idea to try them – now I need to make another batch of bracelets!

After I made those two (and decided I would prefer to use the thick leather for bracelets in the future), I did some online searching to find out about leather dyes, and put some in shopping carts, but never pushed the purchase button because, in addition to being bad at planning ahead, I also have a hard time making decisions (other than the impulsive ones…like, “Ooh, I’m going to buy a GlowForge!”). :wink: But one of the articles mentioned that the leather dyes they were using were acrylic-based, which is what pointed me toward the acrylic paints.

5 Likes

Really nice! Looking forward to trying leather and your write-up is a godsend. Thanks!

2 Likes

Hard to pick a favorite…I like all the treatments. :grinning:

2 Likes

Nice. As much as I like the Dune books, I believe the thing that stuck with me all these years is that quote about fear. I use it all the time.

7 Likes

That’s where that came from…I knew I recognized it from somewhere. :sunglasses::+1:

1 Like

Shai Hulud!

4 Likes

Absolutely, it’s a favorite. The full quote is especially wonderful (if a tad long for a bracelet):

“I must not fear. Fear is the mind-killer. Fear is the little-death that brings total obliteration. I will face my fear. I will permit it to pass over me and through me. And when it has gone past I will turn the inner eye to see its path. Where the fear has gone there will be nothing. Only I will remain.”

@geek2nurse these came out wonderfully! FWIW, leather dyes are typically either water based (like Tandy’s “Eco Flo” line), alcohol based, or oil based. Sounds like you’re doing a great job of figuring stuff out on your own, and doing so in the best possible way IMO - which is simply to be willing to experiment and take risks.

9 Likes

Wow, quite a selection you have there! Some really nice work!

1 Like

It dawned on me that about 3 years ago I used a vinegar/steel wool concoction to age some lumber for a bench in front of the office. I went digging, and wonder of wonders, I still had it! It’s nasty-looking stuff:

IMG_1341

It didn’t turn my leather black, as advertised, but a lovely, perfect gray! This was after about 3 applications:

I learned to use a foam “brush,” loaded with plenty of the liquid, and sweep it evenly down the length of the piece to get even coverage. If you dab or stop and start, the color comes out uneven. Which 3 out of 3 of my friends would probably like, but this one was for me. :wink:

It looked like it was going all the way black after the 3rd application, but it lightened a little as it finished drying out. I applied it to the back, too; didn’t take photos of that, but it turns the pale fuzzy back of the leather into a nice gray shade, too. It’s kind of magic, because the liquid isn’t black, or even gray. It goes on clear, and gradually darkens over the next few minutes. (It turns paper towels black, which makes sense, because it works on wood.)

After stewing in the closet for 3 years, the mixture didn’t smell like vinegar, or anything at all, really. I topped it off with some apple cider vinegar, and there still isn’t really a vinegar smell.

I think the mixture I made included some tea leaves, for tannin (that’s what it reacts with to make the black), but if I remember right, at the time it seemed to work best to paint the wood with tea and then with the vinegar mix, to get a darker reaction. That would probably work with leather too, but for now I’m happy with the gray!

16 Likes

Since @Drea gave me the green light for alcohol inks, I tried a few more of those:

IMG_1351

The camera didn’t catch the full glitteriness, especially on the “breathe” one. And sometimes there are places where it doesn’t cover well, no matter how much you layer on (you can see a little of that, over on the left side). I tried sanding the surface prior to application, but it didn’t seem to make any difference.

The one that says “awesome” is for my granddaughter, except that I realized all my snaps are too big for it, and I don’t know if they make them less than 1/2" in diameter. That’s on my “to Google” list for today.

(The vinegar-treated one was looking near-black in this photo, but faded to gray as shown on my wrist up above as it dried out.)

17 Likes

These are nice!!!
How do you get rid of the burnt leather smell?

1 Like

It’s only there while cutting; dissipates pretty quickly afterward. :blush:

Delayed reaction here (just not spending as much time on the forum these days). You clearly don’t need my green light for anything, you are innovating and doing amazing things with this tool + your imagination!

How did you achieve the glittery effect?

The alcohol ink I used is “metallic.” :slight_smile:

3 Likes