Ah. Got it. I don’t have Snapmark. So, I don’t have any other suggestions. I was just thinking about how I handled small amounts of misalignment with other print-and-cut type things.
Yea thats why I have so much bleed on the card images, but the misalignment is too much even for that.
If someone runs the file let me know. I made a few more files with different variables changed to try tomorrow at some point.
I wonder if the Snapmarks are too close together for it to get an accurate scale. You obviously don’t have a lot of options on that design, though.
1 Like
maybe turn everything sideways and put the snap marks on one of the LONG rows?
2 Likes
Hmm.
One thought would be to check if the print is coming out of the printer square?
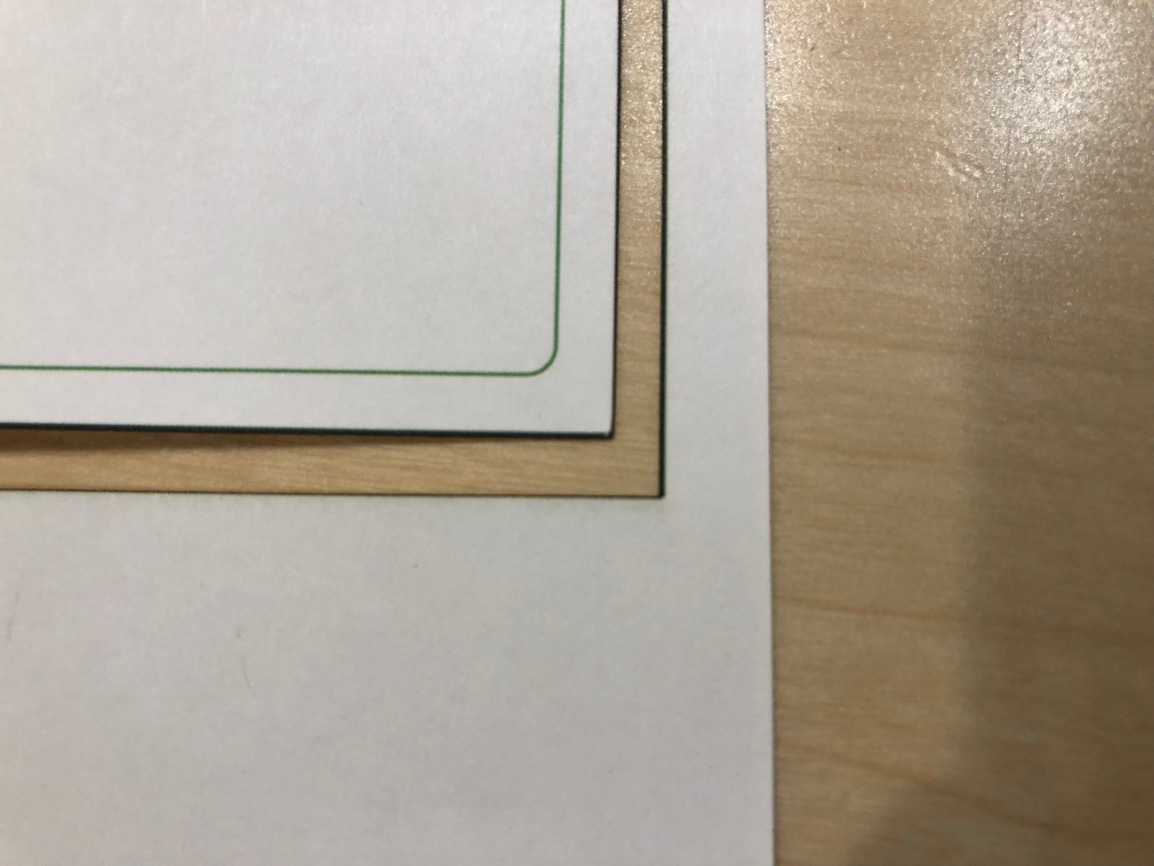
I tried your file and got similar, but different, results. It also showed a skew toward the bottom of the file, but mine went to the left where yours went to the right. This was visible in the GFUI as well as in the final result.
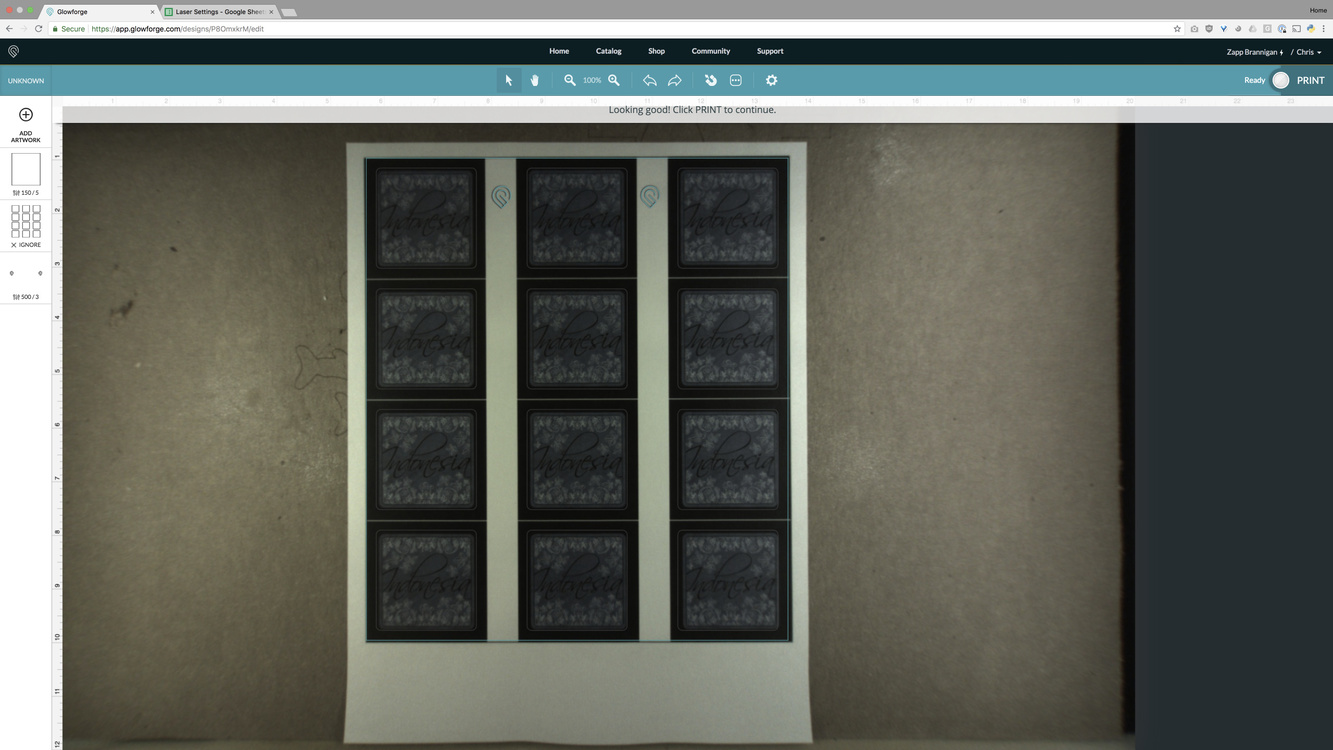
To see if it could be a discrepancy between the PDF and the SVG, I printed the SVG directly from Illustrator, but I got the same results:

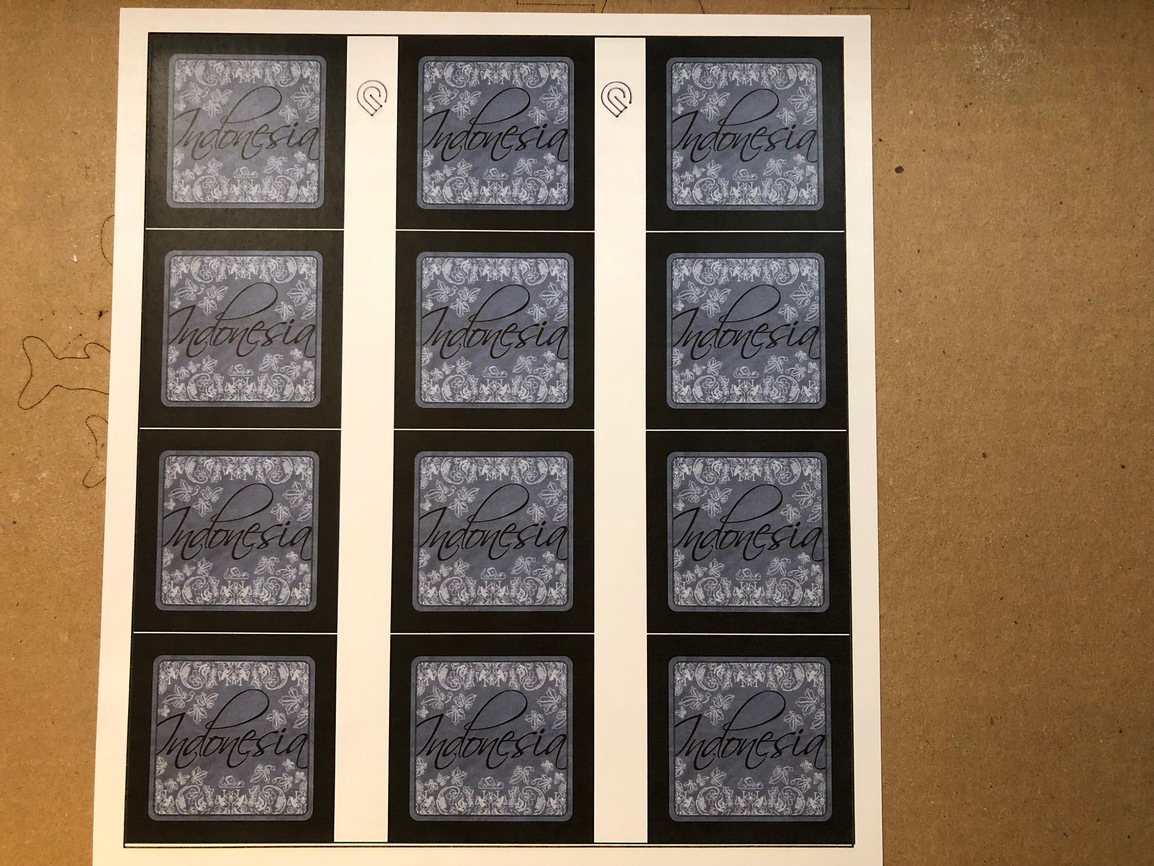
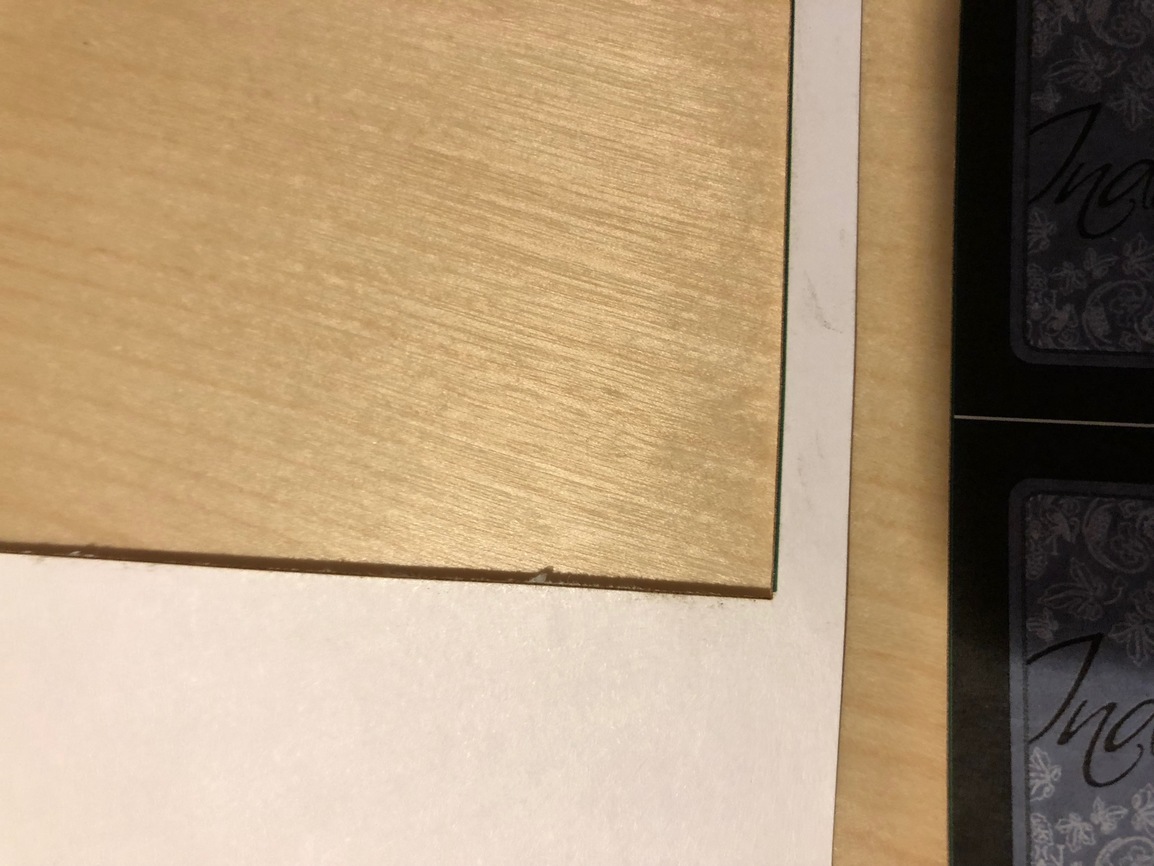
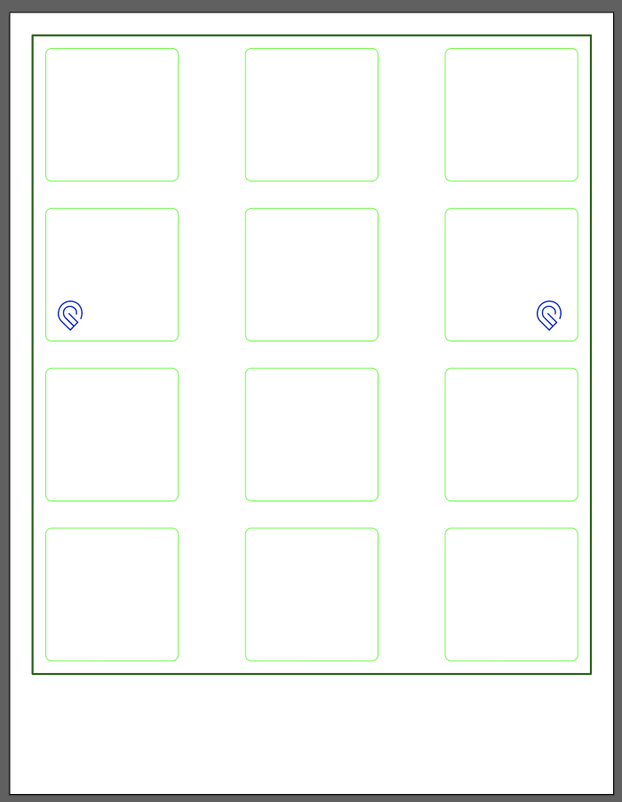
Finally, I went back into Illustrator, deleted your Snapmarks, added them back in from the template, and moved them as far apart as I could reasonably get:
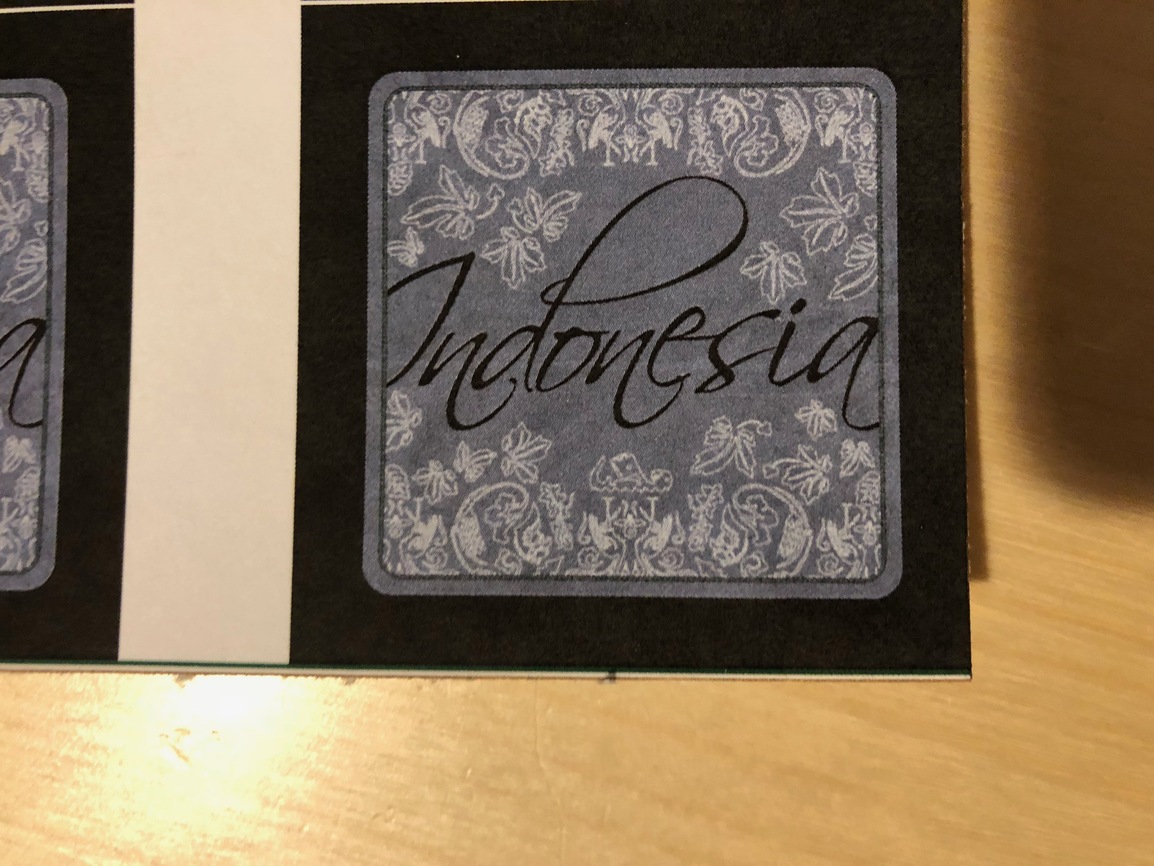
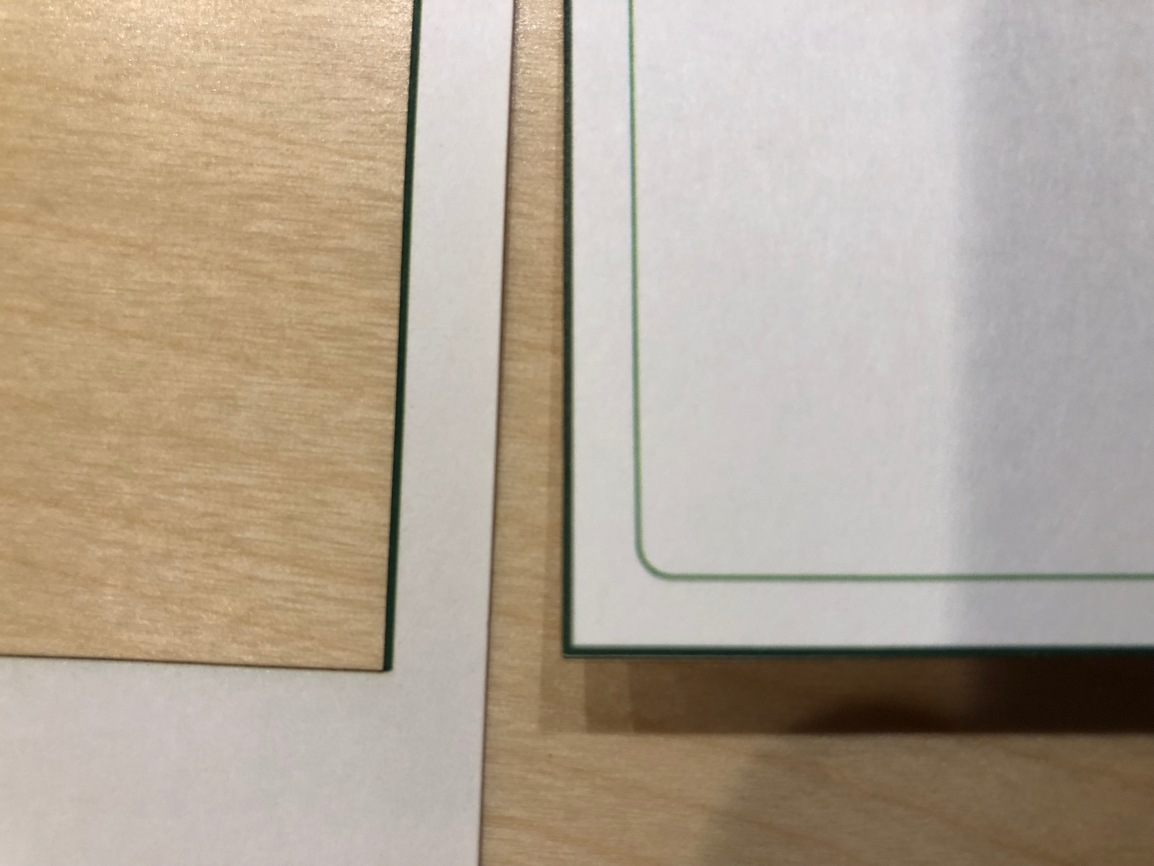
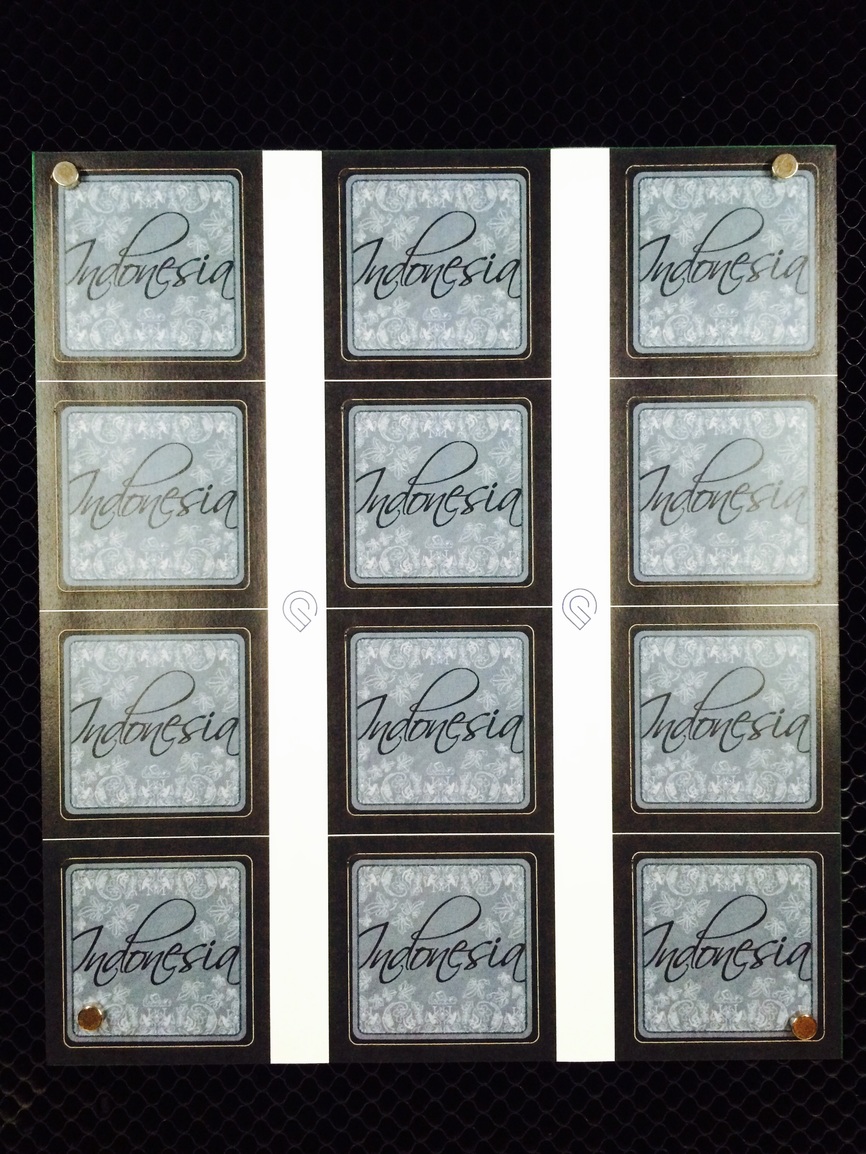
This time, when I printed and cut it, it pretty much split the line on all 4 corners:
I’m not sure whether separating the Snapmarks further made the difference, because obviously several variables were changed at once by my process. But I think it’s close enough now to work with.
In any situation like this, you really need to account for a little bit of slop by leaving a “bleed”. Don’t try to cut right up against the edge of the box or it’s going to be visible no matter how accurate the laser is.
7 Likes
Thanks! The outside cut is really only to make sure I have two pieces the same size when gluing the sheet together (since paper size is not really consistent) then I can cut the cards already glued; not concerned about the black but just that I get good alignment.
So you can definitely see how much of a difference the snapmark location makes. I have a file to test tonight where I put them in the middle of the sheet but the same distance apart. We will see how that works out. I also left my lines in but super transparent to test using the same PDF to cut as print but I’ll test with the SVG and the PDF to see one change vs 2.
But for now, snapmarks work better in landscape it seems. Cool! I like testing.
p.s. I like your printers quality a lot better than the ones I have been using lol
2 Likes
In my testing, I also did Snapmarks vertically in one of my designs (to conserve space since the design pretty much maxed out the cutting area).
The key to making it work was that the bottom Snapmark needed to be bumped slightly to the right of the top Snapmark, so that they weren’t in perfect alignment. IIRC, the top Snapmark had to be to the left; putting the top Snap to the right of the bottom Snapmark didn’t work. I know that when they were vertically aligned, it would actually flip my design. 
3 Likes
I got this in January: https://amzn.to/2xChtq7
I print about 10 pages a year, so my old laser from like 15 years ago was still on its first toner cartridge and just wouldn’t die. But I wanted color, 2-sided printing and scanning, and up to legal size. This one ticked all the boxes.
3 Likes
oh that’s a pretty nice printer. I’m looking at a pixma 100 just because cards are better looking on an inkjet but I have heard that lasers are better on label paper so I’m doing some testing. two business printers and one brother home laser printer haven’t really blown me away on colour quality.
We have that Pixma Pro-100, got it in 2015 with one of the perpetual rebate deals. They’ve been selling the same model for 5 years for a reason, it produces some really stunning photo prints on big paper. Anyone who’s into photography should have one of these, or something like it. I see the current deal at B&H is $119 after rebate, with a free pack of paper. It’s almost criminal not to buy that.
4 Likes
If one is patient, I’ve seen them as low as $60 with the mail-in rebate, including a pack of photo paper.
I own the big brother but it’s based off mostly the same technology.
Yea I’m trying to figure out how to get that price. I’m in canada so no US billing address even though I have a US shipping address.
test my file with the snapmarks in the middle and it was a different taper but still a taper. I think the lesson is that landscape is better than portrait for snapmarks currently if you can do it.
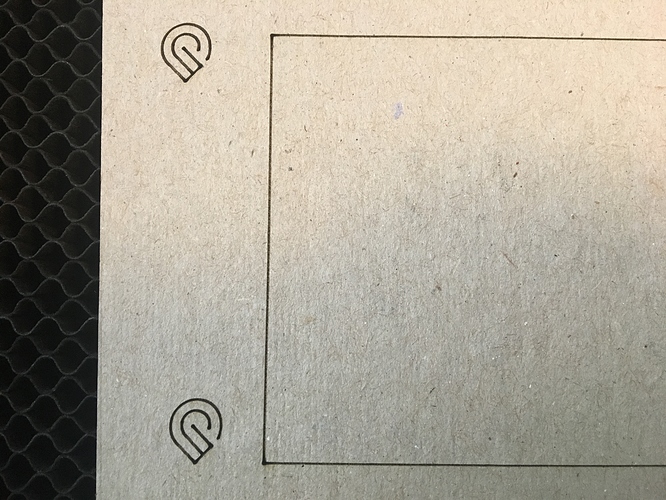
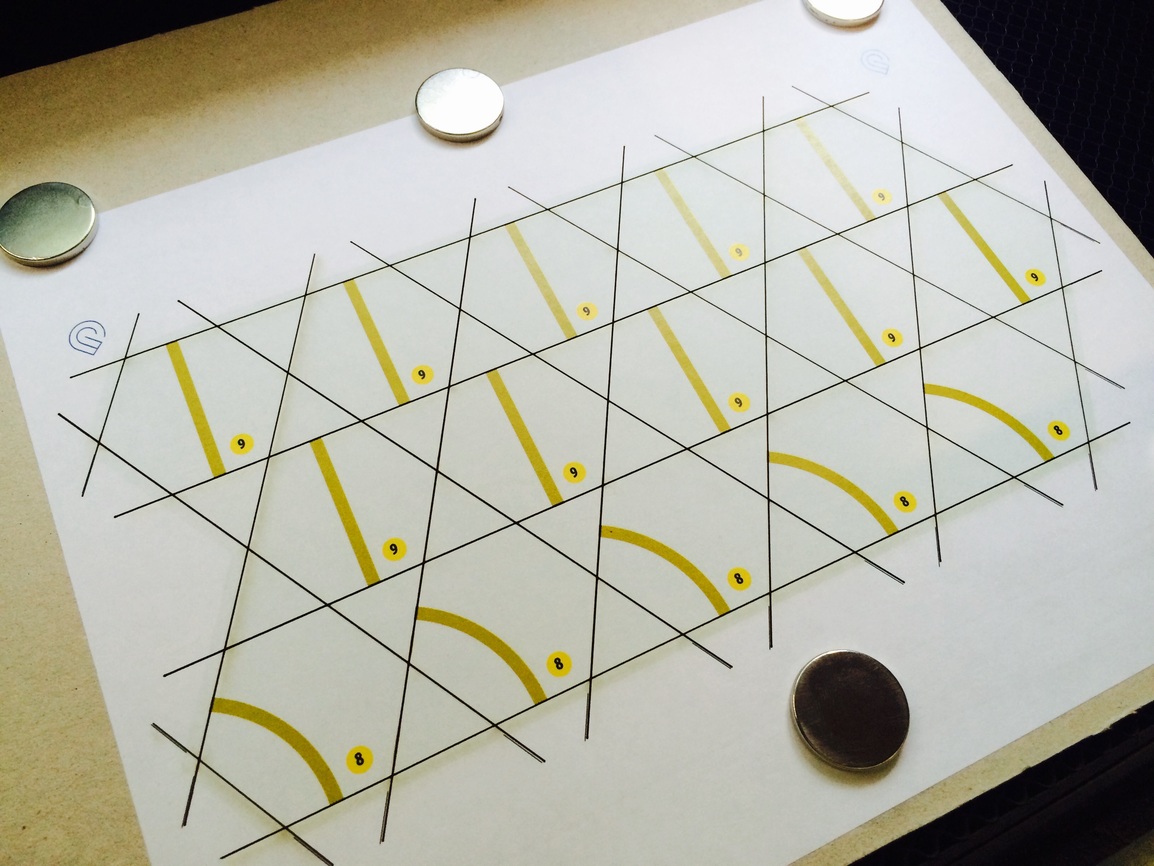
Ran a different file with the marks at the edges of the 8.5"x11" and it worked not perfectly but quite well. I saw some error at the bottom of the sheet and the snapmarks were at the top; so that is consistent with the other testing as well. So it looks like snapmarks are best placed in the middle and at the extreme edges that you can get. even if you need a jig that is only 4" wide it is worth making it at least 8" it seems
In all of the experiments I remember, I don’t recall any that were inside the design like you’re doing (I probably just don’t remember them).
I was able to set a design up like this and it worked great - actually was even more accurate than the base template file they sent over.
I don’t know the exact process of how the Snapmarks are working - it went through a few iterations of what worked and what didn’t, and it much better over time.
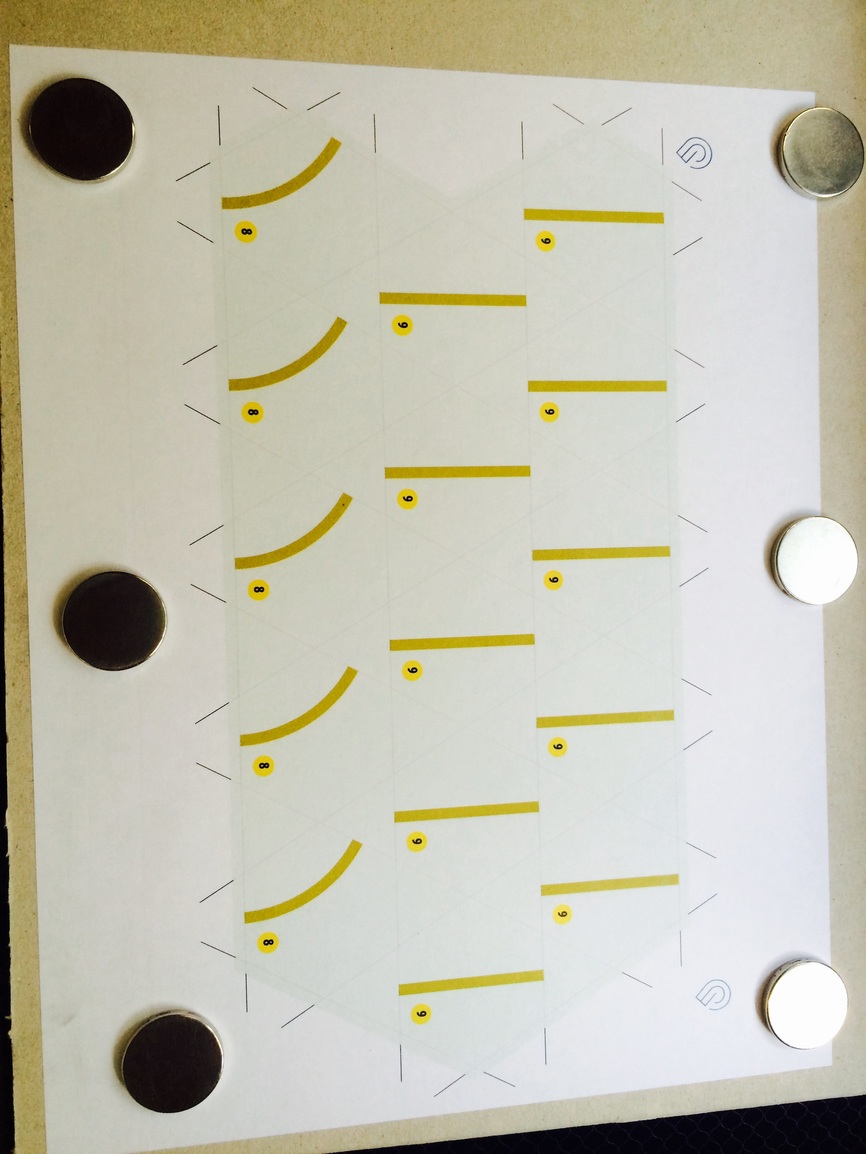
I may try a vertical version like that before redoing all the files I have setup. This is the results with the snapmarks close together but in the middle
1 Like
And my other test file. This ran nicely but I’m going to buy some legal size labels to print on next time instead. If I could find A4 thay would be perfect but alas the south screws up me working in metric again!
My guess is that the baseline accuracy is going to be something like the thickness of a printed snapmark line (if you’re printing) over the distance between snapmarks. So if you have a tiny baseline for the snapmarks and a big print…
if you can wait for 2 days (and have prime shipping), amazon has lots of a4 labels.
yea I did manage to find some glossy A4 there. Ordered so we will see quality when they get here this week. That will allow me to have my snapmarks in the center and quite wide. Legal isn’t a bad compromise though if I need to since the laser can use the whole 14" anyways.
@paulw you are probably right about that. I tried to find info about other visual systems that are available for trotec and epilog but no concrete numbers so far. They also use 3 registration marks instead of 2 which is interesting.