So the  marks?
Is it that they have to be precisely 4" or whatever it is apart, or always consistent file to target? (Sorry if the question has already been asked and I missed the answer before.)
So the marks?
Is it that they have to be precisely 4" or whatever it is apart, or always consistent file to target? (Sorry if the question has already been asked and I missed the answer before.)
You need to use the in the template but placement is fairly liberal.
Okay - something for you to try…
I just ran your file…there’s nothing wrong with it and it snapped just fine. So that leads me to believe there’s something going on with the visuals on the jig/shakers. It might be the difference in height between the surface of the jig and the surface of the shakers, and whether you used the correct thickness for the Snapping function.
Did you use the correct thickness of the jig (difference above 1.4 inches tray thickness) in the Unknown Materials slot right before you did the Snapping?
If not:
Do not move anything on the bed or the screen. The only thing you want to change is the values in the thumbnail column.
It’s 96. What we’ve been finding is that programs are using 72 and the resulting snapmarks are off by a factor of 72:96. All that really matters is the WxH that Jules supplied.
thought I would post a picture of my first sucess with the snapmarks from my other thread.
As @markevans36301 you need to use the Snapmarks contained in the template file. The marks need to be a precise size and unaltered. Some of the 3rd party design packages will inadvertantly change the size. They don’t need to be a specific distance apart and can even be offset somewhat in the vertical plane. The position of the Snapmarks does not matter with respect to other objects in the file. You could test Snapmark success without anything else in the file.
One thing to watch out for… Don’t move the Snapmarks individually within the GF interface. You can move them as a set keeping the same relative position before printing but if you move them individually it will cause a fail. If you need to move the Snapmark positions, do it within a 3rd party design package before uploading to the GF user interace. That might be fixed in the future but it is an issue as of 20 Sept 2018.
Well, once that magnet shows in my screen, I will start playing with it. It will revolutionize templates, to be sure.
Well, I’m not that mathematically inclined but why, when my document was already set at 96 dpi, did the snap marks come in wrong…and when I reset my document to 72, they worked? I did set them to be the exact proper size and all is well, but were I to download them again directly, like I did the first time, if my document was set to 96, they would come in too small.
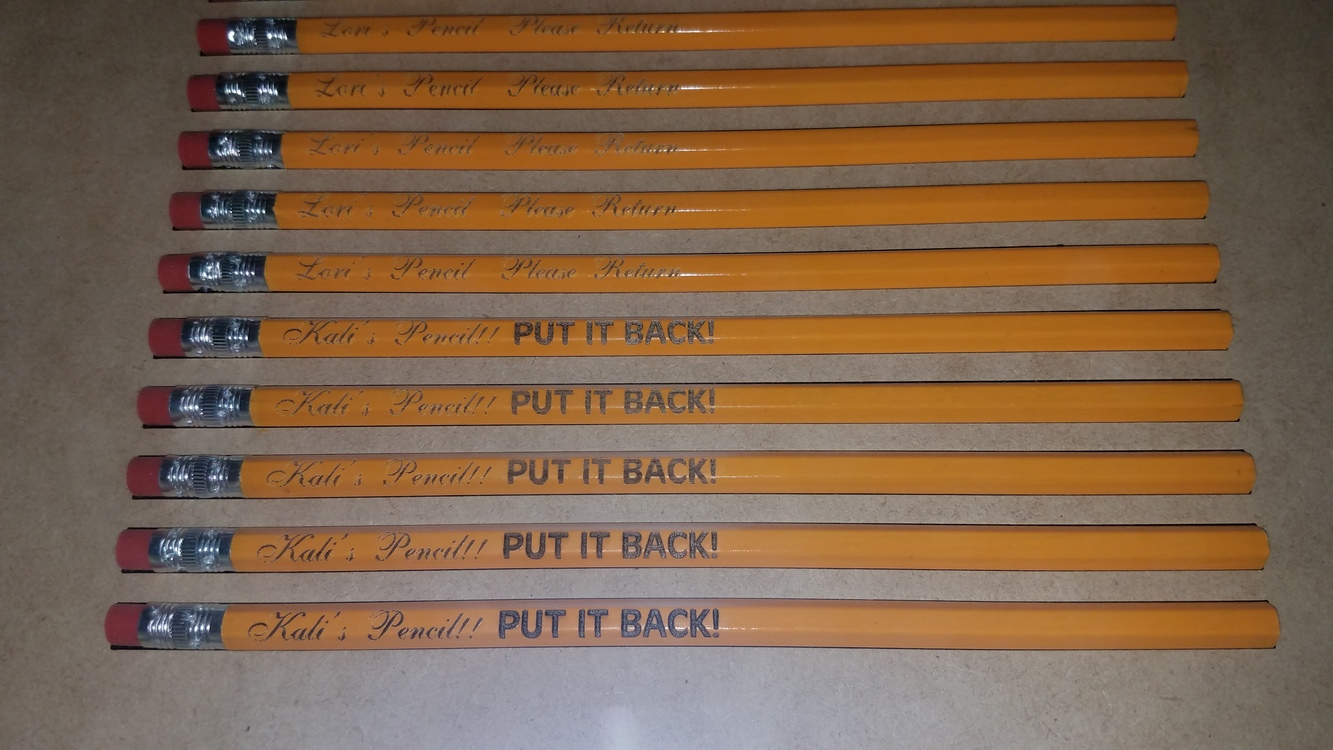
I was privilaged to recieve Snapmark on Friday for testing. I was like a little kid when I received the email and couldn’t wait to get home to start putting this to work. I first did the pencil jig but expanded it to fit 12 pencils. Added the text, uploaded, cut the jig out (ignored the text), put pencils in, ignoring everything else, hit the magnet and printed. It was perfection!!
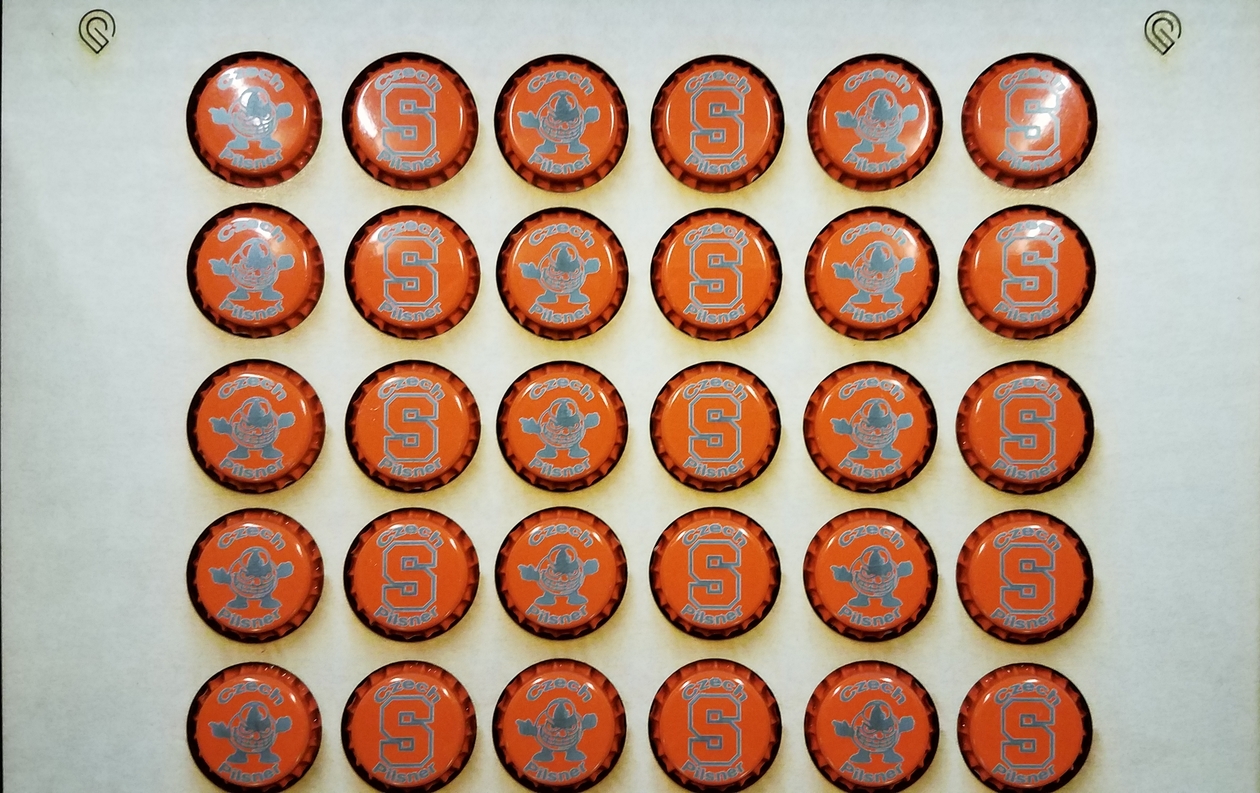
The next project was to redesign my beer cap jig. I had a problem many times with aligning the design to the jig, sometimes it would print off the side and other times too low.
Loaded it up and again… Perfection!!
Cards will be the next project since it’s been very difficult to print them out and align perfectly.
The program is very simple and a god send!
Will post as I go along.
I’ve noticed this weird behavior with this in Affinity Designer lately too. I think they broke something with SVG import in the most recent update; it seems to always resize things to use 72 DPI when importing SVGs, but the exact behavior is hard to characterize.
It’s easy enough to fix after loading the file (just change the DPI to 96 with the “Objects will: Rescale” setting, but it’s a pain. I tend to do it once then save things out to PDF (or to AD format) so I don’t have to do it every time I load the file.
@bonny
Any thoughts on when Snapmark might get moved over to the forge that I have vs. the one I returned? I’m wonderfully anxious to give it a go!! My info is in the wiki that Jules got going above.
Hi folks! As Dan had mentioned above, this process depends on the calibration algorithm that runs and we don’t have manual control over which specific machine gets done first. I’m keeping track of Jules’ wiki (thanks @Jules for setting it up!) and adding those new machines whenever possible. If you haven’t gotten it on your new machine, it means it’s not ready yet. Thanks for being patient!
Thanks. I’m relieved to know it’s not ‘just me’. I did save the Snapmarks to a new document of their own in AD, with LPI set at 72, so I’ll always have a working file. Plus, if something weird happens, at least I now know how to fix it.
Conversion factors and assumptions in code (both AD and the OS it’s running on.) Knowing the dpi only helps if you’re writing your own code. The question most people want to the answer to is, what setting should I use in my program? That can vary. And it is why the answer Jules provided is best: use whatever settings make your snapmarks this size.
Too bad there is not a way to know if our calibration is bad and we should give up hope. LOL. Been checking quite often to see if mine gets it as my wife buys pencils in bulk for her classroom as they seem to grow legs and walk off. Figured it’d be cool to label them! She’s since resorted to buying golf pencils.
I used @marmak3261 's pencil jig he did a year or two ago and made do with a poor man’s Snapmarks approach.
I put a targeting reticle in the upper left corner. When I cut the jig I also scored the target onto the jig. I also have my tray marked as to where the edges of the cuttable area are so I can drop the jig back pretty nearly where it was when last I used it.
Then with new batches of pencil I disable the engrave and do a very low power score (5 power) of the target crosshairs. I actually watch it as it does the score so I can see right away how close it is and pop the lid if it’s off. Then I do a Ctrl-A to select everything in the GFUI and use the arrow keys to click over and up/down to zero in. Resend the score and repeat if needed. Usually only takes a couple of tries.
Then I disable the score, enable the engraving and load up the pencils. I do 36 at a pass - usually do a couple of trays so she has plenty.
They still walk off my wife’s desk though. The two favorites are “Is this your pencil?” and “This pencil was stolen from Mrs Hatch’s desk”.
You’d think in a Catholic school that reminder would be enough but I think it just means they go home where the kids can show Mom & dad the cool pencils I make for her ![]()
Hah! Yeah my wife teaches at a Catholic school too. I think the mini golf score card size ones have slowed down the migration a bit recently tho.
Having expeience with universal and epilog I thought I’d have a chance at physically aligning the damn thing for start of cut. I didn’t. I thought I’d have the ability to ACCURATELY use the camera for precision alignment. Not so much.
I bought a pro. I still don’t have a pro filter delivered here.
I think snapmarks is table stakes. I don’t have it in my UI. How do I get on the double secret beta list to use it? I’d love to do more inlaid work with this laser but have held off entirely due to lack of alignment without jumping through a lot of jig work when what I want to do is mainly one offs. This would be a game changer to have decent precision for exactly where a cut was going to happen.
I’m not Dan…but to address the latter part of your post;
Short answer: we’ll roll it out gradually. Some customers may not get it for a long time based on technical considerations, and we may cancel it before everyone gets to try it.
Long answer: Each Glowforge goes through a rigorous calibration process at the factory, where we take measurements of each major sensor system. To enable Snapmark on a machine, we process the calibration data through new server software so the Snapmark measurements can be made precisely.
This process takes a long time, and some units take much longer than others. The calibration software is still being developed, and some units have noisy calibration data that won’t process without further work. Testing Snapmark will speed development of Pro Passthrough and other forthcoming vision features by providing real-world calibration data.
We’ll roll Snapmark out to the easiest devices (Basic, Plus, or Pro) first. If all goes well, we’ll add progressively harder ones over time. The full process may take weeks or months to fully deploy (we’re still learning)! We may also decide to change plans and modify or remove the feature before we roll it out, so not everyone may have a chance to test the feature.