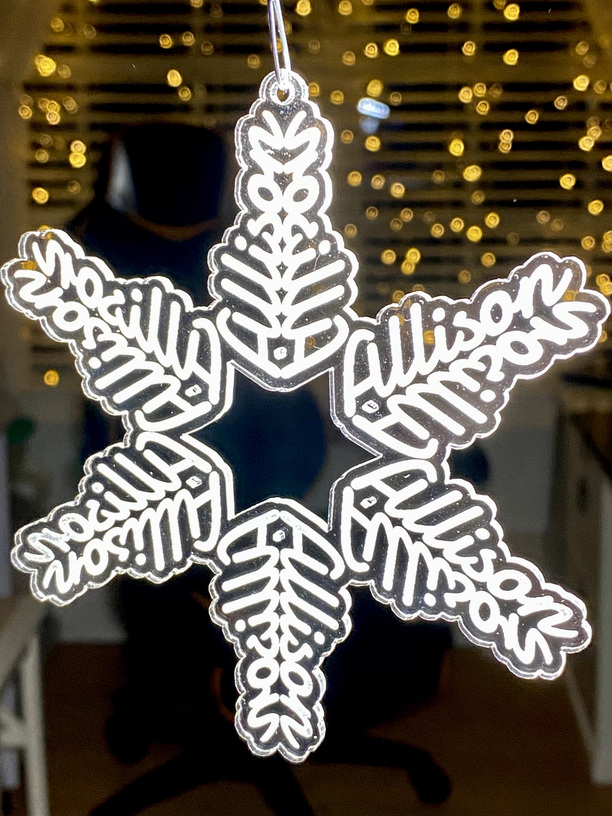
I’d seen these cut from brass a few years ago, but figured I’d see how they work on the Glowforge. Since the acrylic is transparent, both sides are the readable… I think I’ll be making more of these before the holidays are over.
32 Likes
Those are so cute! Love it!!
2 Likes
Nice work! The acrylic catches the tree lights well. 
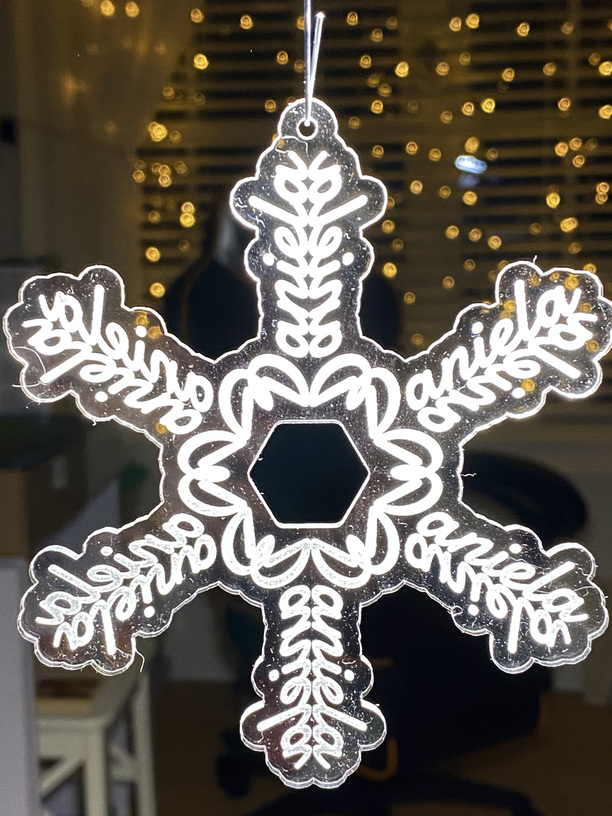
I have done small ones with a hole in the middle to insert a light in and get some edge-lit action going…
5 Likes
You’re inspiring me to make these, so cute!
2 Likes
That is so nice; I wish I could think up stuff like this. That’s why I hangout here, y’all are wonderfully creative. And you share.
4 Likes
Lovely!
1 Like
Oh, the giftees will love those!
1 Like
Very pretty.
1 Like
These are really cute. I’ve been looking everywhere, without luck, to find out how to make these nameflakes. Can someone please share a link to a tutorial?
Thanks 
1 Like
I don’t have a tutorial, but it’s pretty easy:
1 - Create a name in a font you like.
2 - Copy, then paste.
3 - Flip Horizontal, then move it to align it to the other one. Now you should have two names that look like a reflection.
4 - Select both.
5 - Copy, then paste.
6 - Flip Vertical, then move them to align it opposite the other ones. Now you should have four names that look like reflections on two different planes.
7 - Select all four.
8 - Copy, then paste.
9 - Rotate those 60 degrees, then move them to align them opposite the other ones.
10 - Paste again.
11 - Rotate those MINUS 60 degrees, then move them to align them opposite the other ones.
Poof. Name flake.
(If you have trouble with the alignment, you can type a comma, then 4 or 5 spaces BEFORE the name, then use the tip of the comma as a reference point to help align the different name sets.)
If you need more help, @geek2nurse just created a different tutorial with examples at Name Snowflakes
6 Likes
That was so easy! Thank you so much!
1 Like
How do i make cutlines to transfer to the GF from AI.