My son, Maximilian, and I have been building a soprano ukulele this summer. We are more than halfway done with the build now. Here are a few photos and video of the project so far.
In the beginning
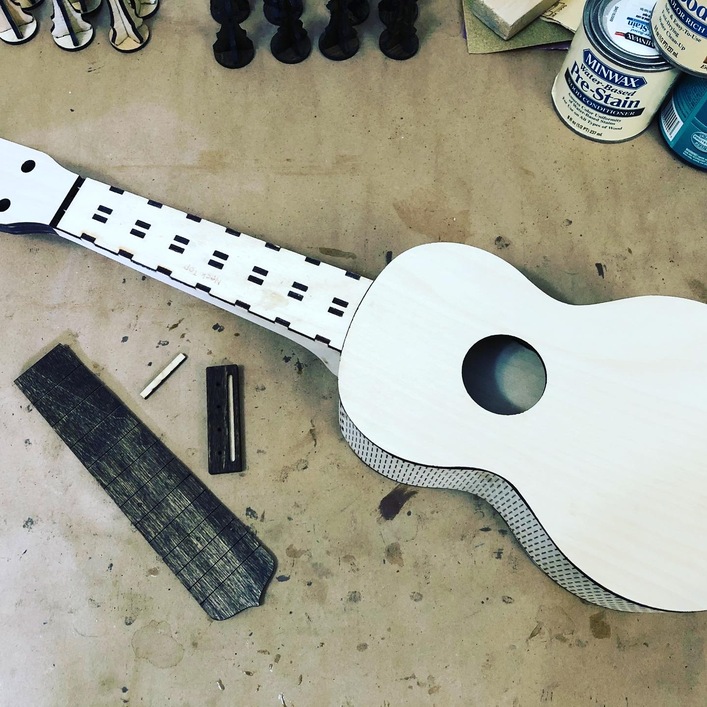
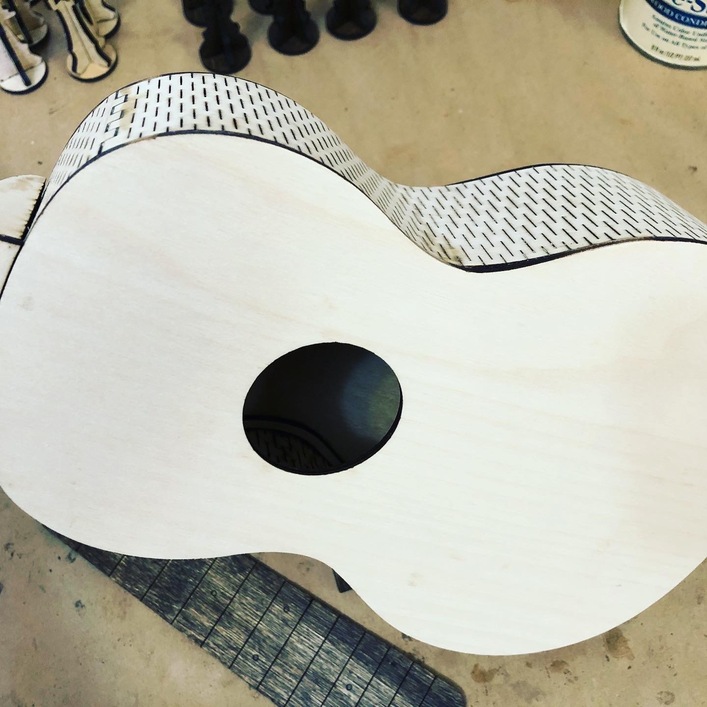
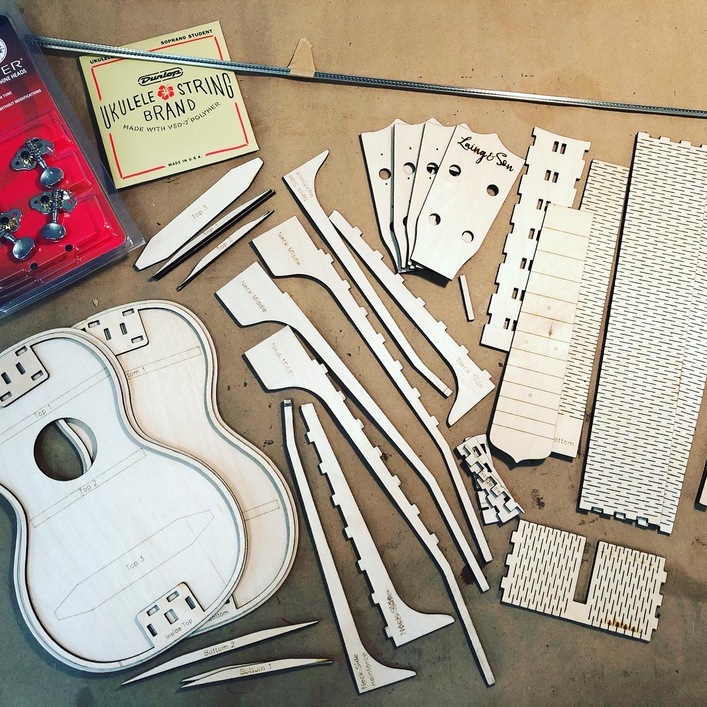
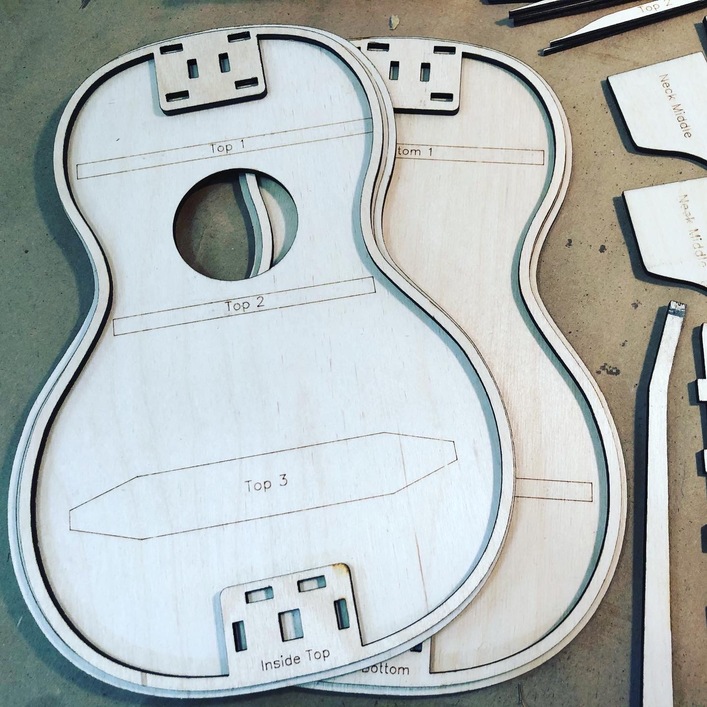
We cut out all our parts, and bought some fret wire, tuners, strings, bone saddle and bone nut.
What a wonderful collaboration with your son…with the added bonus of having a very cool handmade instrument. What fun and what a great learning experience.
What a wonderful project. I love to see things done together with children. Was this a pattern you purchased or did you design it yourself? My youngest is learning the guitar currently but has expressed an interest in the ukulele next.
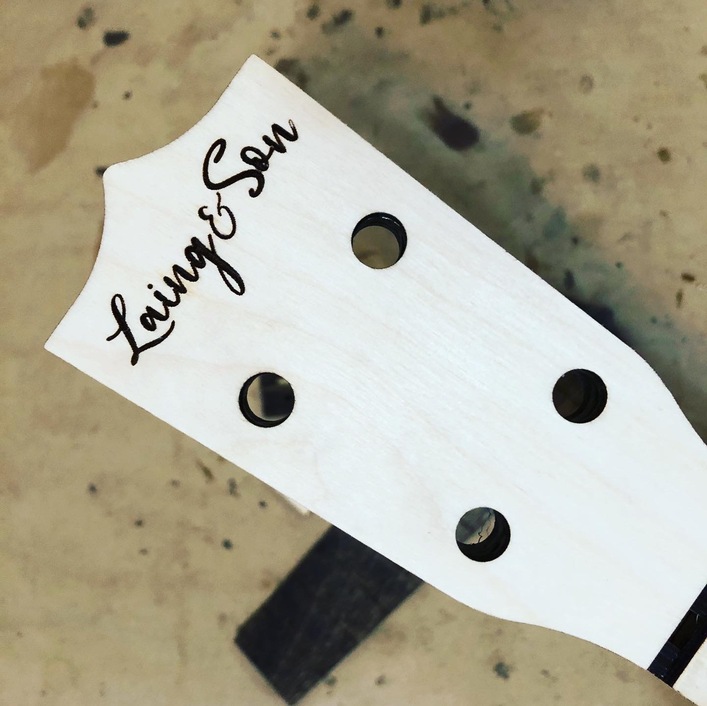
Created the pattern from scratch. Used a few traditional blueprints I found online to help me get started.
Got the idea for the project as Maximilian will be learning the Ukulele in grade 3 this coming fall. So we decided to make one, and try to learn a little bit before school starts. No one here plays yet, so let’s see how we go.
Thank you everyone for all the feedback and encouragement.
Made some great progress since my 1st update in August, dare I say we are almost done now.
Step 7 - Staining the fretboard and body
Step 8 - Cutting the fret wire
Step 8a - Inserting the fret wire into the fretboard
Step 8b - Filing off the fret wire ends
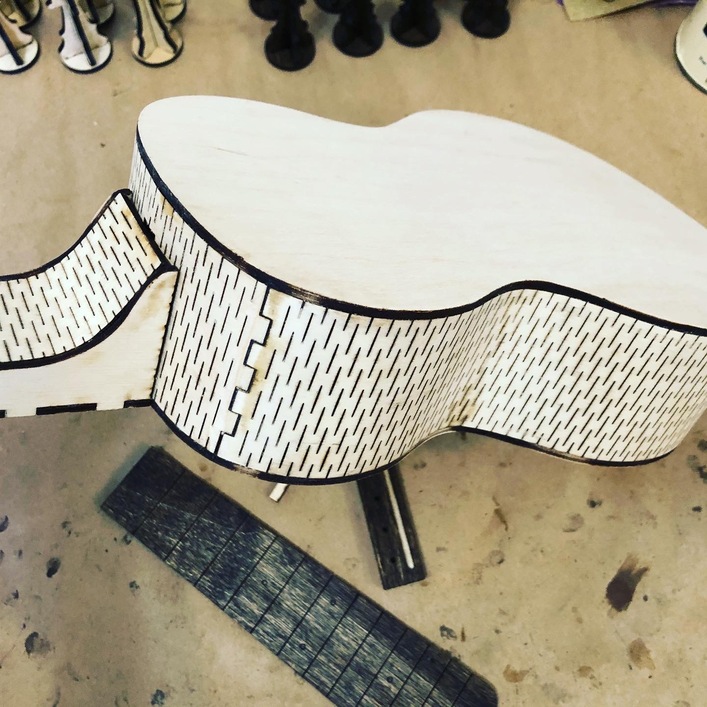
Step 9 - Attaching the fretboard to the neck
More to come
Hopefully we’ll have some more time this coming weekend to finish up installing the tuners, seating the nut and saddle, and finally adding the strings.
Gentle reminder that Forum rules do not allow us to ask for files. If a designer wishes to share their files, they post them in the Free Files section. If they sell files, they link to their sales page.


 Looking forward to seeing the rest!