Spider Scare Box Just under 5"x5"

Before I had a Glowforge I made a number of different spider scare boxes with traditional shop tools. They make great gag and white elephant gifts but based on my wife’s scornful glares I think the utility of these boxes in my own social circles has pretty well dried up.

They can be a bit tricky to assemble but I did my best to provide some useful instructions. The trickiest bit is where to glue the string based on the size of your spider. I bought a 50 pack of spiders from Amazon a few years ago but they are currently not available. This was the link at the time if it helps: Amazon.com

The design is based on 3mm material. All secondary steps should be set as scores, they are for later reference during assembly. In my example I printed this evening, I glued a bead onto the lid for a handle.

SpiderScareBoxFinalAI


Let me know if you have any questions.

60 Likes

Great valentine’s day gift idea! Could have the little spider holding a heart or flower! :smiling_face_with_three_hearts:

19 Likes

Come to think of it, you could just have a bouquet of flowers fly out. There may be some new life to breath into this after all :grin:.

18 Likes

Naw man, it’s got to be the spider. Thinking about the arm the spider rides on - a snake could work too! :rofl:

12 Likes

How fun! Thanks for the share!

5 Likes

Perfect valentines gift from the Addams Family? You can even include nitro tablets dipped in chocolate :grin:
Add a candy shell and they could be N&Ns

8 Likes

Snake. My thought exactly. Maybe like this one I posted some years back.

4 Likes

That is very cool! I hadn’t considered the idea of other creatures.

If you don’t mind discussing your design process, how did you develop this build back in 2018? I’ve been looking to grow in my ability to design things, particularly incorporating art into the flat panels. I currently use Sketchup for the 3d design and then export .svg faces to be cleaned up in Adobe Illustrator.

Any advice is appreciated.

1 Like

so fun. thanks

3 Likes

Added some art. And also changed the design to utilize ribbon instead of string.

The ribbon works far better than string as it doesn’t have play.

9 Likes

What a coincidence you mention ribbon, I just happen to to have some 1/16 and 1/8 for another application.

1 Like

I’m happy to share my process, fwiw.

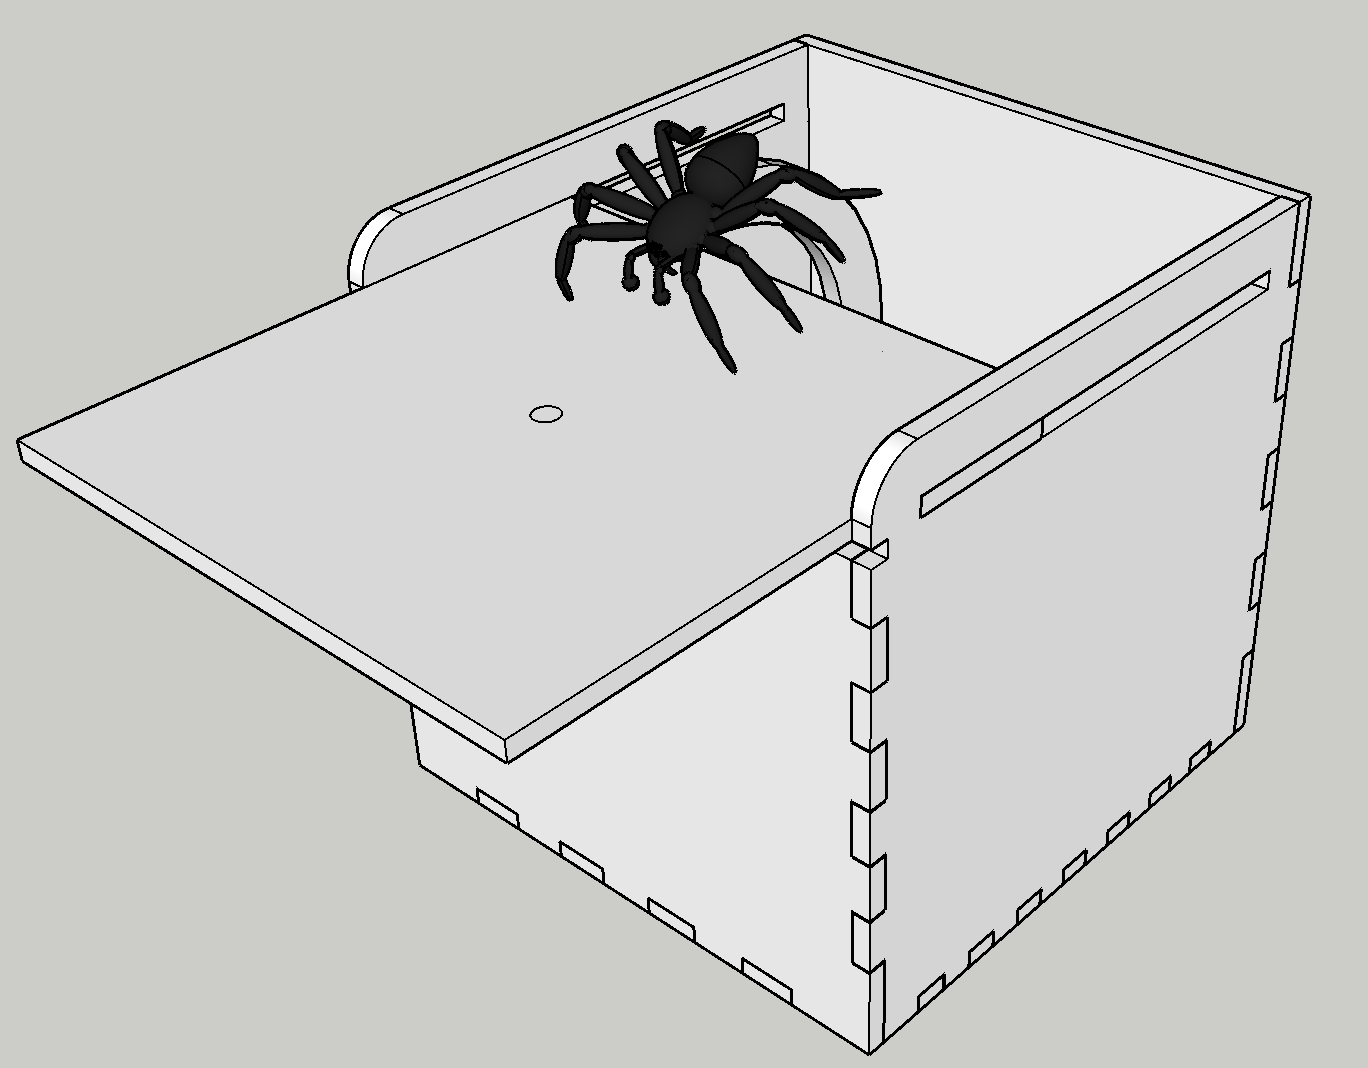
For relatively simple designs like the snake-in-a-box I generally use Illustrator. I start by making drafting-style drawings of what I’m after in front, side, and top (or bottom) views on a single layer. I draw at full scale with the dimensions the final pieces should have. I make sure that the outline of every part is illustrated in one of the drawings. I do a lot of grouping and very often I give the groups and paths descriptive names. I generally draw the parts filled to resemble the material I have in mind – various tans for wood, semitransparent for acrylic, and so on.

After iterating on the drawings until I’m happy with them, I make a new “parts” layer for each type of material used in the design and copy all the part outlines to their appropriate parts layers. On those layers I convert the part drawings to stroked but unfilled paths, and convert compound part paths to groups. I color the strokes using a palette that controls the order of operation on the GF: scores and engraves first, then holes in the parts and finally, the part exterior outlines. During this process I rearrange the parts to optimize for material use and, for wooden parts, to get the grain orientation correct.

Next I make new “cut” layers for each material, copying the parts from the parts layers to them. It’s on these layers that I apply kerf compensation to the holes and outlines. I select all the holes on a cut layer (by using the stroke color) and use offset path to make the holes smaller by the kerf compensation for that material. Similarly, I use offset path to make the exterior outlines larger by the kerf compensation. With this done, the paths are ready to be sent to the GF.

To make kerf compensation stuff easier, I’ve created some shortcut keys and actions in Illustrator.

To send a set of paths to the GF I use “Save as Copy” to make a .SVG file to upload. I always just name it “CutMe.svg” and replace it each time in the GFUI.

When I find I’ve made a design mistake and need to iterate on a part, I make the changes in the drawing layer. Then I delete the affected parts on the parts layers and delete everything on affected cut layers. I copy the new versions of the parts to their parts layers, make them into unfilled, stroked paths of the right colors and, finally, I regenerate the cut layers. With that done, I’ll copy just the changed parts to a new layer to cut just them.

There are obviously ways to shortcut the design iteration process, but to not mess up while “dialing-in” a design, I’d need to be less prone to confusion about the status of what’s going to be cut than I am.

Hope this helps.

5 Likes

This does help!

“To make kerf compensation stuff easier, I’ve created some shortcut keys and actions in Illustrator”

Do you have a breakdown of this? I’m struggling with a simple way to offset for kerf in illustrator.

In Inkscape, I can make the line Kerf wide and break it apart so it becomes two lines. Then I use the outside cut for the inside part and the inside cut for the outside part. Each one then kerfs to the center of the line you wanted.

1 Like

That is helpful to know thank you!

1 Like

Sorry it’s taken me a while to get back to you on this.

I went back and upgraded what I use a little to make it (somewhat) less funky for someone who isn’t me :grimacing:. Here are the actions:

GlowforgeActionsForAI.zip (1.4 KB)

In the zip file you’ll find a file containing two actions for AI in an action group. I use the MakeParts action to turn the parts I copy to my parts layer (as explained in the post on the process I use) into unfilled outlines with the correct (for my process) stroke colors. For it to work, the collection of parts should consist of closed paths and compound paths. If parts are in groups, ungroup them before using the action.

I use the other, KerfComp, to apply kerf compensation to the things MakeParts makes.

As you’ll notice if you try them out or or just have a look at how they work, there are several places where the action stops and asks you to do something. Most are understandable (like selecting something to be worked on) but one type is “Huh, what?” They are required because entering and exiting “isolation mode” is among the many things that can’t be recorded in actions. When the action needs one of these, it asks you to do it. Still, I find the actions useful, and perhaps you will, too.

1 Like

Cool! Thank you for sharing this. I will see how I can incorporate this into my workflow. It seems to be a much smarter approach than manually adjusting everything.

I played around with this and I think it will be very useful. Thank you!

What am I missing? I can’t seem to find the link to the file.

It is the image just below the text and just above the picture.

2 Likes