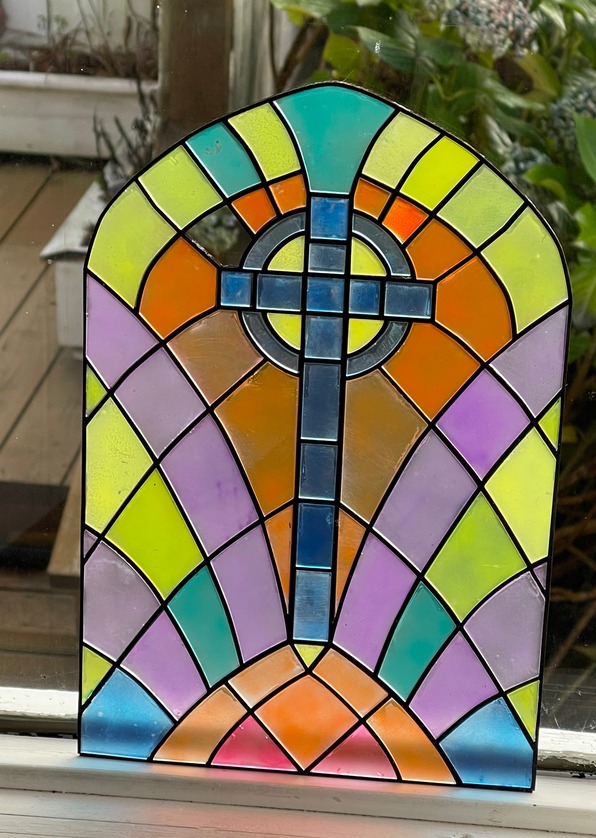
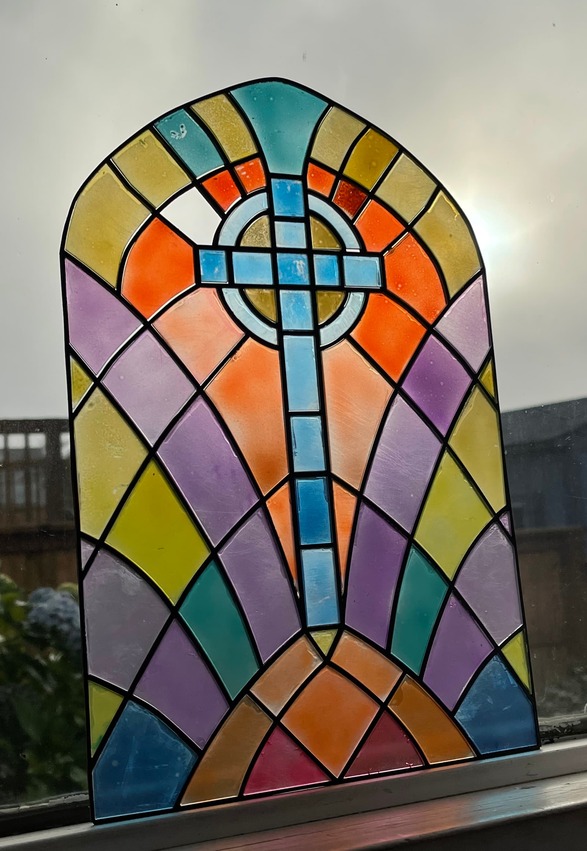
One of the primary reasons I got a GlowForge was so that I could use it to make templates for stained glass. From past experience the stained glass process is hard, expensive, and time consuming so I tried to simulate it instead.
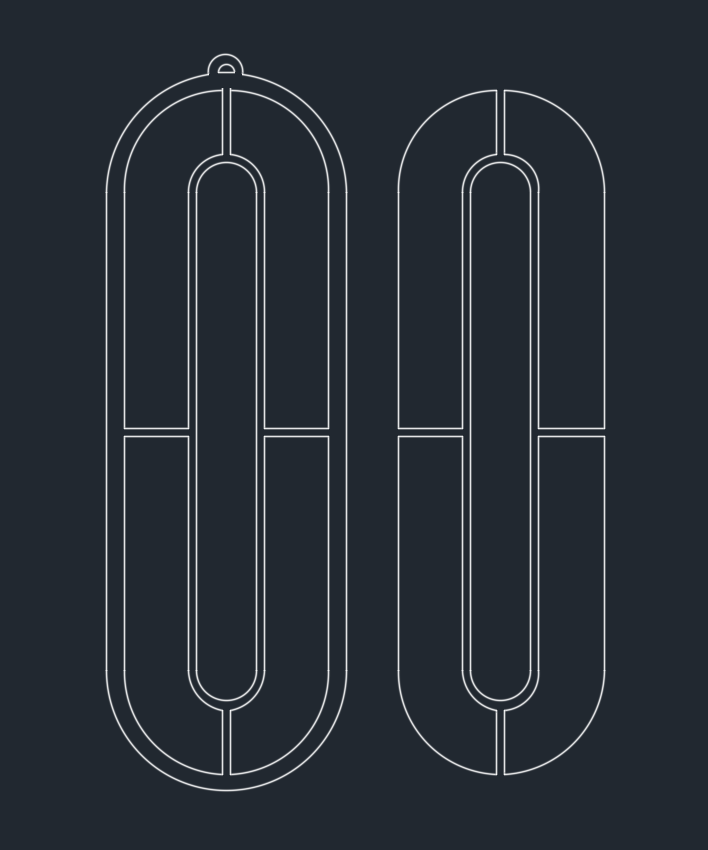
I traced out an image I found online with a 2mm thickness for borders and then cut out the pieces in sanded plexiglass (220 grit) and then repeated the process in wood for the frame. The plexiglass pieces fit the frame perfectly! I then airbrushed the plexiglass pieces using translucent acrylic paint to simulate color. From a distance I think it looks like stained glass. The purpose of sanding the plexiglass is to provide a frosted effect and for the paint to adhere without pooling or forming drops.
The hardest part is getting the colors to be even without being splotchy. I haven’t airbrushed before so I need some practice.
Oh yes! That did turn out beautifully. I’ll point out that I’ve seen mottled and iridescent acrylics sold - I bet they’d give a great stained glass effect!
So cool! I have bought stuff to actually do stained glass, but haven’t done that yet, and have painted a picture with some stained glass effect, but love your idea!
I think your airbrushing came out very well! The project looks super nice. I have done stained glass work and it can indeed be difficult/time consuming. Although there are ways to make the process a bit easier, it can be expensive to get all the equipment (grinder, ring saw, etc).
If you’d like to try getting an even more transparent and glassy result on Plexiglass, you might want to give Pebeo Vitrea 160 glossy glass paint a try. It’s slow drying enough that you can hand paint it without leaving brush marks, and gives a very realistic glass look.
Beautiful! I’ve done some simulated stained pieces, but didn’t think about sanding the plexi. I just used the “Gallery Glass” paints and any pooling made it look like it was patterned glass. I’ll have to try sanding next time though.
Which meant separate cuts for the pieces and the frame and lots of fuss trying to get them to fit. My shaky hands will often change the size of things without me noticing. With yours all in one cut I bet they fit a lot better.
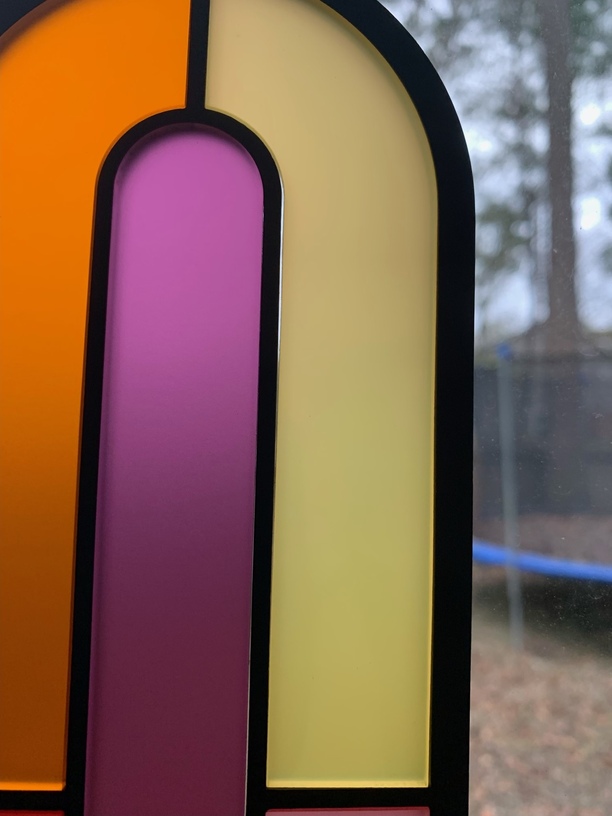
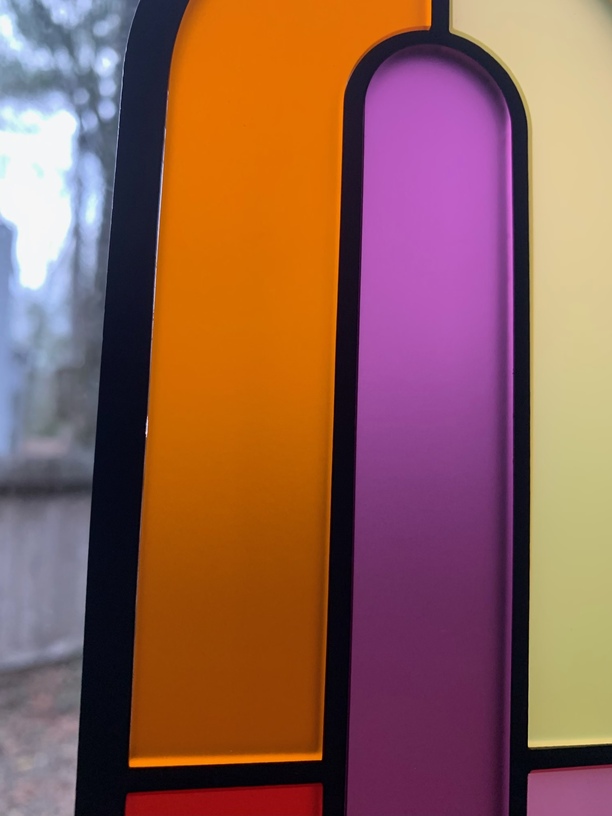
looks great, why don’t you just buy frosted acrylic colors instead of airbrushing? I used to do stained glass and I know the effort to do this too, this is why I bought my glowforge also is to mimic the stained glass look. I have started to work on this with using acrylic frames and installing acrylic into the frame but my pieces aren’t fitting exactly. I have figured out my kerf which I increase the pieces that are being inset into the frame by .2mm but I am still having gaps in some areas, does anyone know why? I will show a video and pictures for you to see what I am talking about. I have tried wood and acrylic frame options and the acrylic shows more gaping than wood frames.
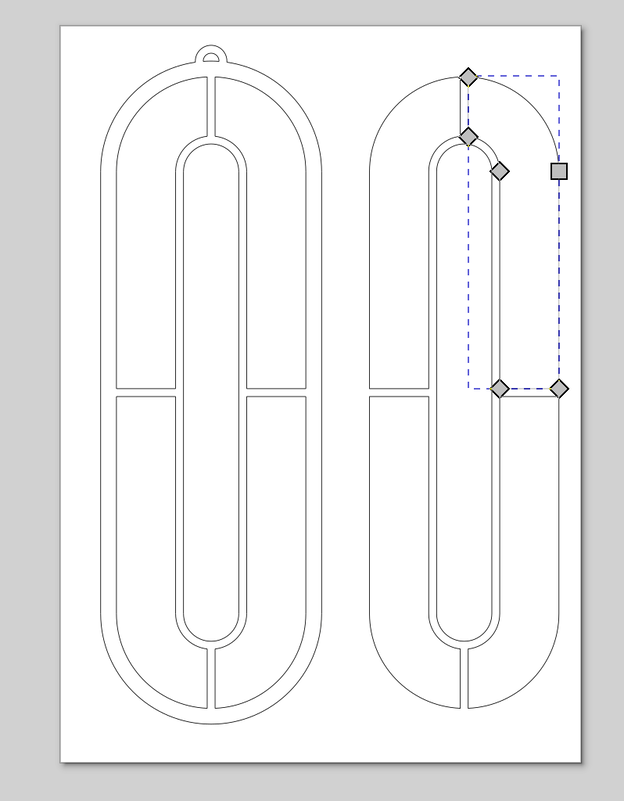
Depending on the method you’re using to increase the kerf - adding a bunch of extra nodes prior to increasing the size can help you to get a more exact edge.
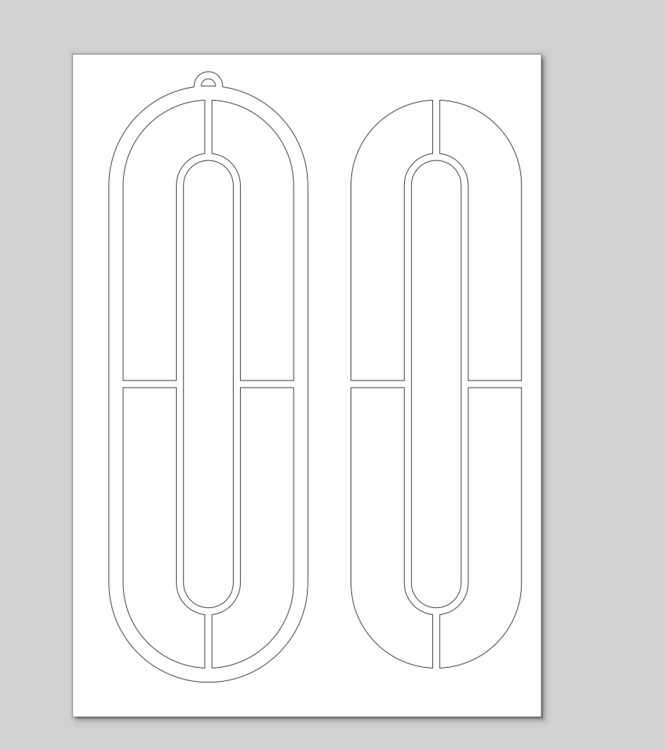
I start off by drawing my image in autcadd, then save file to .dxf and then take the file into Inkscape to offset my inset pieces by .2mm so that my inlay pieces can fit with just friction and no glue. But I am having gaps b/t the frame and the inset pieces. I guess I shouldn’t use offset, but I don’t know the stroke to path version to adjust kerf. Is there a video teaching how to use this version? I will try adding nodes and continue with offsetting material.
I think if it’s fitting most places, but not (for example) in the curves, then more nodes is the answer. If it’s a bit loose everywhere, I’d try a smaller kerf. I know my machine works out to .17mm.