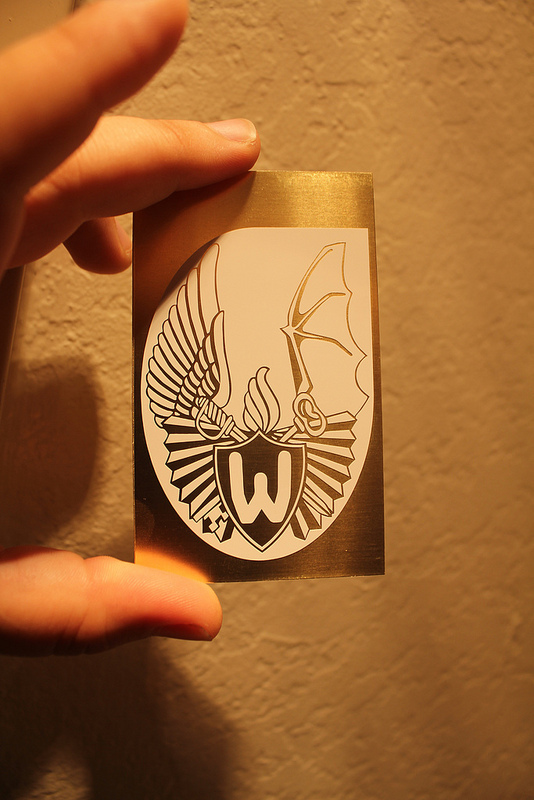
Couple new things I made out of this with the help of the custom stickers just messing around.
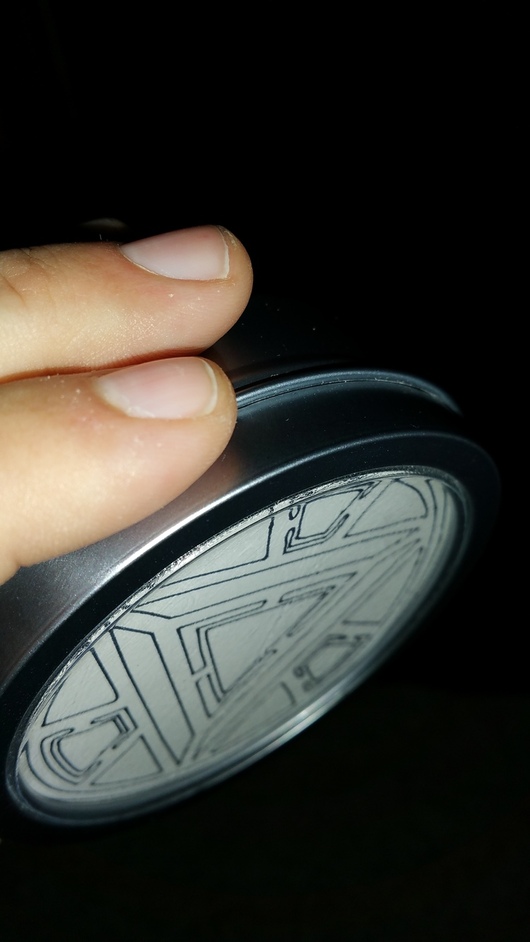
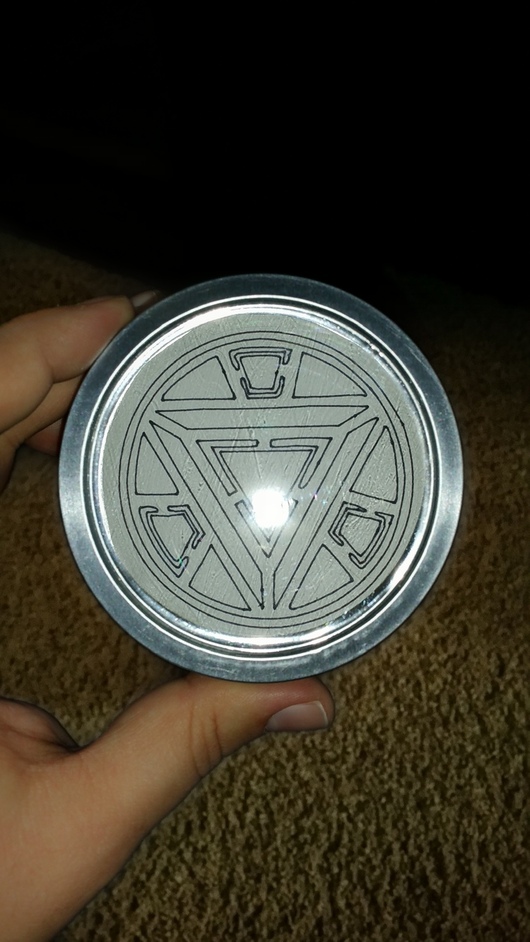
I bought a couple of these $1 trays for paper clips from the dollar store the other day and made some arc reactors for my nephews to be iron man with, turn’t out pretty cool for a buck. You can take the lid off put the back half on the inside of your shirt then put the lid back on the out side and it free holds in place, got the idea from an actual toy I seen like this. Leaves an indent impression in the shirt afterwards till washed but other than that success.
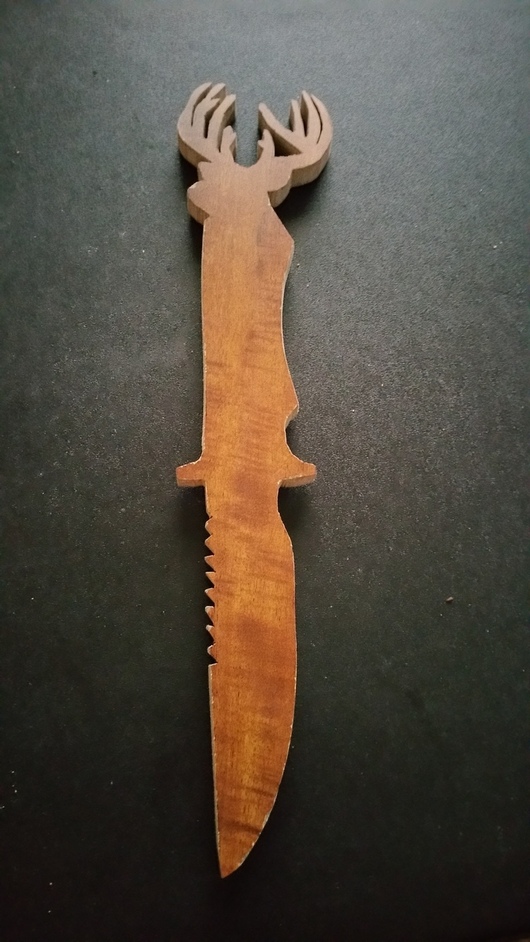
So with this, I know its not a sticker and I could make in literally less than a minute with the GF once I have it but I couldn’t wait, so instead of vinyl I just cut the design out on paper, then traced it on wood then free handed the cut out on a band saw because my scroll saw blade is snapped right now lol. Anyways this is now my new recliner handle in my living room because the original handle that came on it broke. I think this one turn’t out ok with what I had available. The reason I’m sharing is to show its always best to think outside the box and there is always a way to make what you can think up.
The Lein Lab decal is 2 layers. I cut the design from black vinyl and weeded it, removing all of the neuron shapes. Then I cut the same design from white vinyl and weeded the opposite bits, leaving all the neuron shapes. Then I masked the white layer, aligned it to the black layer using a light-table, and laid the white onto the black. That gave me a single, backed & masked, two-color decal that would lay down as a single layer with no overlaps that I could be confident in installing without fear of air bubbles: especially important in this case where the decal was going onto glass at eye-level in a high-traffic location.
Awesome, thats what I was wondering, is everything you do layered or do you ever do print and sticks? Never tried the latter myself just wonder how nice they turn out or if its best to layer.
I don’t have a printer, so if I am making something in house, it is generally cut vinyl. I do source prints occasionally, if needed. It really depends on the project and knowing your materials: which will work better for this particular application, which will be cheaper, or quicker, or last longer, or be easier to remove, or easier to alter over time.
The oversimplified breakdown is that if you need a whole bunch of colors, gradients, or photorealistic stuff you print it. If you need just a few colors and want them to last as long as possible, cut vinyl.
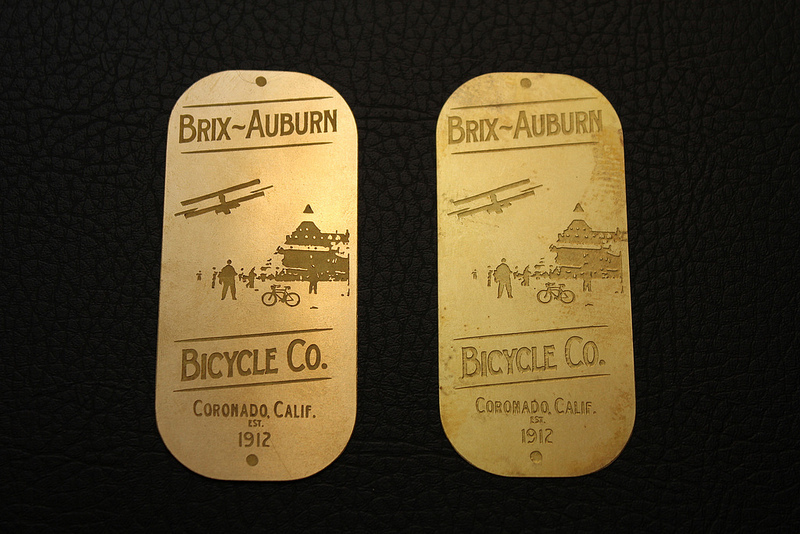
Here is a really quick comparison of abrasion resistance between 3 different vinyl-based decal products.
The first is cut vinyl, the second is screen-printed and has a deep gloss layer, and the third was digitally printed and has no lamination at all.
If they were stuck side by side outdoors in full sun, the unlaminated digitally printed one would lose lots of it’s color over the first two years, and might not be very visible after 6 years. The screen-printed one would fade, but much slower, and I would expect it to still look pretty good after 8 years. The cut-vinyl should retain it’s color the longest.
Yeah, I’m wondering also! A friend was trying to cut small “patches” out of brass to put on his nutcrackers he’s making in honor of his family members who served in the military. Is it possible to let the etch eat all the way through?
I don’t see why the brass wouldn’t etch all the way through if left in the solution long enough. Using aluminum makes the reaction very fast and seems dangerous. It etches much faster than the brass. wear gloves, eye protection, and keep the kids and pets away from the stuff. Also, use a solution of baking soda and water to wash the piece off with to cancel the reaction.
Eventually, but depending on the depth, etching tends to undercut to a degree.
In photo etching professional equipment will mount the work on a vertical turn table that slowly spins (say 100 RPM) while the mordant is sprayed on the face of the work.
This keeps bubbles that form from the reaction from preventing the etch beneath them.
The small scale etching I have done involves submerging the work in a shallow bath with me having to perch there and sweep the surface free of the constantly forming bubbles.
Not clear on the application you describe, because it seems his object may be more easily achieved by cutting.
Just a safety note, when mixing the mordant ALWAYS add acid to water, never the other way around.
A reagent grade acid is viscous, and water tends to ‘dance’ on top of it (splashing) where acid will sink under water.
Gloves, positive ventilation and eye protection are mandatory.
So he’s tried to cut the details out with an xacto knife. The material is 1/32" brass sheet and the size of the workpiece when finished is about 0.75" tall and about 0.375" wide. Like this:
Huh, now that I searched for it, it’s pretty close to what he needs but it’s just a little too big. Maybe I’ll tell him to make the nutcracker larger!
Edit: And maybe I’ll suggest to him to use a dremel with a sanding wheel to help cut instead of the knife…and maybe hold it down with double-sided tape!
I see.
If I had less than a half dozen to do, I would probably attack the task with a coping saw (since I have one), the benefit of etching them would be that you could do them all at once.
A thickness of +/- 1/32 could absolutely be etched through.
I had to break down and bought 100 yds of the stuff lol. I’m going to go for it. When you do the multi-layered signs do you free hand the layers or do you have tips for lining them up?
I know of a couple methods of lining up layers. one way is to use registration marks on one side. Align them and the layers should be fine. Another way I line up decals, especially on vehicles, is to use a transfer solution like “Splash”. Transfer solution is a liquid that you spray onto the adhesive side of the decal, and it lets you slide the decal into the exact right spot. if there are any bubbles after squeegeeing them, they will be full of water instead of air, so they just evaporate, leaving a clean finish.
That splash way seems to me like what you do with putting on that clear screen protectors for cell phones, where you spray the sticky side, squeegee out the water then it adheres with in 24 hours. That makes sense. Could you do that on the actual normal backing before applying it though so when you are ready to apply it, it can all be applied at a later time and store the sticker till ready I wonder.
Splash is just like a soapy water, it evaporates, so there is only a short while before the sticker becomes tacky again. You would use it right as you are applying it.