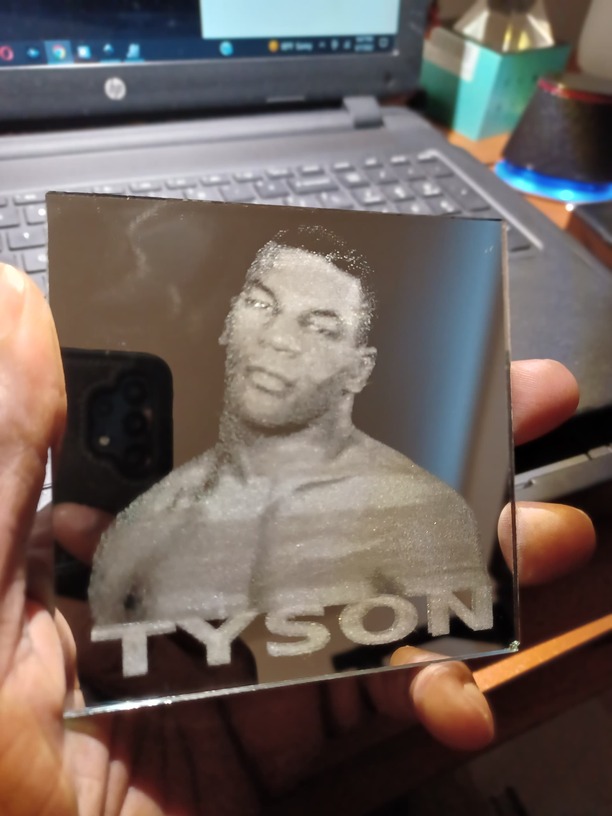
Well, I tried engraving a different mirror type (back & front)…still bands; across Mike Tyson’s chest area, which wasnt in the original photo. I tried ceramic and wood and still getting bands. I believe that it has to be fluctuations in power.
Is the banding different on every piece or if you put pieces in the same spot they come out the same each time?
4 Likes
Although time consuming, does a second pass or slower speed/higher power fix the situation? Maybe do some small squares and circles to test.
1 Like
I’ve placed different sized material in different areas on the engraving bed and the banding is always near the bottom of the engraving, never at the top.
1 Like
My first thought it to increase the DPI.
Also, if you’re testing, then you don’t need to do all of it; just do a part that always shows the banding. (Why wait 20 minutes to see it fail, when you can test for 5 minutes and make changes to the settings.)
3 Likes
Huh you may be right. Assume you emailed support already?
Are you doing the engrave part with varied power settings (used for 3d engraving)?
If you are, try setting the MIN POWER to 10 or15, instead of 0. I am not sure what the lowest power level it takes to fire the GF laser. I think most lasers basically shut off at 10-12 watts or so. You could test it on scrap wood to see.
2 Likes
Out of curiosity, are you using glass mirror material, or acrylic?
Mirror engraves of photos are a tricky business… Always takes me at least two tries for every new photo, just to get the white balance correct.
Are you using the glowforge software to convert your raster images to dots, or are you doing a half-tone conversion ahead of time and calibrating that to your lpi (lines per inch) settings?
This sounds more like you’re losing precision placement rather than power fluctuations.
Have you checked that all your rails, wheels and belts are clean?
1 Like
Another thought: What is the resolution of the picture you are engraving? If the image isn’t large enough, then you might be seeing some kind of scaling harmonic as the GF software scales the image for engraving.
With other systems that process pictures, if the source isn’t larger than the required size, then you’ll see scaling artifacts. This is why custom t-shirts and printing services either want SVG (not impacted by dpi) or really large JPG files (impacted by dpi). They often require something like 600dpi or larger.
For GF, you should assume a picture should be larger than the lasering DPI. If the laser uses is 450dpi (default HQ engrave acrylic), then your picture should use 600dpi or larger. Double the size is better. (If the laser uses 450dpi, then you should use 900dpi.)
5 Likes
If you engrave in high LPI and dots you should get the best results though you might need to use the sliders at the top and or bottom depending on the photo. If you are using variable power at less than full power then the number of possible powers is very few and you will see those “decision points” where it has to choose between more noticable changes. They might be hard to see if there are 256 possibilities but a lot easier if there are only 6 possibilities.
Based only on printing experience, I would suspect a resolution issue over a power issue.
It’s helpful to know the raw pixel size and final print size, those two together equal DPI. If it’s a 300x300px picture at 1 inch, it’s 300 dpi. At two inches, it’s only 150dpi. I know nothing about you, but the majority of people seem to struggle with the concept of dpi versus resolution (including my wife, who after 22 years still comes to me to ask if a photo will print well on one of her posters).
So if this photo was grabbed off a google search knowing its actual DPI at the size you’re printing might give a clue as to “yes, you are good on DPI” or “no, that’s too low”. The chest in this photo is the broader less detailed part and therefore more given to noticeable banding.
2 Likes
Increasing the DPI used to be easy, but I can no longer change it. I can’t increase it from the drop down selection as before, so it’s stuck on 225 DPI for everything. I’ve tried typing in a higher number, but it just snaps back to 225. I may have to reach out to the techs about this issue. I will post photos to show. Thank you.
I’m using various mirror materials, but they all come out with bands. I use two programs, sometimes in unison, to get my images perfect and ready to be engraved; Inkscape and Gimp. Gimp has an amazing curve tool to balance out the contrast before, or after inverting color. Then they are rastered with full dots in Glowforge. As you can see via the image I engraved of Mike Tyson, my system works beautifully. No banding on the upper half, only the lower half.
I have not contacted support as of yet.
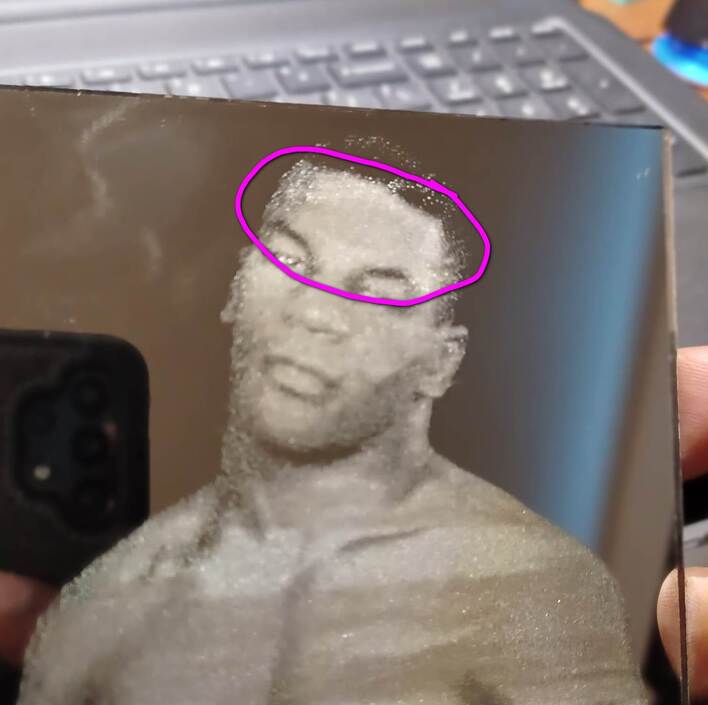
You sure? Can you upload your processed image? His forehead looks suspiciously patchy like his chest. Since you’re using dots I would not expect this.
I’m still super suspicious of your materials here.
2 Likes
Mike Tyson’s forehead actually has that impression. Nonetheless, it just may be a contrast issue. Also, I’ve resolved the banding issue by increasing my DPI. It was a simple fix. Thanks for your time. I really appreciate it.
4 Likes
I use the DPI often.
- Select the PG setting of your choice.
- Next to the setting (HQ, LQ, etc.) is an arrow. Click on it to change the DPI, number of passes, power, speed, etc.
- NEW CHANGE TO UI: Click the “+” at the top to add your settings with a new name. If you don’t do this, then it does snap back when you exit the settings.
Glad to hear you got everything ship shape again!
1 Like
This topic was automatically closed 30 days after the last reply. New replies are no longer allowed.