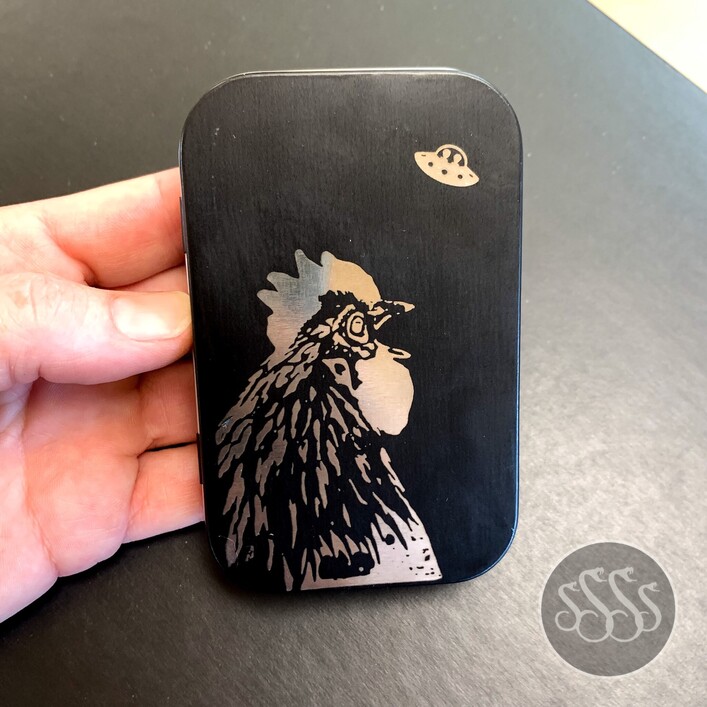
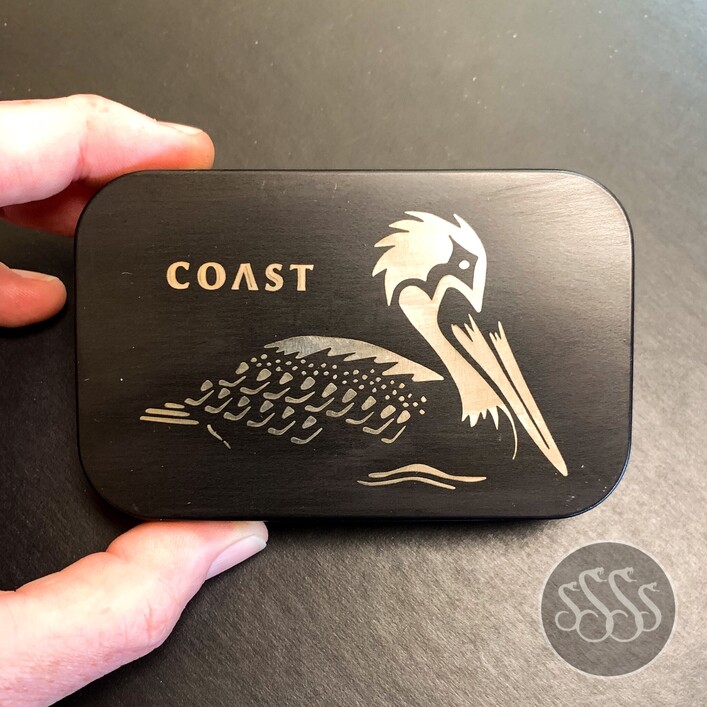
Sharing settings that have worked brilliantly for me engraving designs on black altoid tin blanks from amazon (with gratitude to others who shared their settings, which was an invaluable starting point) :
SPEED = 700
POWER = 80
LINES PER INCH = 1355
CRUMB TRAY = out
tins sitting on top of 0.9" block (in my case, mounted battleship lino i had on hand)
had GF set focus (tried manual entry, but results better with this)
masked tin with blue painter’s tape (important to mask!)
Curious if anyone has suggestion for a protective coating to spare tin from scratching?
Your altoids, your time, but your LPI is crazy high… it’ll make your engraves absolutely glacial. How long does one tin take?
I do 900 speed, 80 power and 340 LPI. Works great. A full face tin engrave takes about 6 minutes. I am guessing yours is more like 20 minutes, maybe more? Granted your edges will be slightly cleaner than mine, but at 340 I can’t really see the difference.
After I engrave, I wipe the tin with alcohol, takes up the residue and makes it super shiny. Guessing you know that trick, yours are nice and clean too.
Thanks, everyone! I did lots of testing. Posted the settings that work FOR ME ~ the extra high LPI does take more time, but in the end it polishes up extra shiny, which is what I was after. Glad GF has settings we can all adjust according to our needs / preferences
Did you happen to try defocusing the laser? aka focusing at a height above the surface of the tin? I do so for engraving acrylic to get a smoother end result, and do 225 LPI. You might try it (up to a quarter inch above the surface) and get the same results at a faster job speed.
Mine is as well, but crazy is in the eyes of those doing it. I tried 450 LPI and now I am going back at 1355 full power 2000 speed as I am not looking to make it any deeper. The piece is 1.5 in diameter…
He was using anodized aluminum tins. When you engrave those, it merely takes off the top coating (see his photo) and exposes the metal underneath. You cannot engrave on just bare tin unless you use a marking medium like Cermark, and even then I’m not sure Cermark works on tin. Anodized aluminum doesn’t need any masking on it. As far as where he placed it on the honeycomb bed, I don’t have that information. If you are using anodized aluminum, you should be able to find lots more information by doing a search…and there’s a lot more information right in this same post.


 Day 1 for me and it was a flop with the tin and my wood puzzle.