Please HELP! The attached document will not upload to the glowforge ui. When attempting to upload, I receive a non-specific error message. I am able to upload other files in the same folder, other folders, same .svg designation, etc…
I will readily admit that I am relatively new to both glowforge and inkscape so it is probably something simple but I just cannot figure it out.
I have tried the following:
- save as inkscape .svg
- save as plain .svg
- changed the file name
- ensured that everything in the file has been converted to a path
- reset the WiFi, glowforge, and computer
- changed material
Any help would be greatly appreciated.
JT
*edit: The file will not upload here either…

Sorry you’re having issues. :-/ I know it’s frustrating, but at least you know it’s just something with this file and not some other bigger issue.
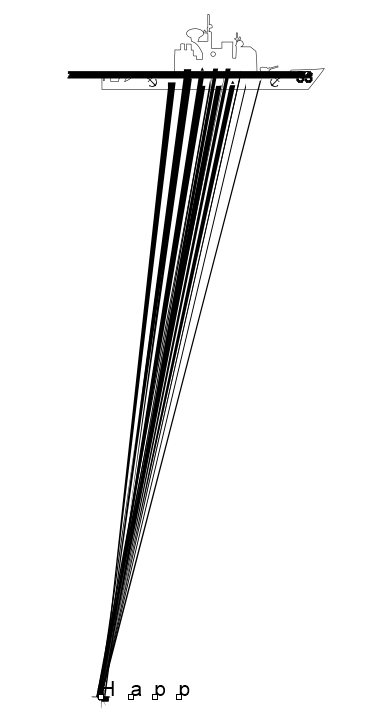
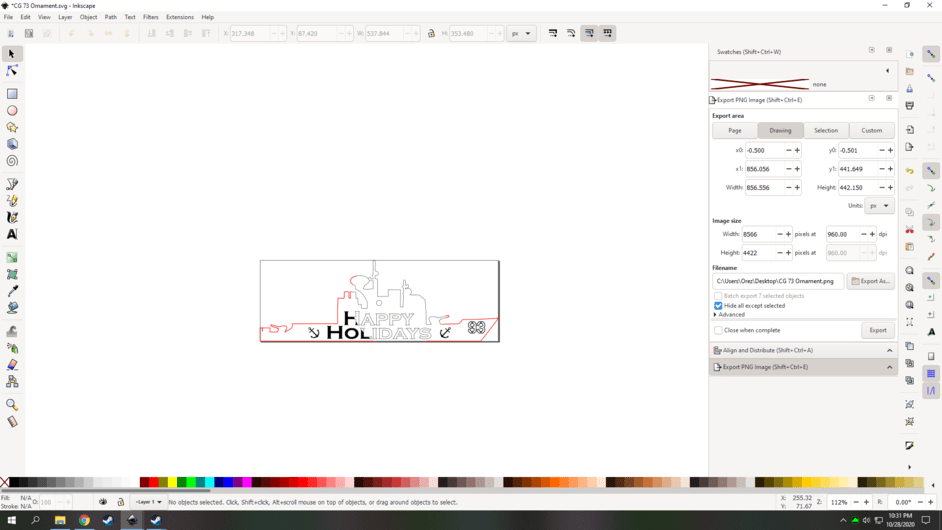
Your file is here, it’s just hard to see.  I took a screenshot so you could see it highlighted.
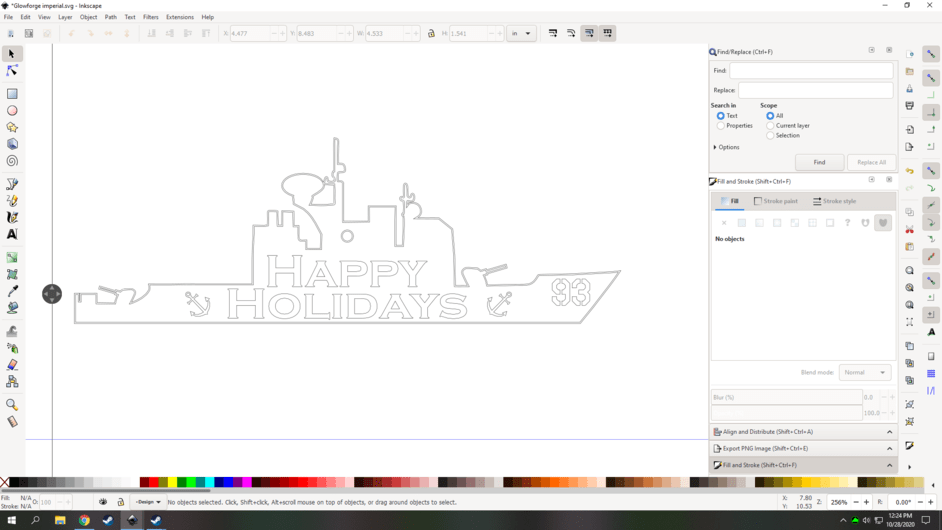
I was able to open the file and it looked like this for me. (Could just be a compatibility issue between our programs though.) I can’t really work on it to check for other issues, but I was able to see that your text has not been converted to a shape/path. Give converting the text a try and see if it works. (I don’t know if that’s the only error, but it could be.) If it doesn’t work, try saving it as a PDF and uploading that.
2 Likes
I got rid of the text and saved the just ship as a svg. Maybe try loading this one to see if it works. (I also noticed there are two outlines of the ship. You may have intended it that way, but pointing it out just in case. :-))

5 Likes
Some issues i found. Shortcuts are for functions under the path section on the top bar.
I took the object you made and moved it into a new inkscape page by copying with CTRL+C opening a new page and pasting it with CTRL+V
- your outside shape and top hole are actually double lines like the stroke has been converted to path by accident unless you are engraving this onto something and its not a hanger of some sort.
you can get to this view by pressing CTRL+6
- I ungrouped everything and selected Break Apart with SHIFT+CTRL+K on the outline of the boat and deleted the inner line and did the same for the hanger hole.
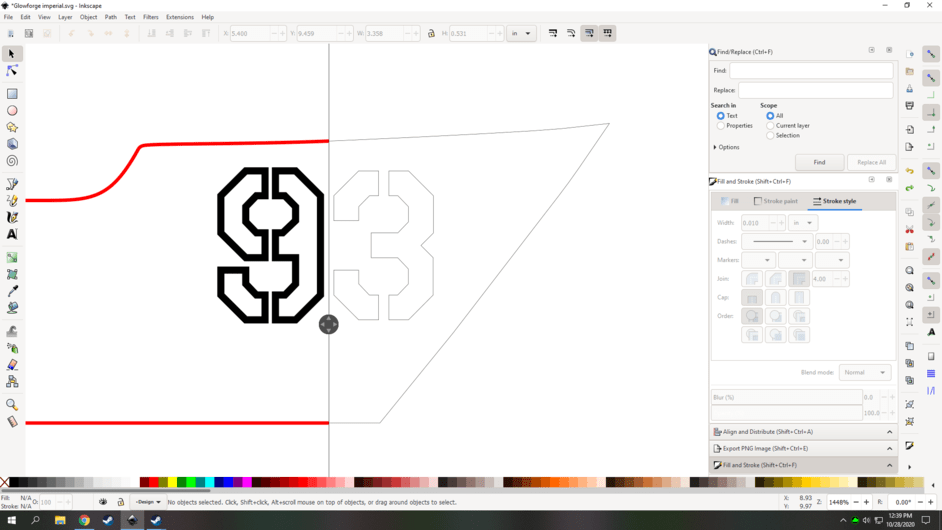
- The numbers 93 were grouped with the text and anchors but they are set to stroke with no fill. if you wanted those engraved as well select the 9 and 3 and do Stroke to path with CTRL+ALT+C
(before)
(after)
Then Union the 93 with the rest of the text and anchors by selecting them all and pressing CTRL+SHIFT+= or pressing CTRL+ the plus on the dpad
- If you want those cut out leave it as it is.
- made the inner cut lines a different color so you can cut them first if you want so they don’t move around when cutting the outline of the ship first.
Version with 93 engraved

Version with 93 set to cut

Not 100% sure why it wasn’t uploading but moving it to a new page and doing those steps made it work on my end when it was failing before. need someone with more knowledge than me to see where the issue was.
2 Likes
This worked!!! thank you so much. I am sure that I did stroke to path in my frenzy to try and make this work. What exactly is the ctrl+6 screen? I’ve never seen that and it is incredibly useful!
Thanks again!
JT
NP, Under view it is called Split view mode there is also an option called Xray mode by pressing ALT+6 kinda the same thing but makes your cursor like a little spotlight.
Also here is a list of all the shotcuts if you want a rabbit hole to go down. I try and learn more of them from time to time to help me work faster.
2 Likes
I’m glad you resolved it! Thank you @primal_healer for your advice. I’m going to close this thread. If you run into any other trouble, please start a new topic, or email us at support@glowforge.com.
1 Like